
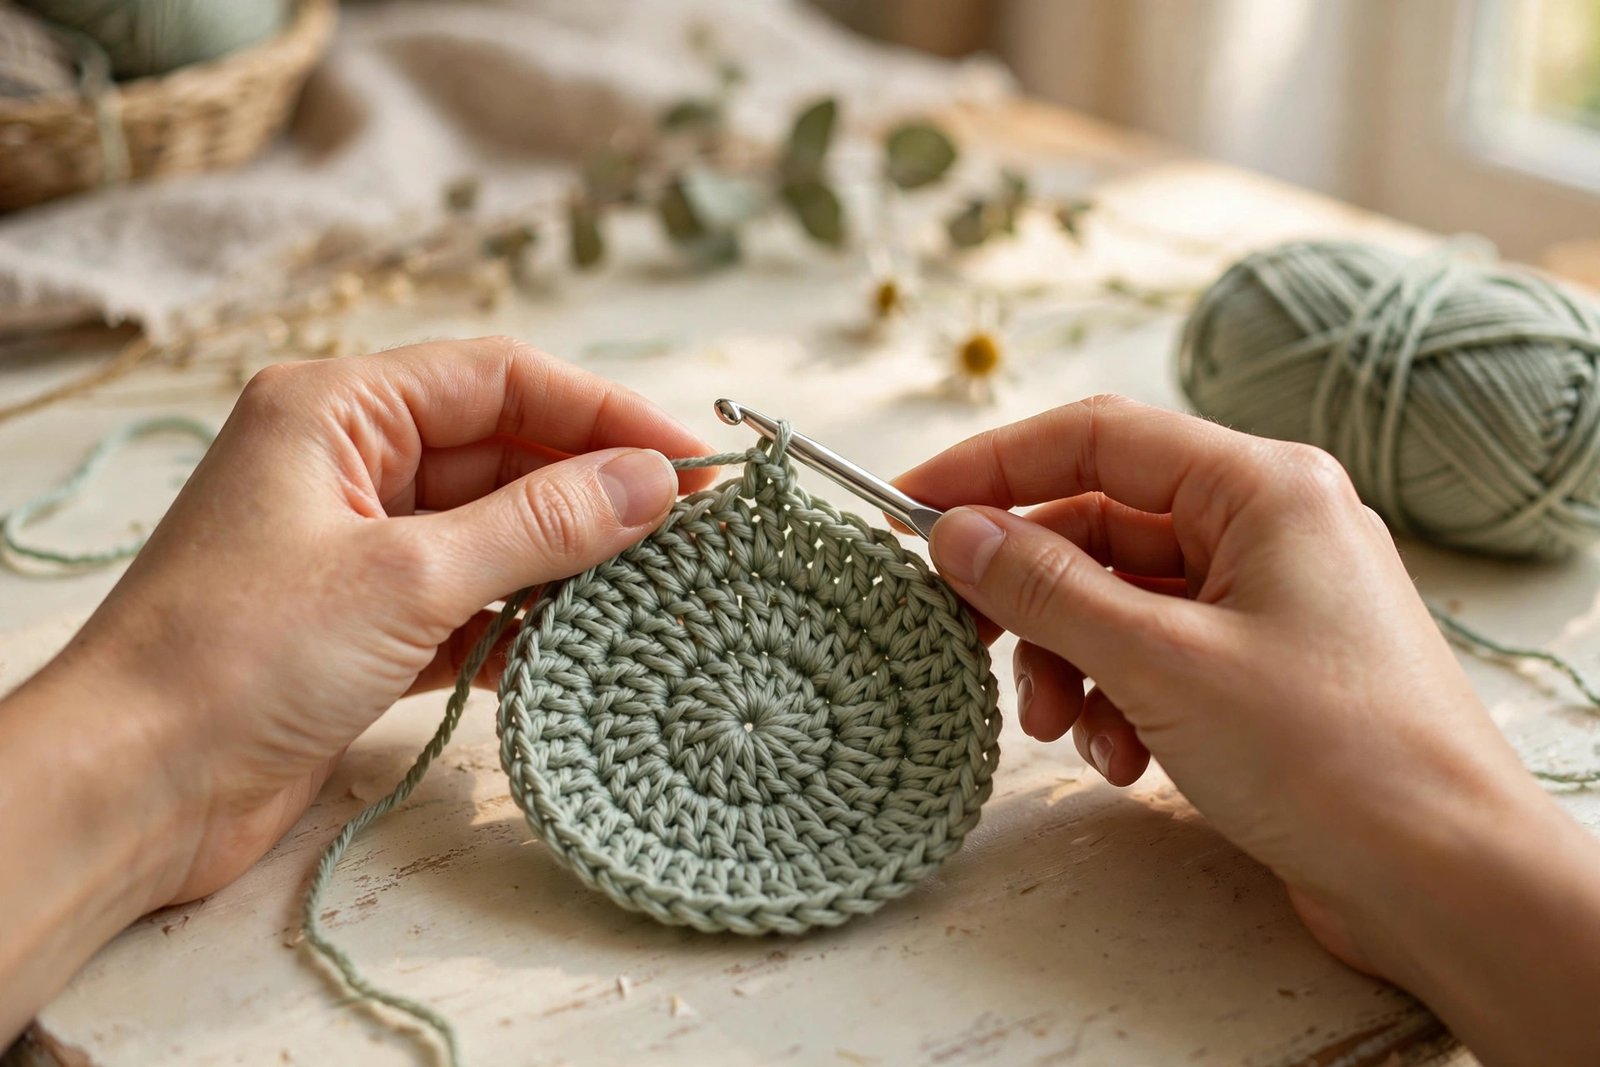
The slip stitch is the quiet helper of the crochet world. It never shows off, it rarely gets its own row in a pattern, and yet almost every project you make will need it. Abbreviated sl st, the slip stitch joins rounds, finishes edges, moves your yarn across the fabric without adding height, and sews pieces together invisibly. I am Ashley, and I think of the slip stitch as the backstage crew of crochet: you barely notice it, but the whole show falls apart without it. This tutorial will teach you the simple hand movement, show you the five jobs it does best, and help you avoid the one mistake that makes beginners dread it.
If you can make a chain stitch, you already know ninety percent of the slip stitch. The motion is nearly identical, just worked into existing stitches instead of into thin air. It takes about five minutes to learn and a lifetime of projects to fully appreciate.
What You Will Need
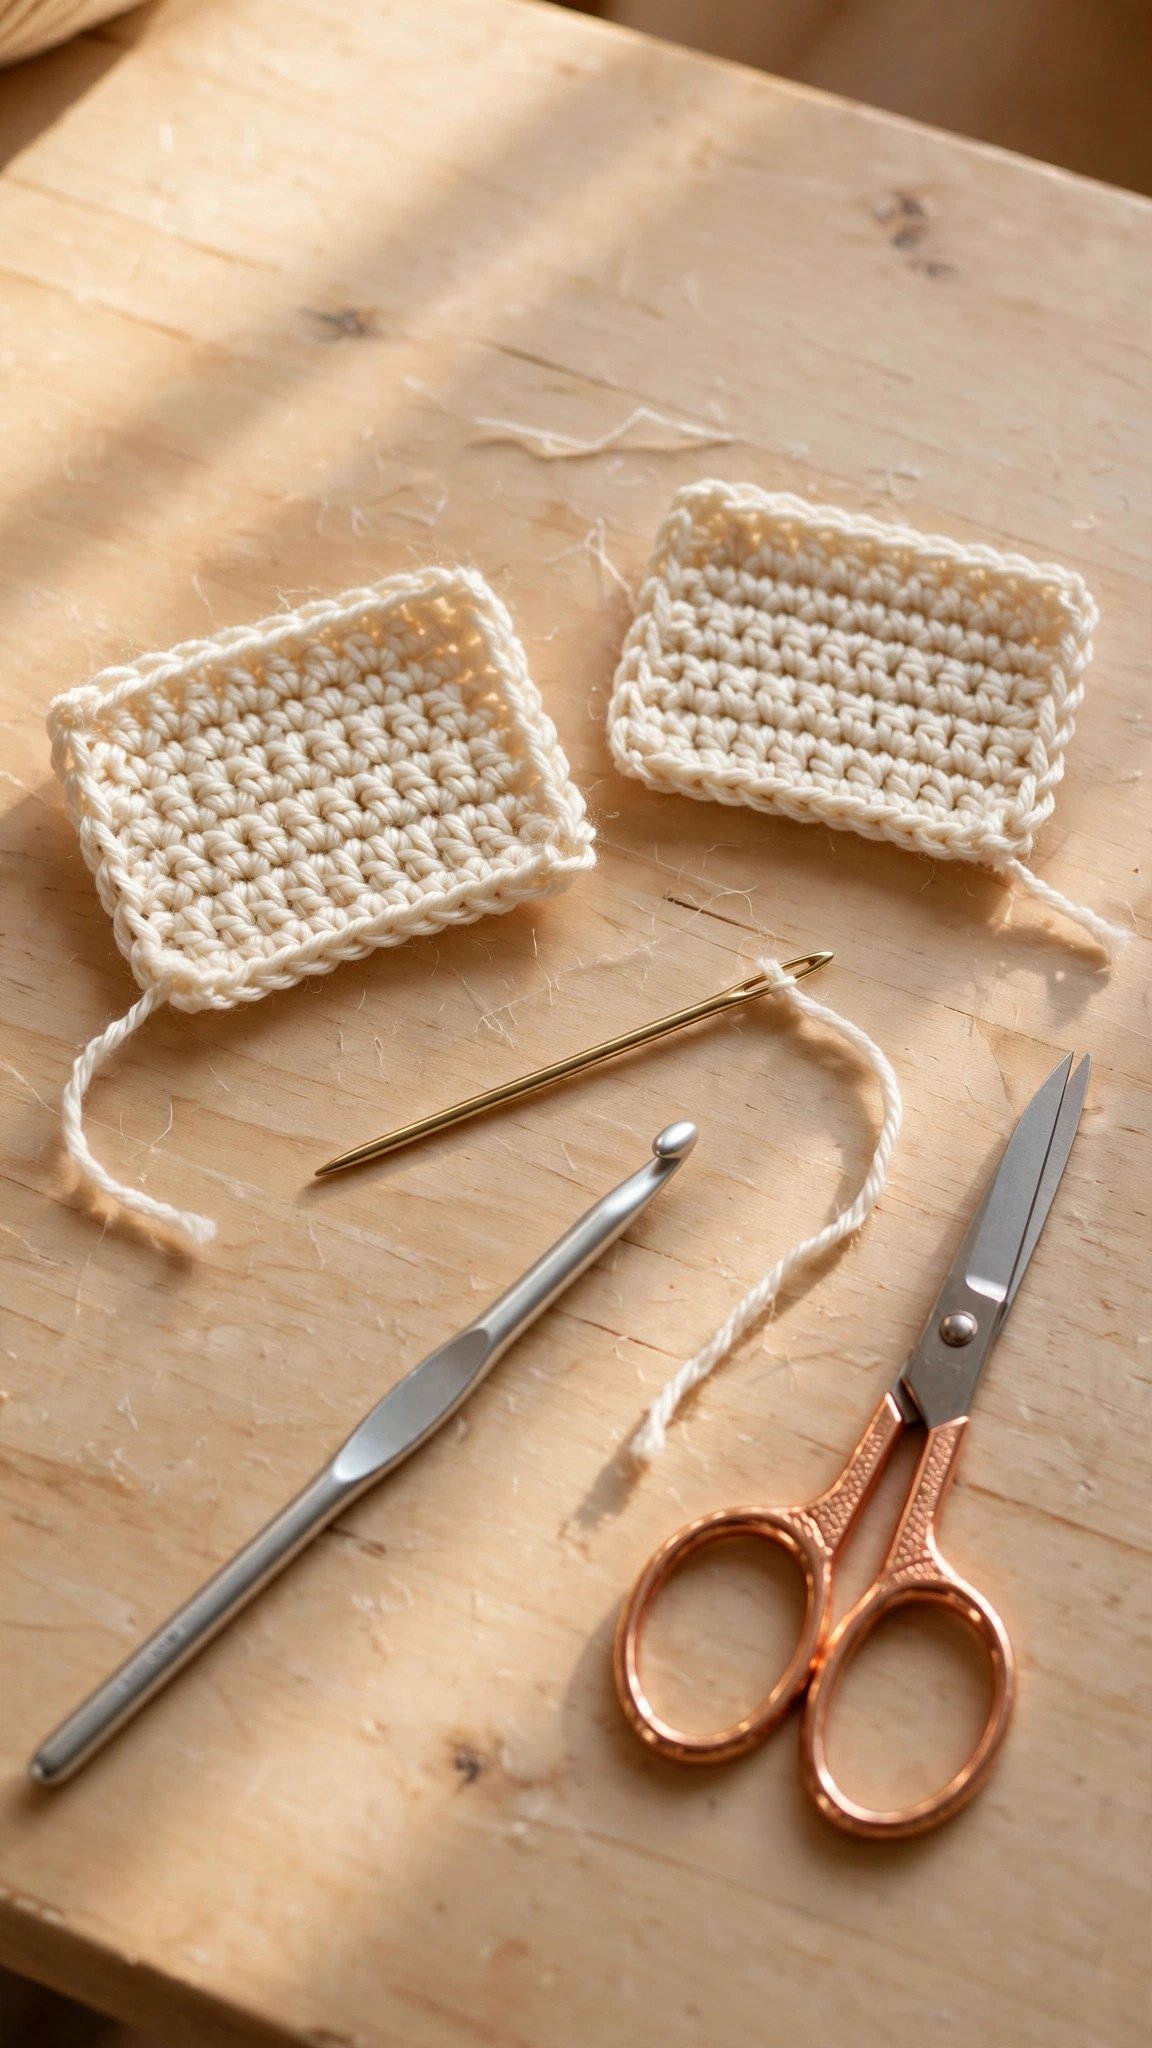
Any yarn and hook you have on hand will work for practice. A smooth medium-weight yarn in a light color makes the small slip stitches easiest to see. If you want to practice the joining techniques below, make two small swatches first: chain 12 and work three rows of single crochet on each. These little squares become your practice pieces for joining, edging, and seaming.
You will also want a yarn needle with a large eye for weaving in ends, since slip stitch work often involves finishing details. Scissors and a stitch marker round out the kit. Nothing exotic, just the basics.
How to Crochet the Slip Stitch, Step by Step
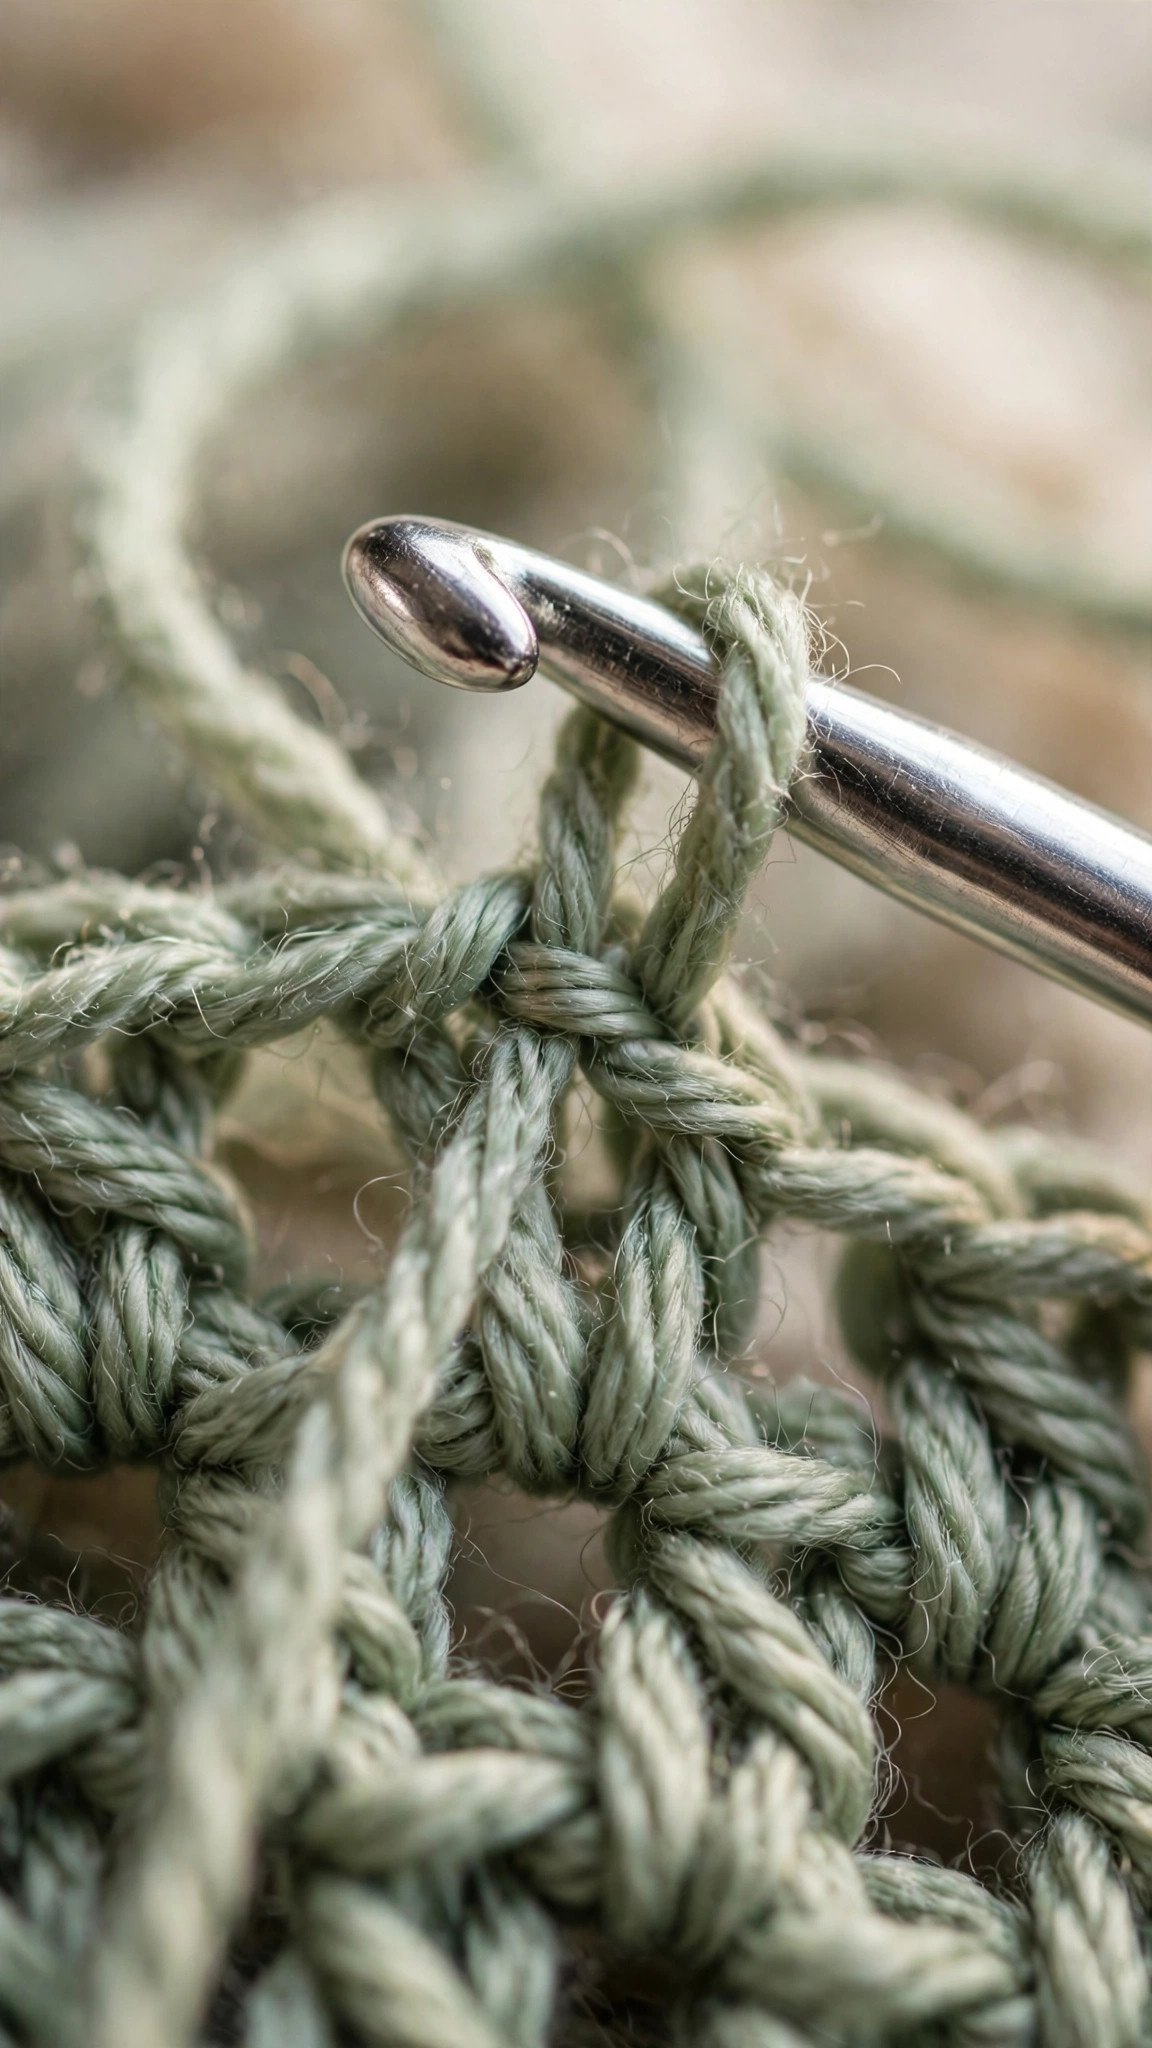
Step 1: Insert the hook. Push the hook into the stitch where you want the slip stitch to land. For joining a round, this is the first stitch of the round. For moving across fabric, it is the next stitch over. Go under both top loops unless your pattern says otherwise.
Step 2: Yarn over. Wrap the yarn over the hook from back to front, just like the start of any stitch.
Step 3: Pull through everything at once. Draw the hook back through the stitch and through the loop already on the hook, all in one smooth motion. That is the whole stitch. One loop in, one motion, one loop left on the hook. The result is a tiny, flat stitch that barely rises above the fabric.
Compare it to a chain stitch and you will see the family resemblance. The difference is that a slip stitch anchors into existing fabric instead of floating free. Practice a row of ten slip stitches and notice how flat and subtle they are. That subtlety is their superpower.
The Five Jobs of the Slip Stitch
1. Joining rounds. When you crochet in the round, for hats, amigurumi, or motifs, you finish each round by slip stitching into the first stitch of that round. This closes the circle neatly. Insert the hook into the top of the first stitch, yarn over, pull through, and the round is joined with almost no visible seam.
2. Moving across stitches without adding height. Sometimes a pattern needs your yarn in a different spot without building new rows. A row of slip stitches glides the yarn sideways while staying flat. This is common in garment shaping and motif joining.
3. Creating tidy edges. A round of slip stitches around a finished edge, worked loosely, gives a clean, corded border. It is perfect for necklines, blanket edges, and bag openings that need a crisp finish.
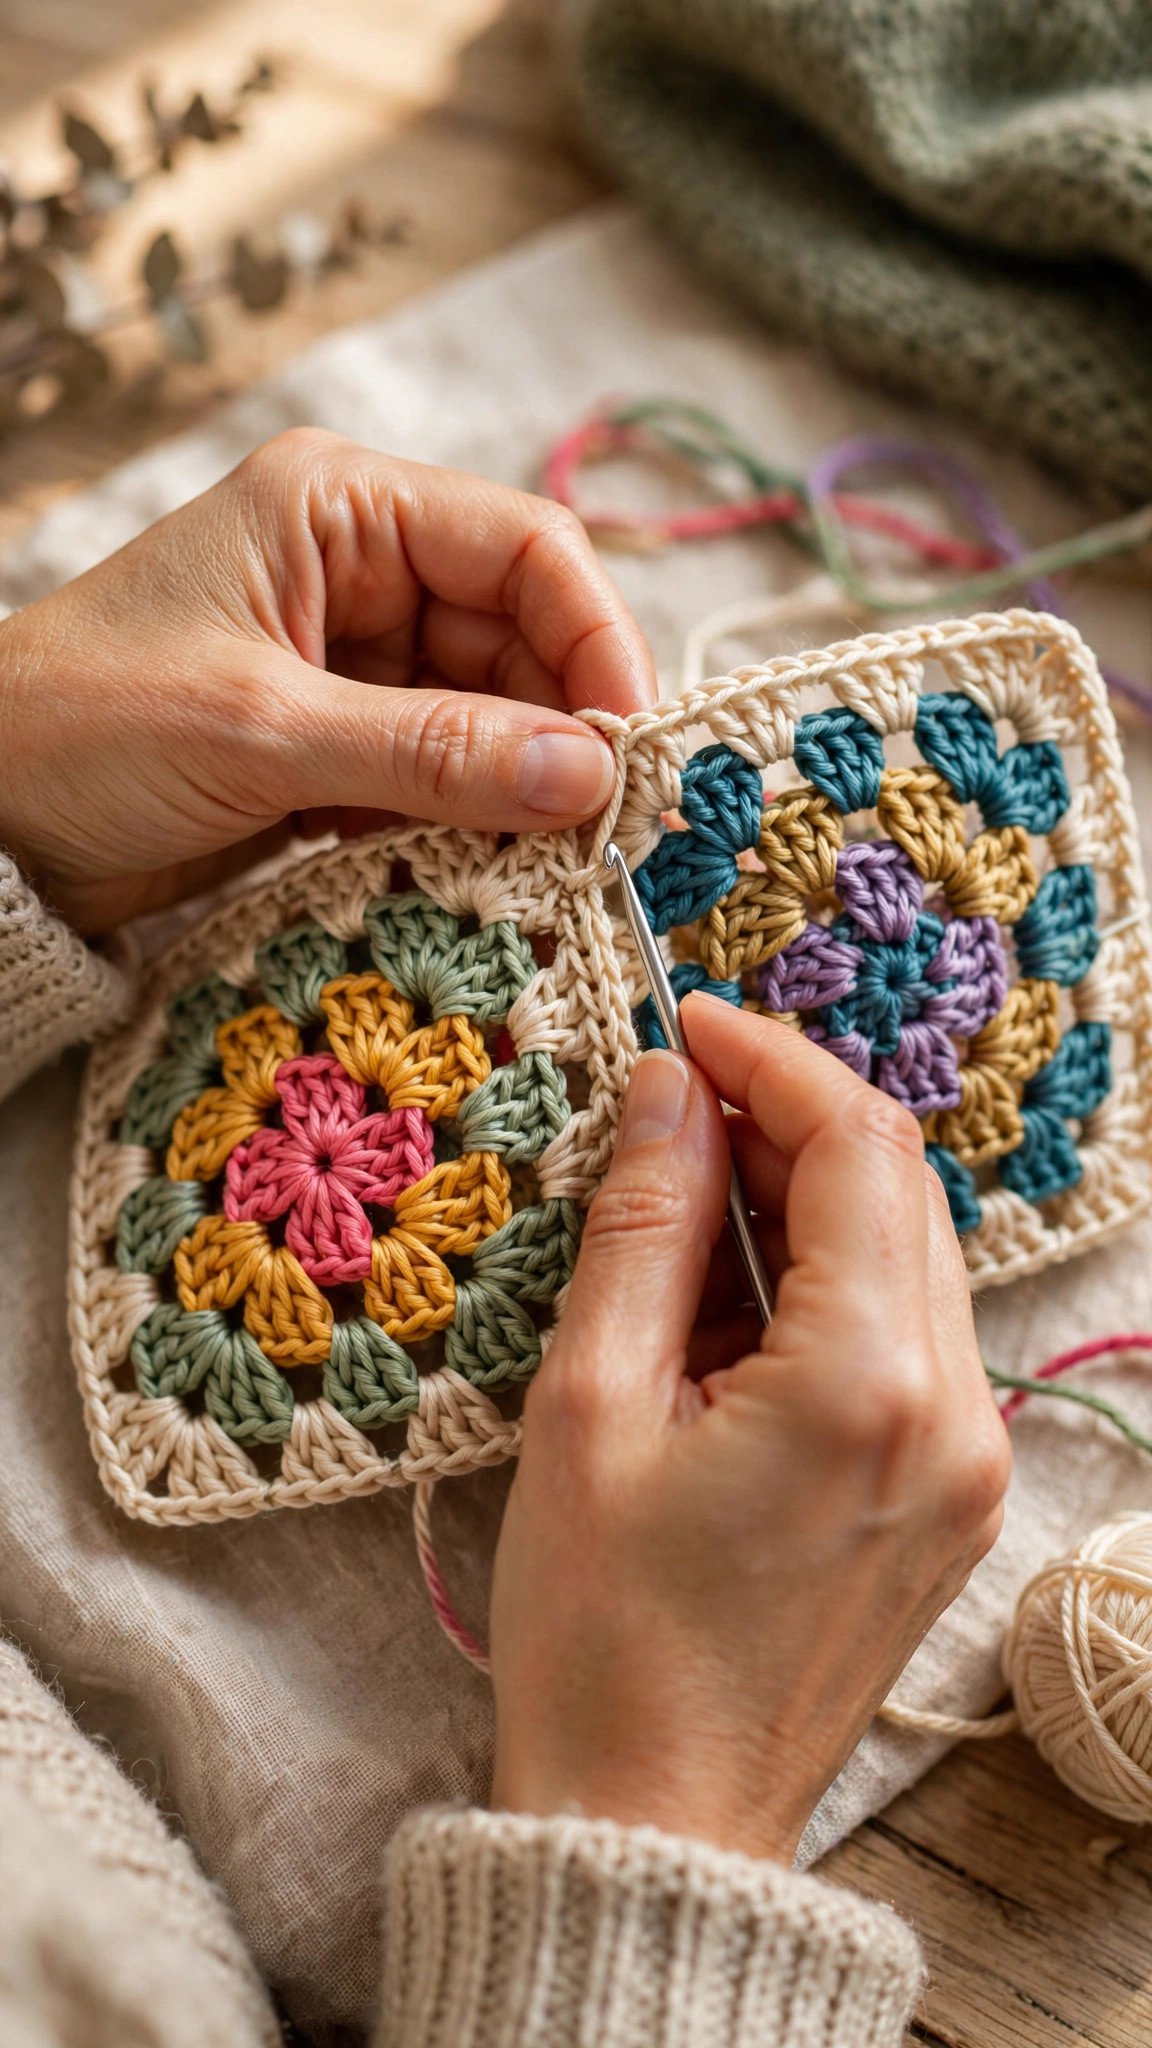
4. Joining pieces invisibly. Slip stitching through two pieces held together creates a nearly invisible seam. This is how many crocheters join granny squares or attach sleeves. The seam lies flat and stretches with the fabric.
5. Surface decoration. Slip stitches worked across the surface of finished fabric create lines, outlines, and even lettering. Surface slip stitch is a whole decorative technique that turns plain fabric into a canvas.
Common Slip Stitch Mistakes
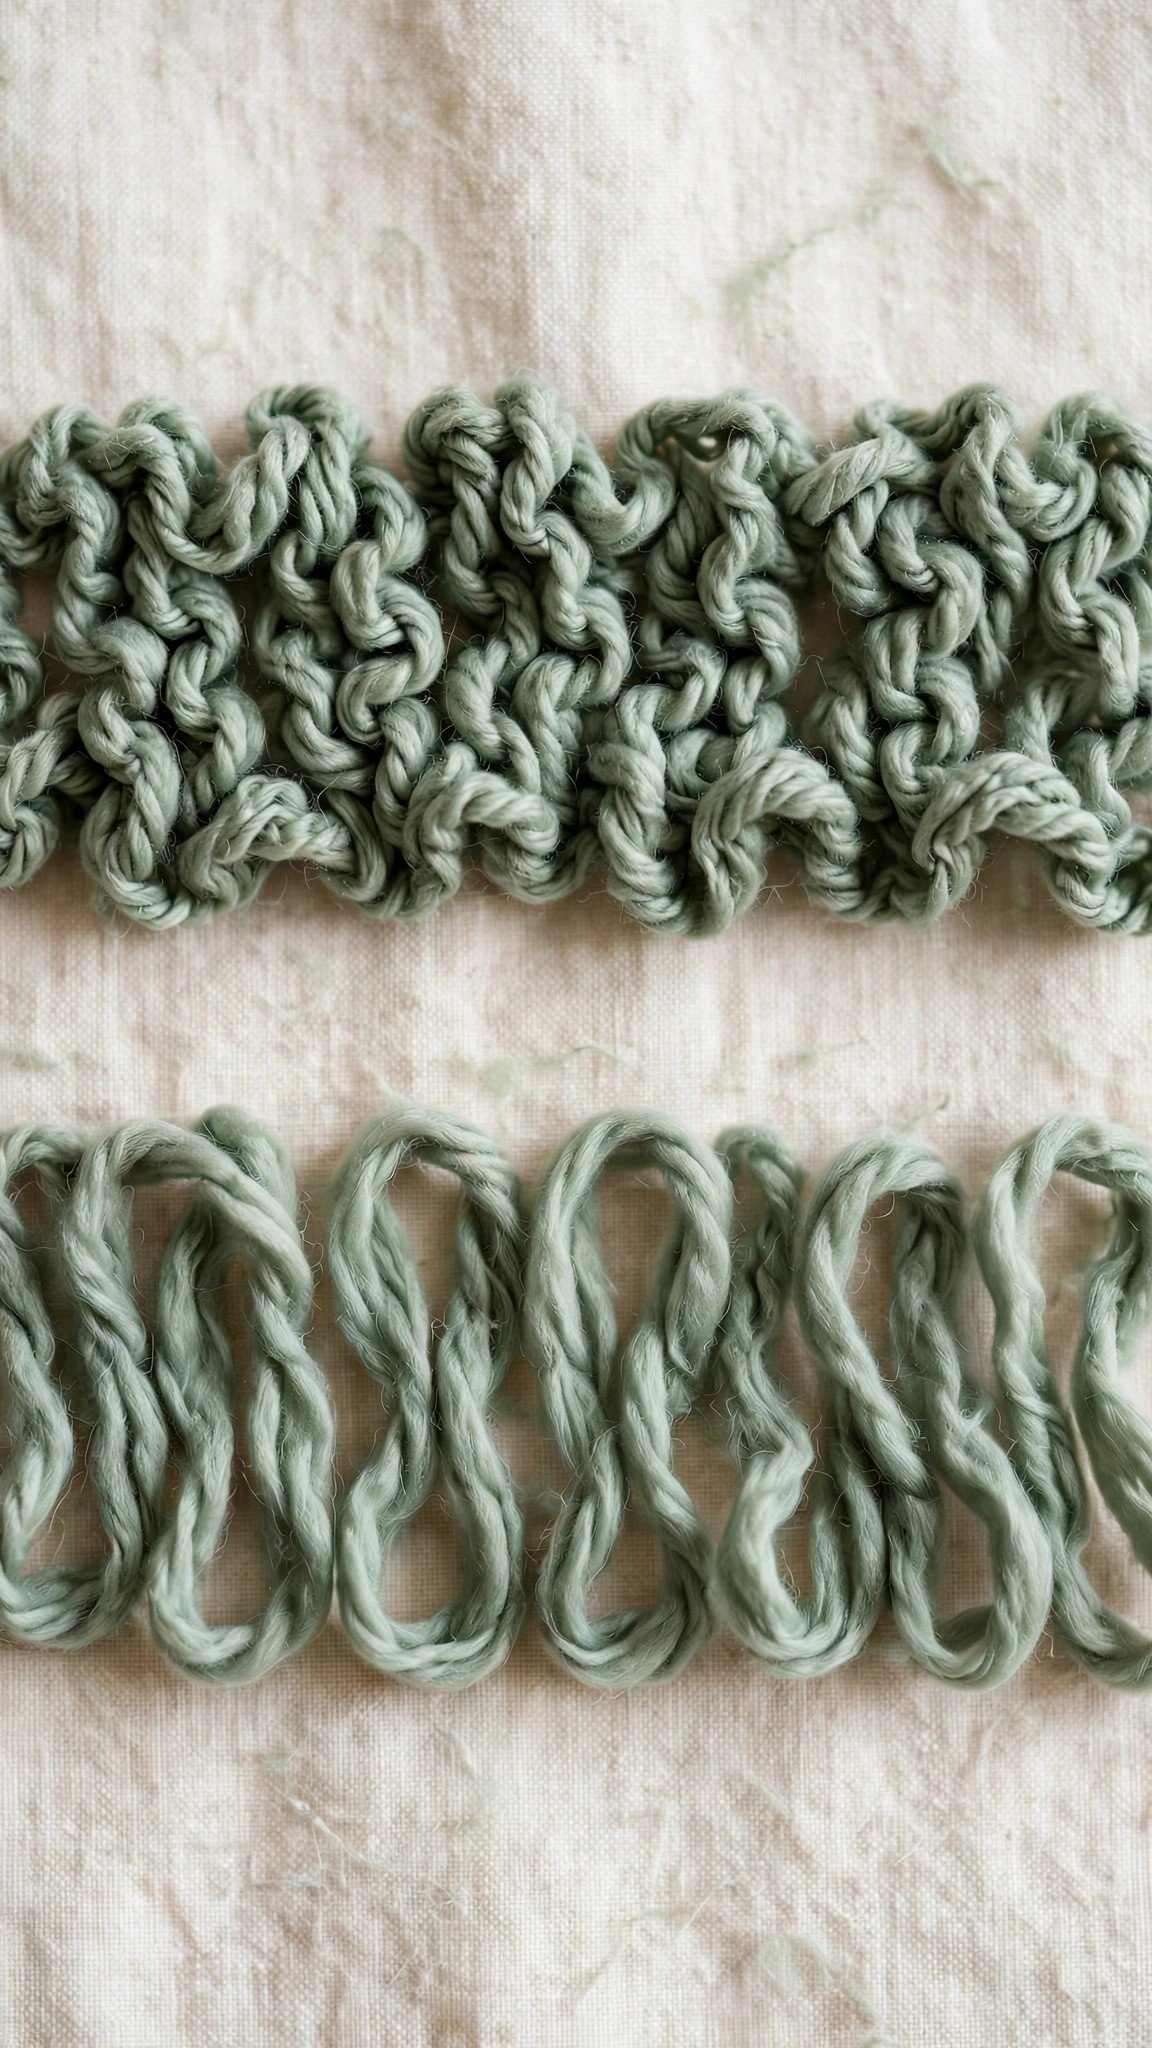
Working too tightly. This is the classic slip stitch complaint. Because the stitch is so small, beginners tend to yank each one tight, and a row of tight slip stitches puckers the fabric and refuses to stretch. The fix is deliberate looseness. Go up a hook size for slip stitch rows if needed, and focus on keeping every loop relaxed. A slip stitch should lie flat, not dig in.
Accidentally adding height. If your slip stitches look bumpy or raised, you may be pulling the working loop up too tall before completing the stitch. Keep the loop on the hook short and snug to the fabric. The stitch should hug the surface.
Losing the joining stitch. When joining rounds, beginners often work the slip stitch into the wrong place, usually the turning chain instead of the first stitch. Count your stitches after joining. If the count is off by one, check where the join landed. A stitch marker in the first stitch of each round prevents this entirely.
Skipping slip stitches in patterns. Because they seem unimportant, beginners sometimes skip slip stitch instructions. Do not. A missing join leaves a gap, and a missing edge round leaves a wobbly border. The little stitches earn their place.
Tips for Perfect Slip Stitches
Think “loose and lazy” for slip stitches. Where other stitches reward snug tension, slip stitches reward relaxation. If your joining rounds pucker, the answer is almost always to loosen up or switch to a larger hook for those stitches only.
Keep your hook in line with the fabric. Stabbing downward at a steep angle makes slip stitches dive into the fabric and disappear. A shallow angle, with the hook nearly parallel to the work, keeps each stitch sitting prettily on the surface.
For invisible joins, match your slip stitch tension to the surrounding fabric. The join should disappear, not gather. Take an extra second on each joining stitch. It is a small investment that makes the difference between handmade and homemade.
What to Make With the Slip Stitch
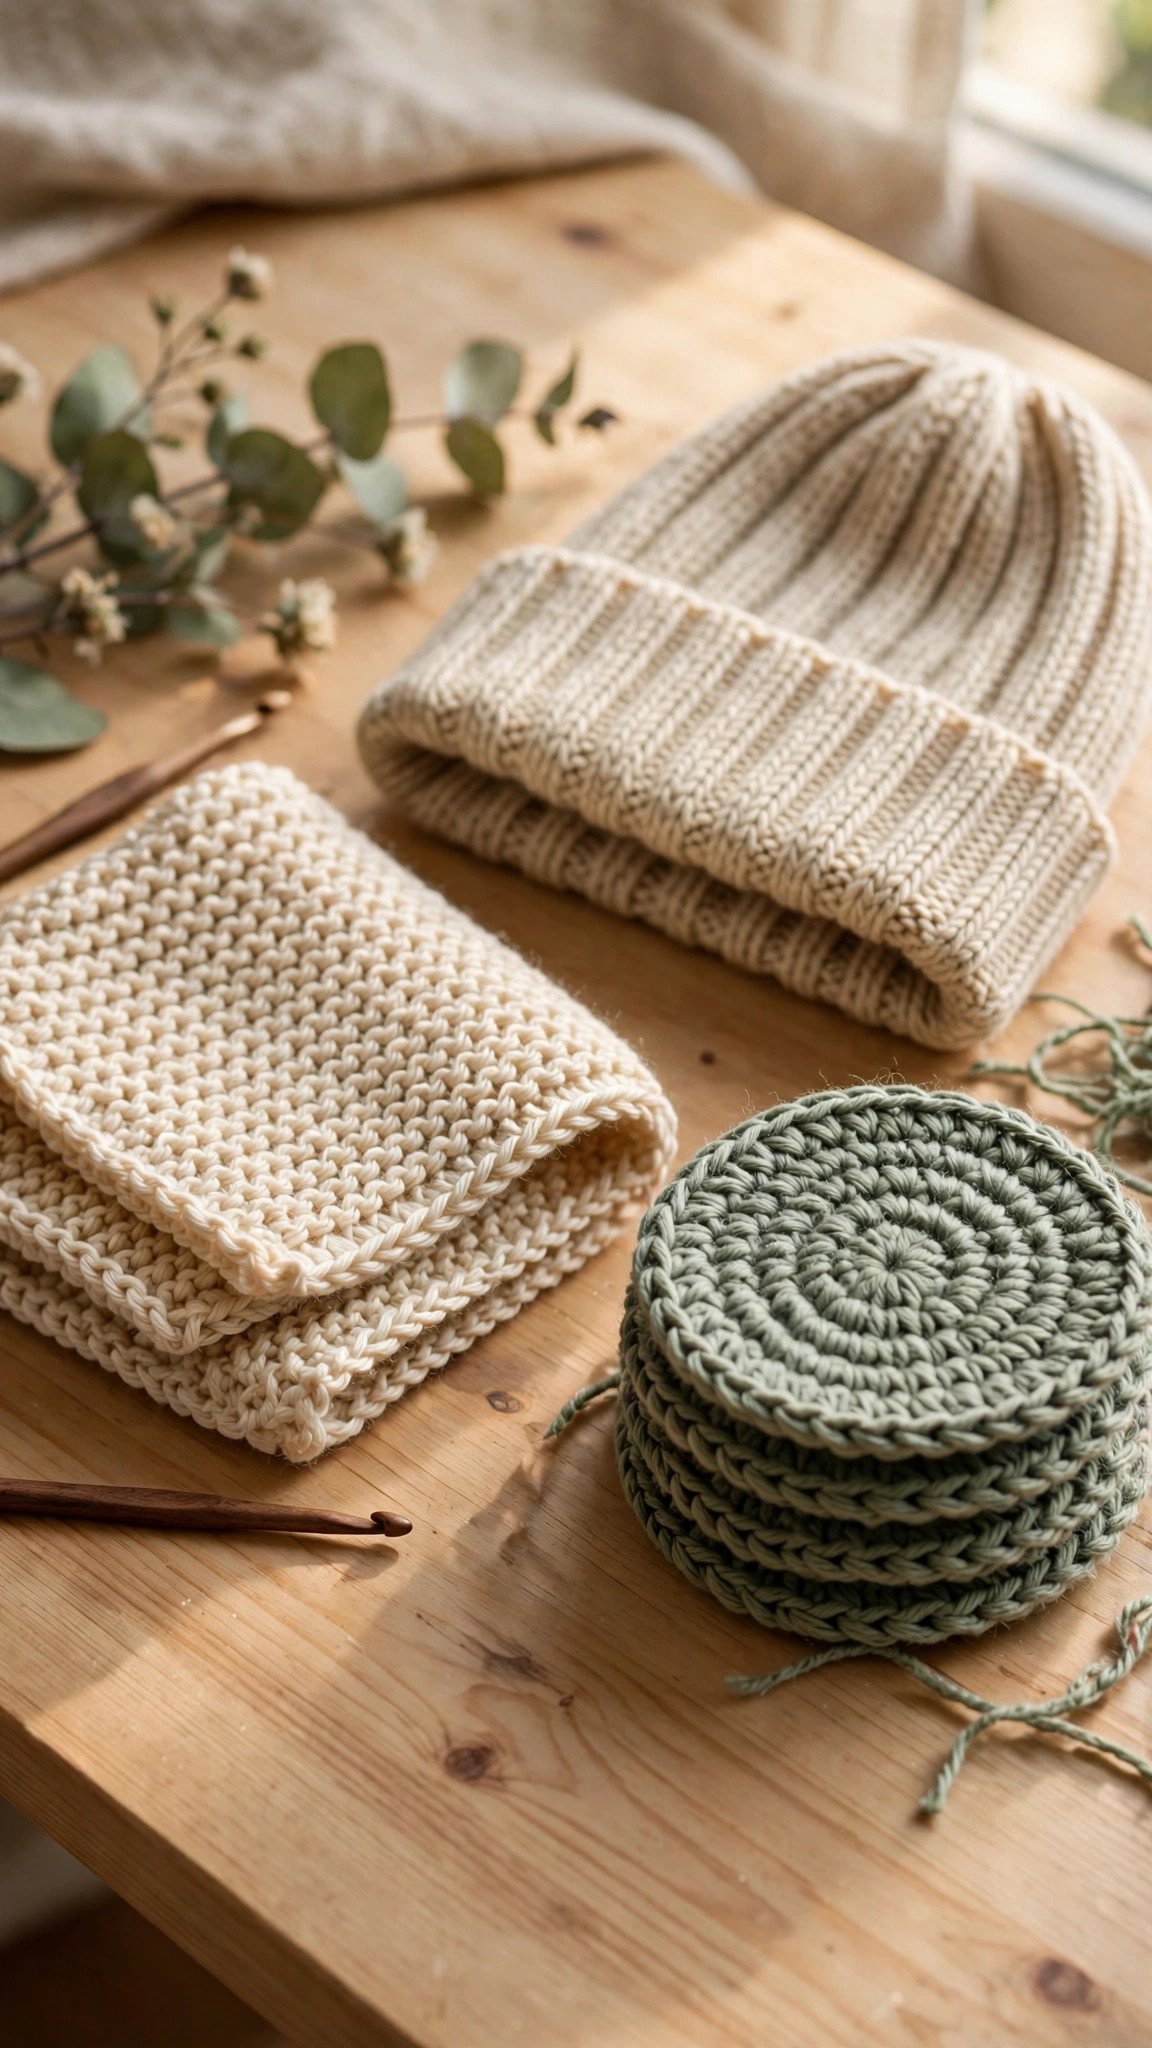
Whole projects can be built from slip stitches. The classic example is a slip stitch beanie or headband worked in back loops only, which creates a stretchy, knit-like ribbed fabric. It looks remarkably like knitting and makes a great first hat. Slip stitch coasters and placemats are dense, sturdy, and quick.
Beyond standalone projects, the slip stitch finishes everything you make. Use it to join your granny squares into a blanket, edge your scarves with a corded border, and close the rounds of every amigurumi you ever stuff. Learn it well and it will quietly improve every project you touch.
Slip Stitch FAQ
What does sl st mean in crochet? It is the abbreviation for slip stitch. “Sl st to join” means work a slip stitch into the indicated stitch to close a round or connect pieces.
Why are my slip stitches so tight I cannot work into them? Tight slip stitches are the most common beginner struggle. Consciously loosen your tension, try a larger hook, and keep the working loop relaxed. Slip stitches should never be yanked.
Can you crochet an entire project with slip stitches? Yes. Slip stitch fabric worked in back loops only makes a dense, stretchy, knit-like material perfect for hats, headbands, and warm accessories. It works up slowly because the stitches are tiny, but the result is worth it.
What is the difference between a slip stitch and a chain stitch? The hand motion is nearly identical, but a chain stitch floats free while a slip stitch anchors into existing stitches. Think of the chain as the slip stitch’s independent cousin.
How do I join a round invisibly with a slip stitch? Insert the hook under both loops of the first stitch of the round, yarn over, and pull through both the stitch and the loop on your hook in one motion. Keep it loose so the join does not pucker. Count your stitches afterward to confirm the join landed correctly.
The slip stitch may be small, but it is mighty. It joins, it finishes, it travels, and it decorates, all with the simplest motion in crochet. Practice it loosely, use it confidently, and enjoy the polished look it gives your work. When you are ready for height and speed, my double crochet tutorial is waiting. Happy stitching.
Written by Ashley
I am Ashley, and I believe crochet should be fun from the very first loop. I test every tutorial and pattern here myself before it lands on Loop & Lark.