
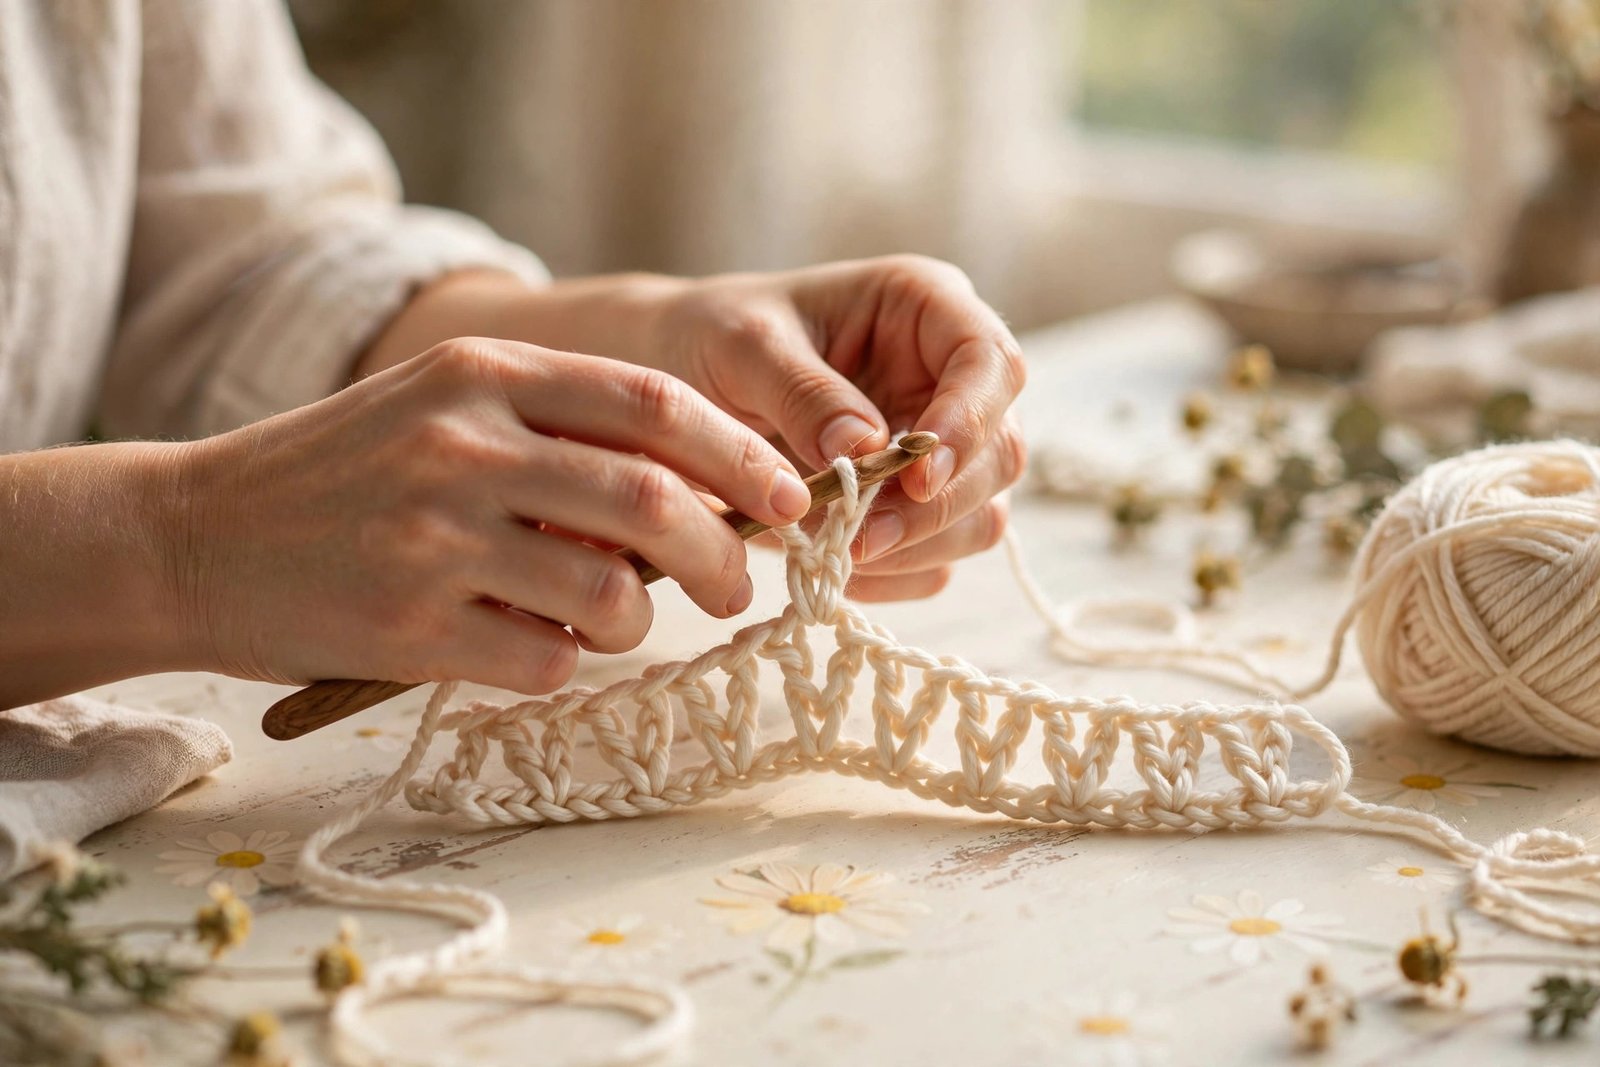
If you learn only one crochet stitch today, make it this one. The chain stitch is the starting line of almost every crochet project, from a simple dishcloth to a queen-size blanket. It is the row of little V-shaped loops you make before anything else happens, and once your hands learn the rhythm of it, every other stitch gets easier. I am Ashley, and I still remember my first wobbly chain. It twisted, it tightened, and half of it unraveled when I sneezed. By the end of this tutorial, yours will look better than mine did, because I am going to show you the small details most tutorials skip.
The chain stitch is abbreviated as ch in patterns, and you will see it everywhere. A pattern that says “ch 25” simply means make 25 chain stitches. Chains also show up inside projects as turning chains at the start of rows, as lacy spaces in openwork, and as straps, ties, and drawstrings. It is a humble stitch with a big job, so let us give it the attention it deserves.
What You Will Need
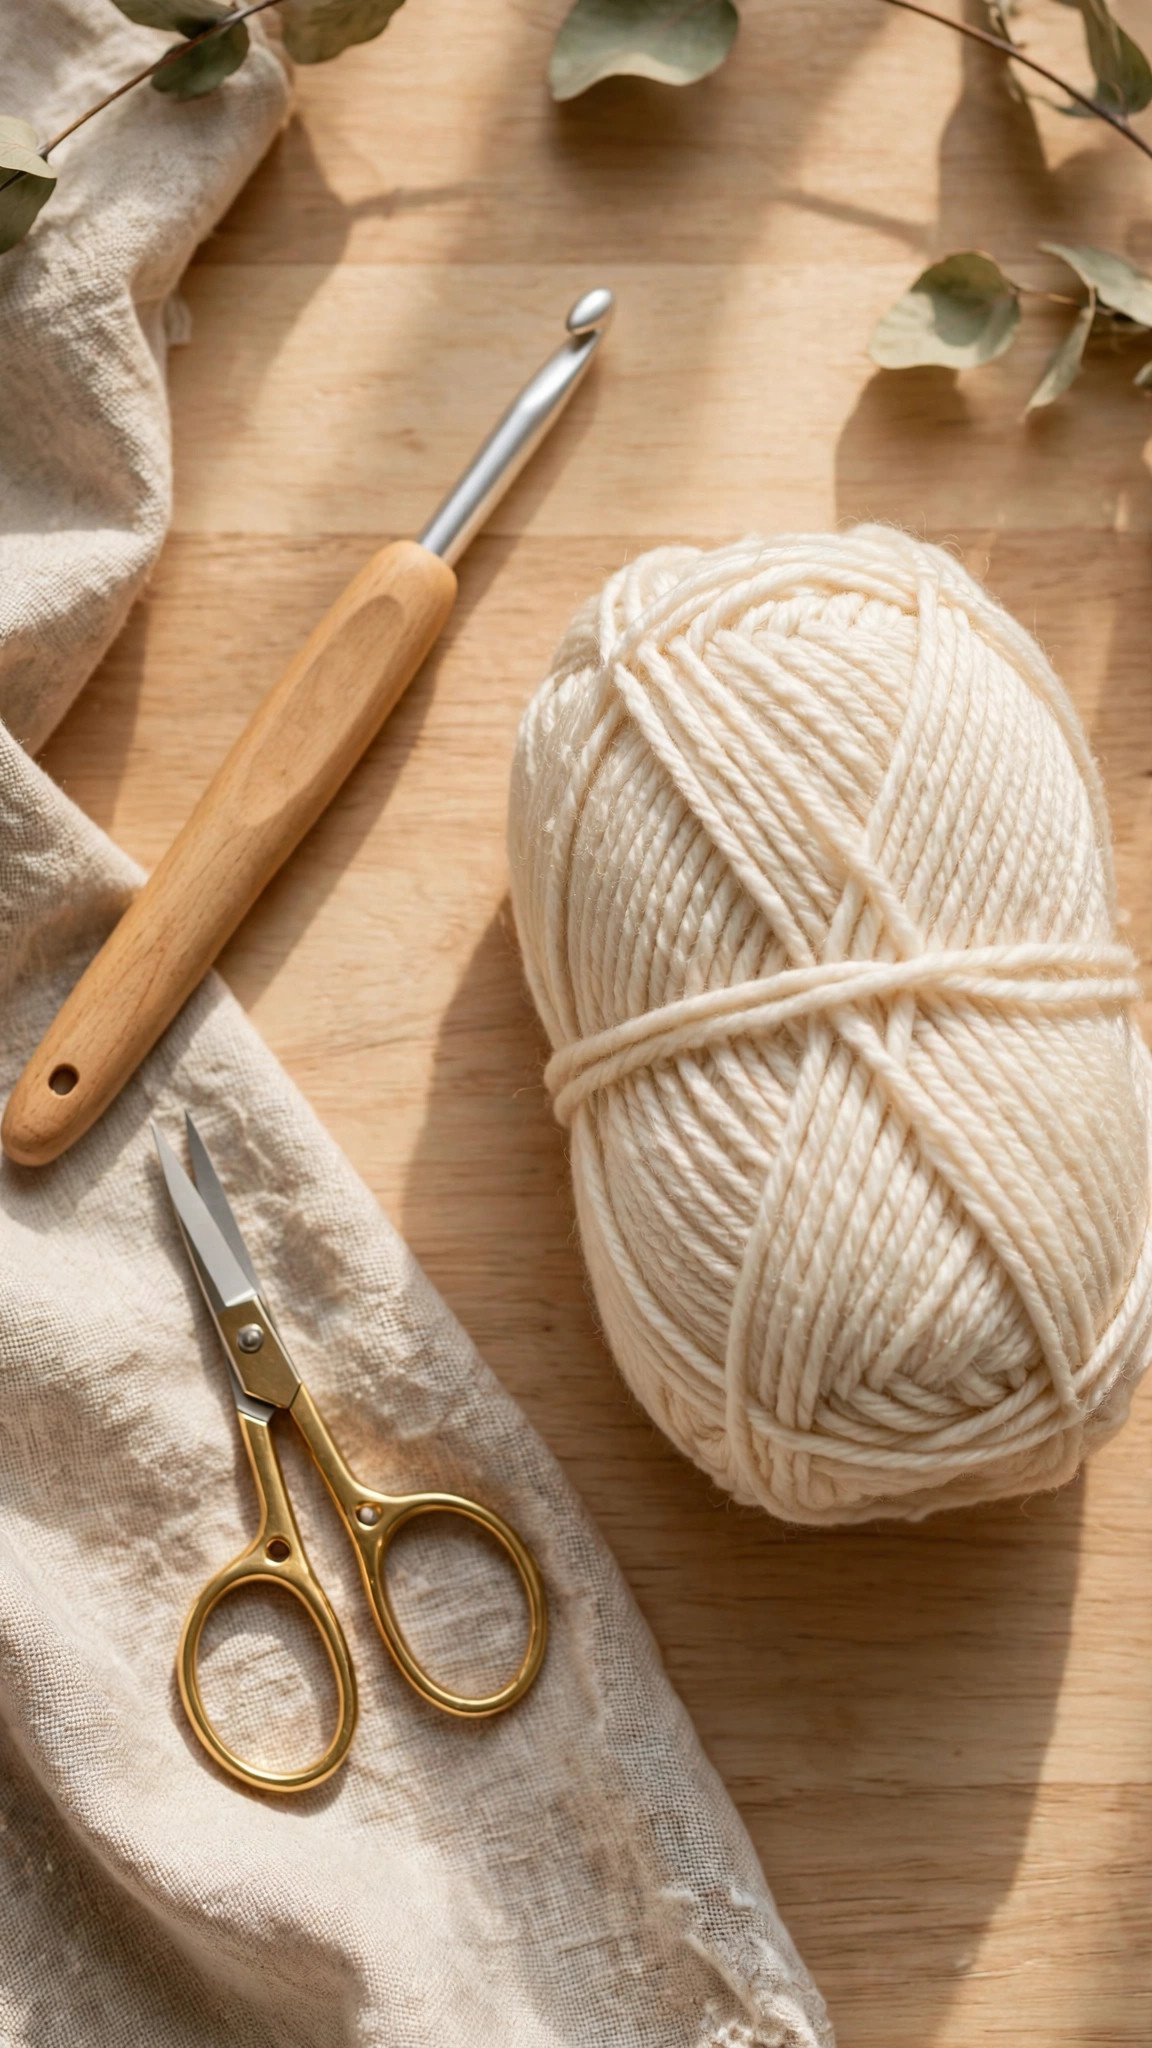
You do not need much to practice the chain stitch, which is part of its charm. Grab a smooth, light-colored yarn in a medium weight. I recommend a number 4 worsted weight acrylic or cotton in cream, pale yellow, or any light shade, because dark or fuzzy yarn hides your stitches and makes learning harder. Pair it with the hook size suggested on the yarn label, usually a 5 mm (H-8) or 5.5 mm (I-9) hook for worsted weight. An ergonomic handle is nice if your hands tire, but any hook works for practice.
You will also want a pair of small scissors and a stitch marker or a safety pin. The stitch marker is optional but genuinely helpful when you start counting chains, because it is easy to lose track around chain number nineteen. That is the whole list. No fancy tools, no big investment, just you, a hook, and some yarn.
How to Crochet the Chain Stitch, Step by Step
Before the first chain, you need a slip knot on your hook. Every chain starts from this little loop, so take a moment to get comfortable with it.
Step 1: Make a slip knot. Pull about six inches of yarn from the ball. Make a loop with the working yarn crossing over the tail, like a pretzel shape. Push a fold of the working yarn up through the loop, then slide that new loop onto your hook and pull the tail gently to snug it. The loop should slide freely on the hook, not grip it tightly. If it will not move, your knot is too tight. Start over and leave it a little loose.
Step 2: Hold the hook correctly. There are two common grips, the pencil grip and the knife grip. In the pencil grip, you hold the hook the way you hold a pencil when you write. In the knife grip, you hold it the way you hold a dinner knife. Neither is wrong. Try both for a minute and use whichever feels steadier. Rest the slip knot loop on the shaft of the hook, just behind the throat, and pinch the tail of the knot between the thumb and middle finger of your non-hook hand.
Step 3: Position the yarn. Drape the working yarn (the strand going back to the ball) over the index finger of your non-hook hand, then tuck it under your middle finger to keep gentle tension. This finger controls how much yarn feeds to the hook. Too tight and your chains will be tiny and stiff. Too loose and they will be floppy and uneven. Aim for a light, even pressure, like holding a baby bird. Firm enough that it does not escape, gentle enough that it can still breathe.
Step 4: Yarn over. With the hook in front of the working yarn, rotate the hook slightly so the yarn catches in the throat of the hook, wrapping from back to front. This motion is called a yarn over, abbreviated yo. It is the heartbeat of crochet. Almost every stitch you ever learn starts with a yarn over.
Step 5: Pull through. Draw the hook, carrying the wrapped yarn, back through the loop that is already on the hook. One smooth motion. Congratulations, you just made your first chain stitch. You should see a neat little V shape below the hook, and one loop remaining on the hook, ready for the next stitch.
Step 6: Repeat. Yarn over, pull through, yarn over, pull through. Settle into a rhythm and make twenty or thirty chains. Do not worry about perfection. Your first chain row will look uneven, and that is completely normal. Mine looked like a roller coaster. The evenness comes with practice, usually faster than you expect.
How to Count Your Chains
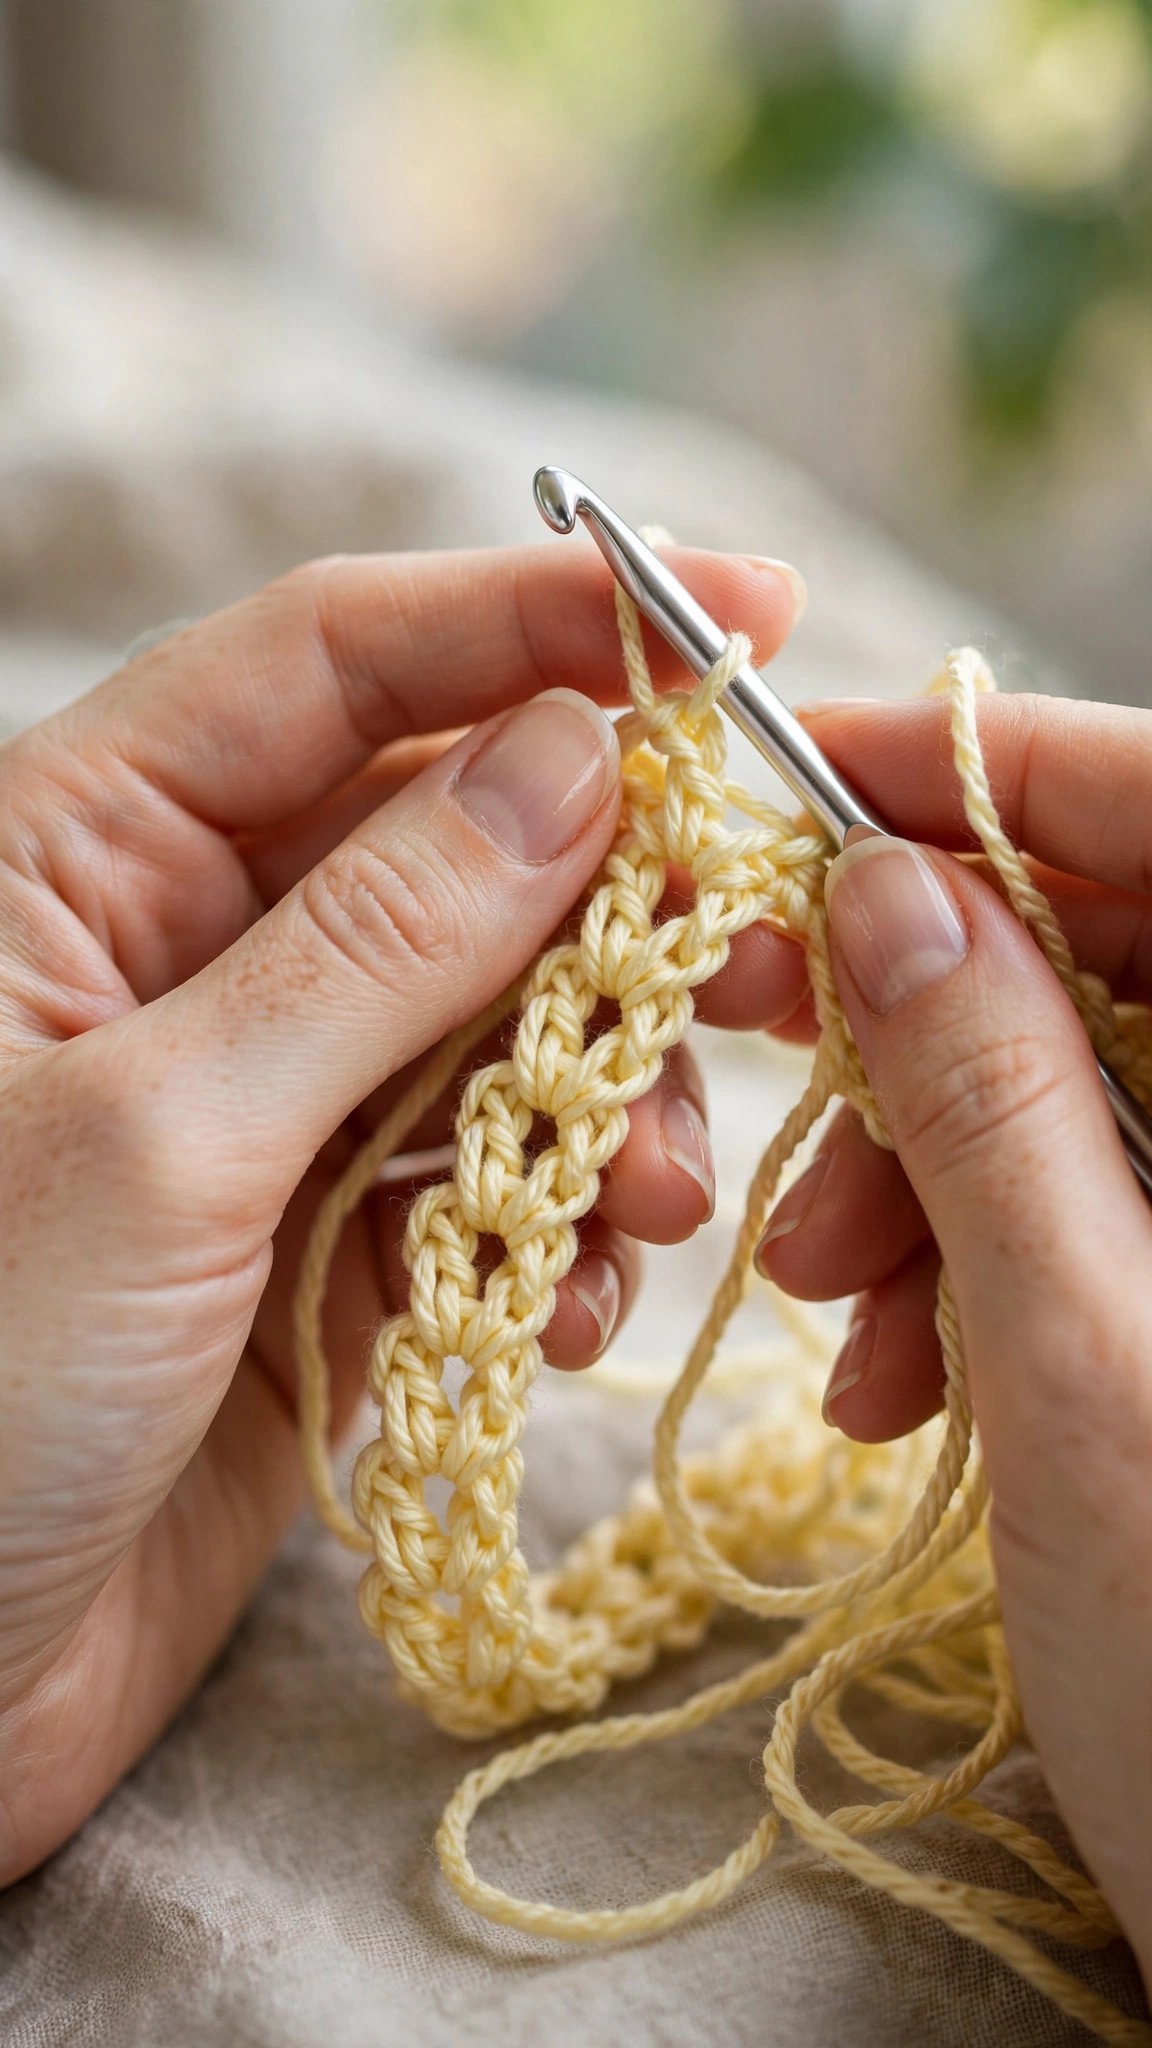
Counting chains correctly saves you from starting projects with the wrong number of stitches, which is one of the most common beginner frustrations. Look at your chain and find the V shapes. Each V is one chain stitch. The loop currently on your hook does not count, and neither does the slip knot where you started. So if a pattern says “ch 20,” you make the slip knot, then count 20 V shapes below the hook.
A helpful trick is to count in groups of five or ten and place a stitch marker every ten chains. When you reach a nice long chain, gently tug the tail end to straighten it, being careful not to twist it. Chains love to twist, and a twisted foundation chain makes the first row of stitches much harder than it needs to be.
Common Chain Stitch Mistakes
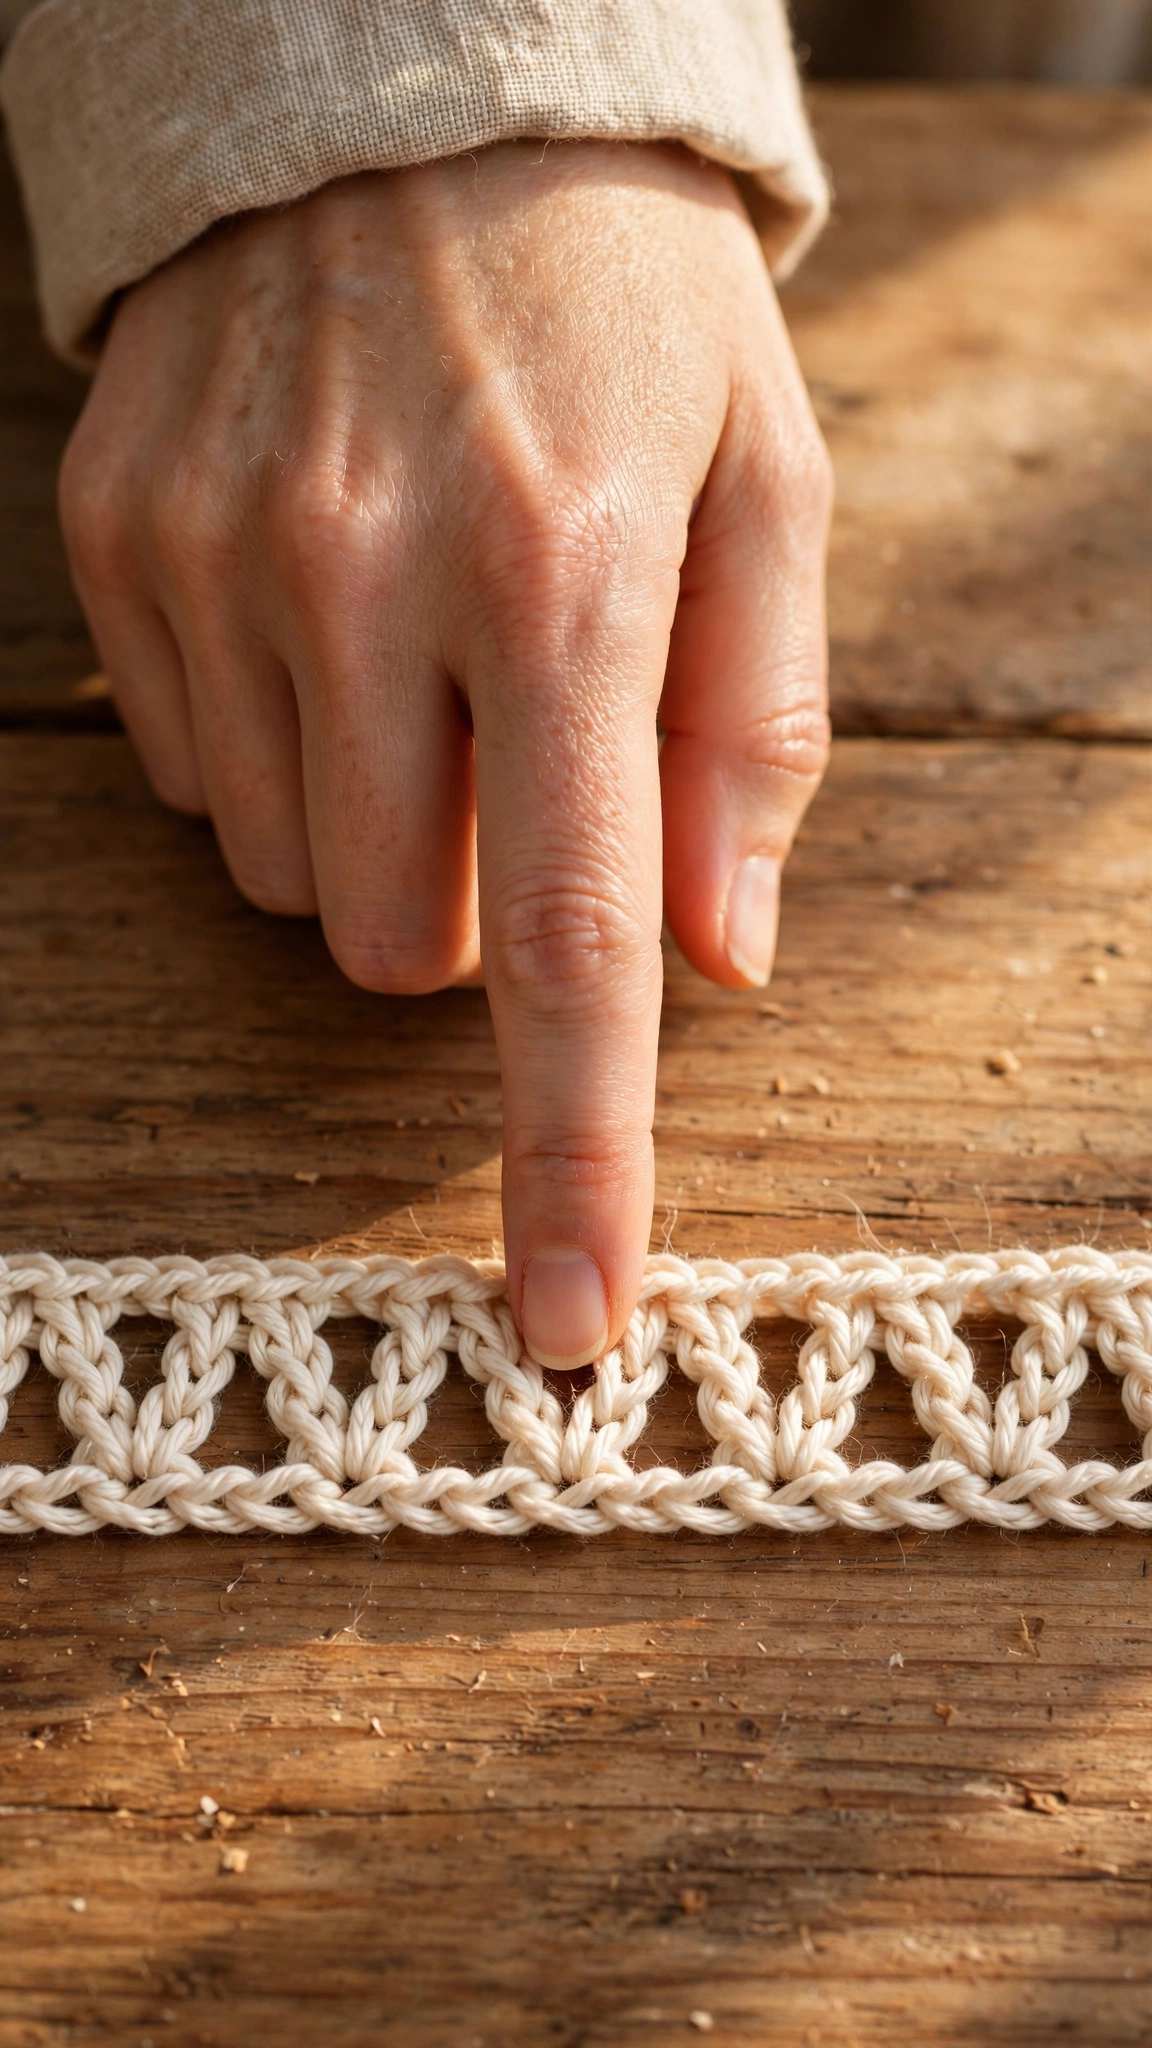
Chains that are too tight. This is the number one beginner issue. If you can barely get the hook through the loops, your tension is too tight. The fix is simple: consciously relax the yarn-holding hand and let the yarn feed a little more freely. Some beginners find it helps to go up one hook size while learning, then switch back once the motion feels natural.
Chains that are too loose and loopy. The opposite problem. If your chain looks like a string of saggy loops instead of tidy Vs, add a touch more tension with your yarn hand. You can also try wrapping the yarn around your pinky finger for extra control.
Twisted chains. As your chain grows, it wants to spiral. Pause every ten stitches or so, hold the chain up, and let it untwist naturally. Starting your first row of stitches into a twisted chain is a recipe for frustration, so sort it out before you move on.
Losing count. Everyone does this. Use stitch markers every ten chains, count out loud, or count in two passes. There is no prize for counting a forty-chain foundation in your head on the first try.
Tips for Beautiful, Even Chains
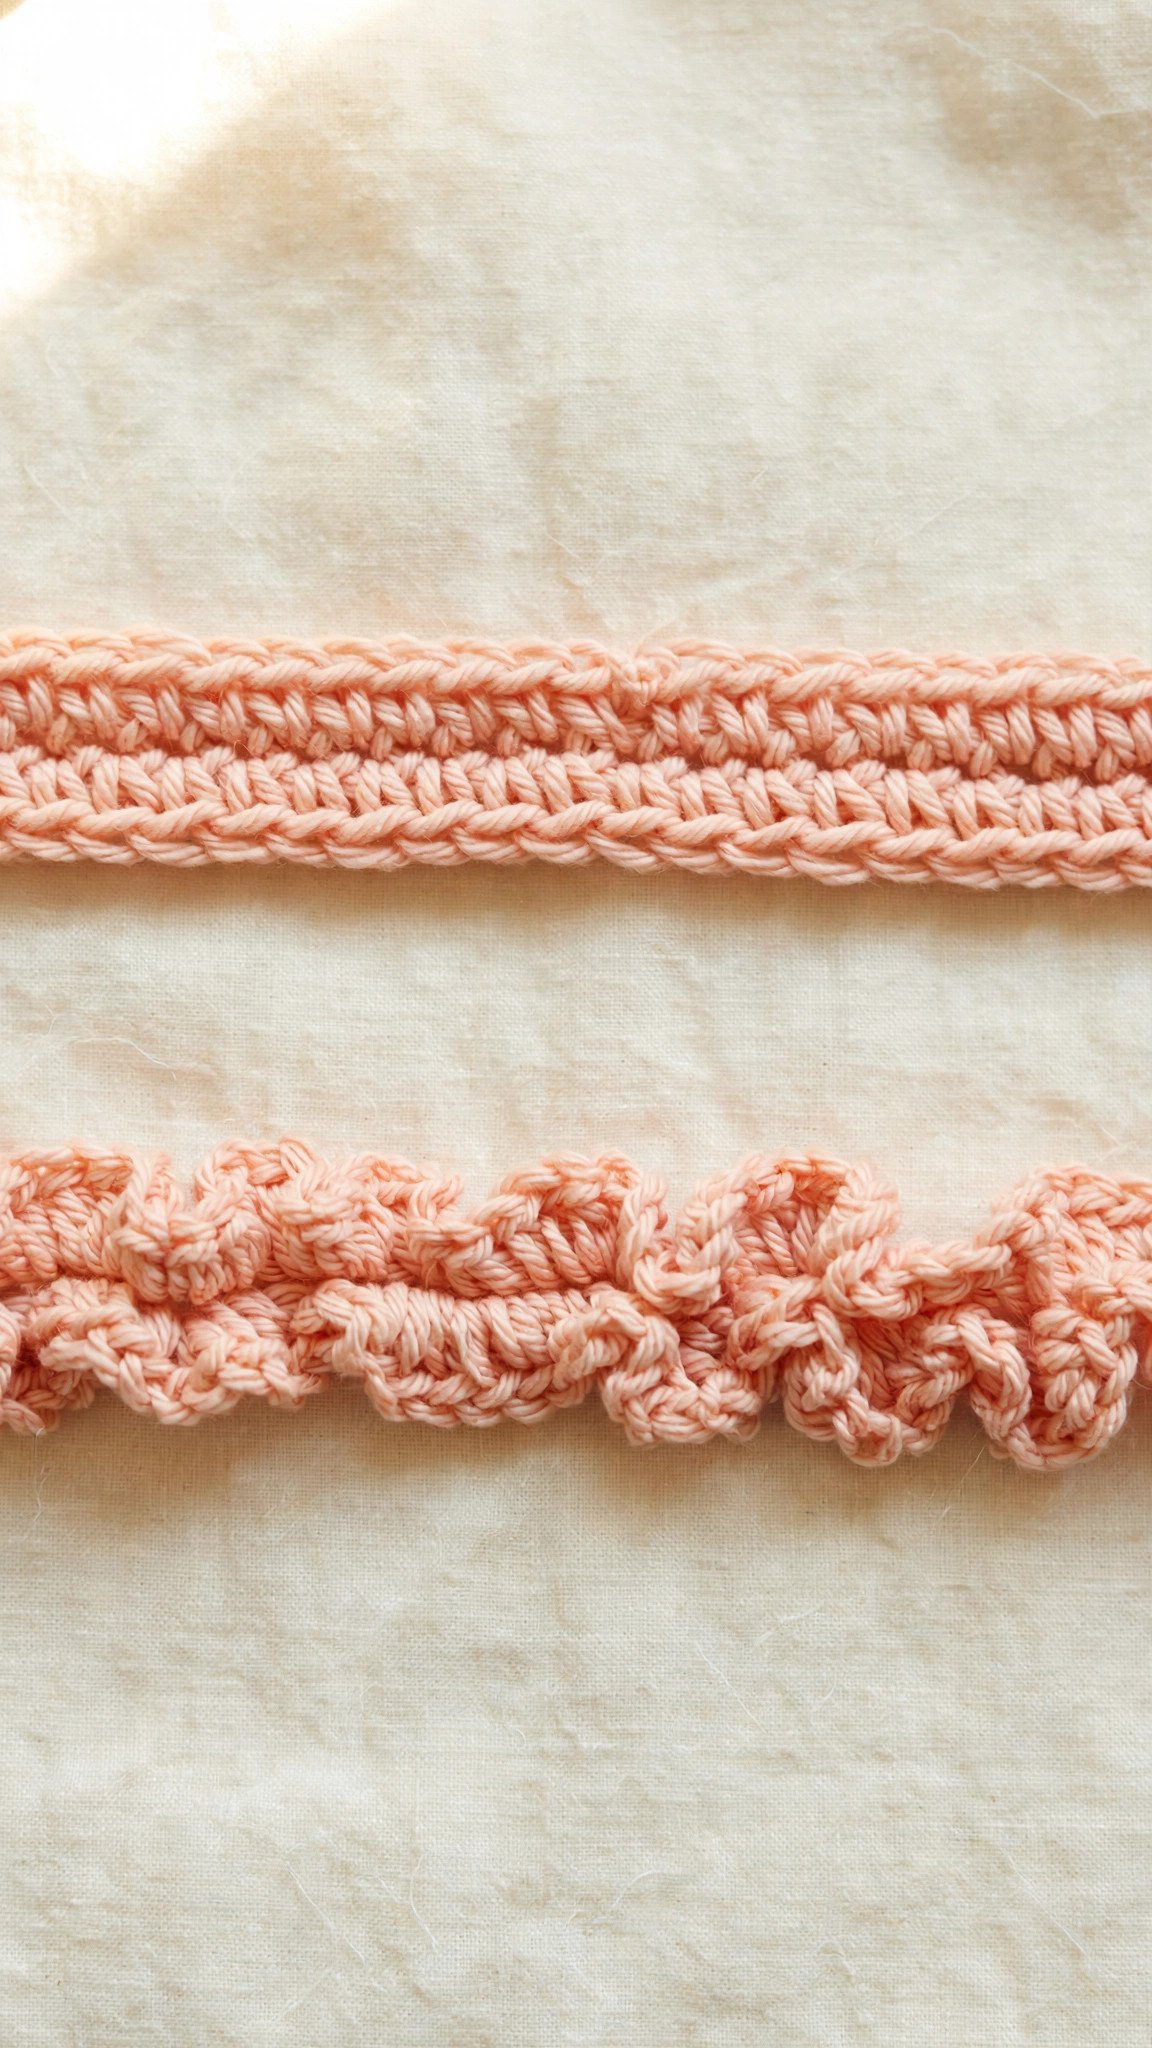
Keep your hook in the same part of the stitch every time. The shaft of the hook, the straight part behind the throat, determines the size of each loop. If you work some stitches on the thin tip and others on the thick shaft, your chains will be uneven no matter how steady your tension is.
Let the hook do the turning, not your wrist. Big wrist movements tire your hand and make stitches irregular. Small, economical motions with the fingers give you the most control. If your hand cramps, put the work down, stretch your fingers, and come back in five minutes. Tension problems often disappear after a short break because your hand was simply tired.
Practice chains are never wasted. Make a long chain, unravel it, and make it again. Yarn is reusable, and every repetition trains your muscle memory. I made chains while watching television for a full week before I tried my first single crochet row, and I have never regretted that slow start.
What to Make With the Chain Stitch
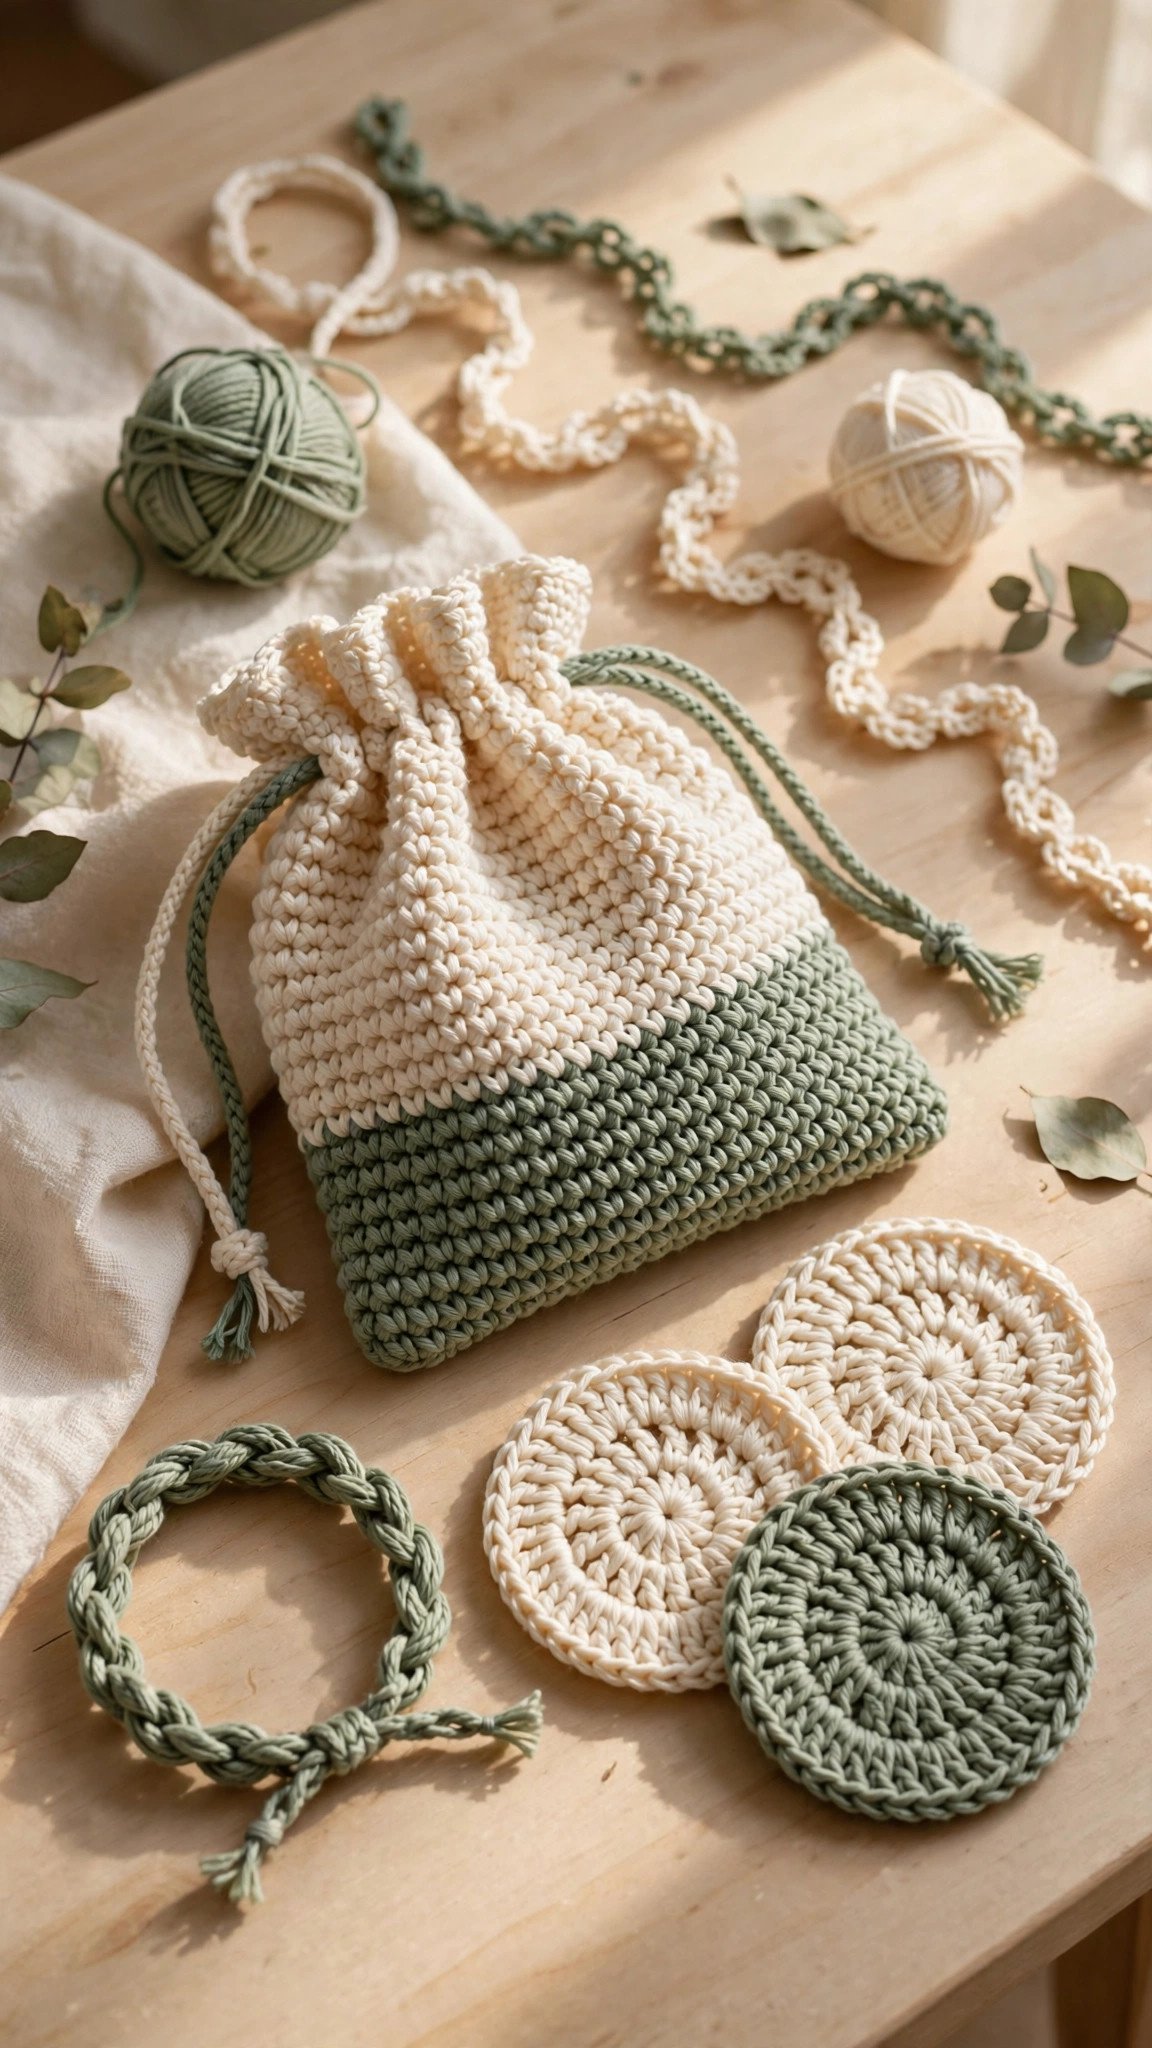
The chain stitch is not just a starting row. Whole projects can be built from chains. A long chain folded and stitched becomes a simple bracelet or headband. Chains worked in the round make coasters and placemats. Lacy shawls and market bags use chains as open, airy spaces between fancier stitches.
Chains also become the practical details that finish a project: drawstrings for bags, ties for baby bonnets, straps for tops, and hanging loops for ornaments. Once you can chain confidently, try a pattern that starts with a foundation chain and adds single crochet rows. That combination alone can produce dishcloths, scarves, and blankets, which means you are already a crocheter, not just a student.
Chain Stitch FAQ
How long does it take to learn the chain stitch? Most beginners make a recognizable chain within fifteen minutes and a reasonably even one within a few days of short practice sessions. It is the fastest stitch to learn and the foundation for everything else.
Why does my chain keep twisting? Twisting is normal and happens to everyone. The chain naturally spirals as it grows. Pause regularly, hold it up, and let it unwind. Working with the chain draped over your lap instead of dangling in the air also helps.
What does “ch” mean in a crochet pattern? It is the abbreviation for chain stitch. “Ch 3” means make three chain stitches. You will also see “ch-sp” for chain space, which means the gap created by chains in lacy patterns.
Can I use the chain stitch on its own for a project? Yes. Chains can be coiled into baskets and rugs, braided into jewelry, or used as decorative cord. They are also the basis of crocheted lace when combined with taller stitches.
My chains are a different size than the pattern expects. What should I do? Chain size is controlled by your hook and your tension. If your chains are consistently tight, try a hook one size larger for the foundation chain only, then switch to the pattern hook for the rest. This is a trick even experienced crocheters use.
The chain stitch may look simple, but it is doing quiet, important work in every project you will ever make. Practice it until the motion feels boring, because boring means your hands have learned it. Then come back and learn the single crochet stitch, and watch that little chain turn into real fabric. Happy stitching.
Written by Wren
I am Wren, and I believe crochet should be fun from the very first loop. I test every tutorial and pattern here myself before it lands on Loop & Lark.