

Every amigurumi plushie, every top-down hat, and every granny square starts the same way: with a tiny, adjustable loop called the magic ring. Also known as the magic circle or adjustable loop, the magic ring lets you start crocheting in the round with no hole in the center. Pull the tail, and the opening cinches completely shut. I am Ashley, and I will be honest with you: the magic ring frustrated me for weeks when I was learning. It slipped, it tangled, and mine kept falling apart. Then one day it clicked, and now I can make one in about ten seconds. This tutorial will get you to that click faster than I did, with two methods to try and fixes for every common problem.
You will see the magic ring abbreviated as MR in patterns, or written out as “magic ring.” Some older patterns say “ch 2, work 6 sc in 2nd ch from hook” instead, which is the alternative starting method. The magic ring gives a tighter, cleaner center, which is why modern designers prefer it, especially for stuffed toys where you do not want filling peeking through.
What You Will Need
For practice, use a smooth medium-weight yarn in a light color. Avoid fuzzy or dark yarn while learning, because you need to see the loop structure clearly. A 5 mm (H-8) hook with worsted weight yarn is a comfortable combination. The magic ring works with any yarn and hook, but learning is easiest when you can see what you are doing.
That is genuinely all you need. No stitch markers yet, no special tools. Just yarn, a hook, and a little patience for the first few attempts. Keep your scissors nearby because you will want to practice the ring several times, and reusing the same yarn tail gets fuzzy fast.
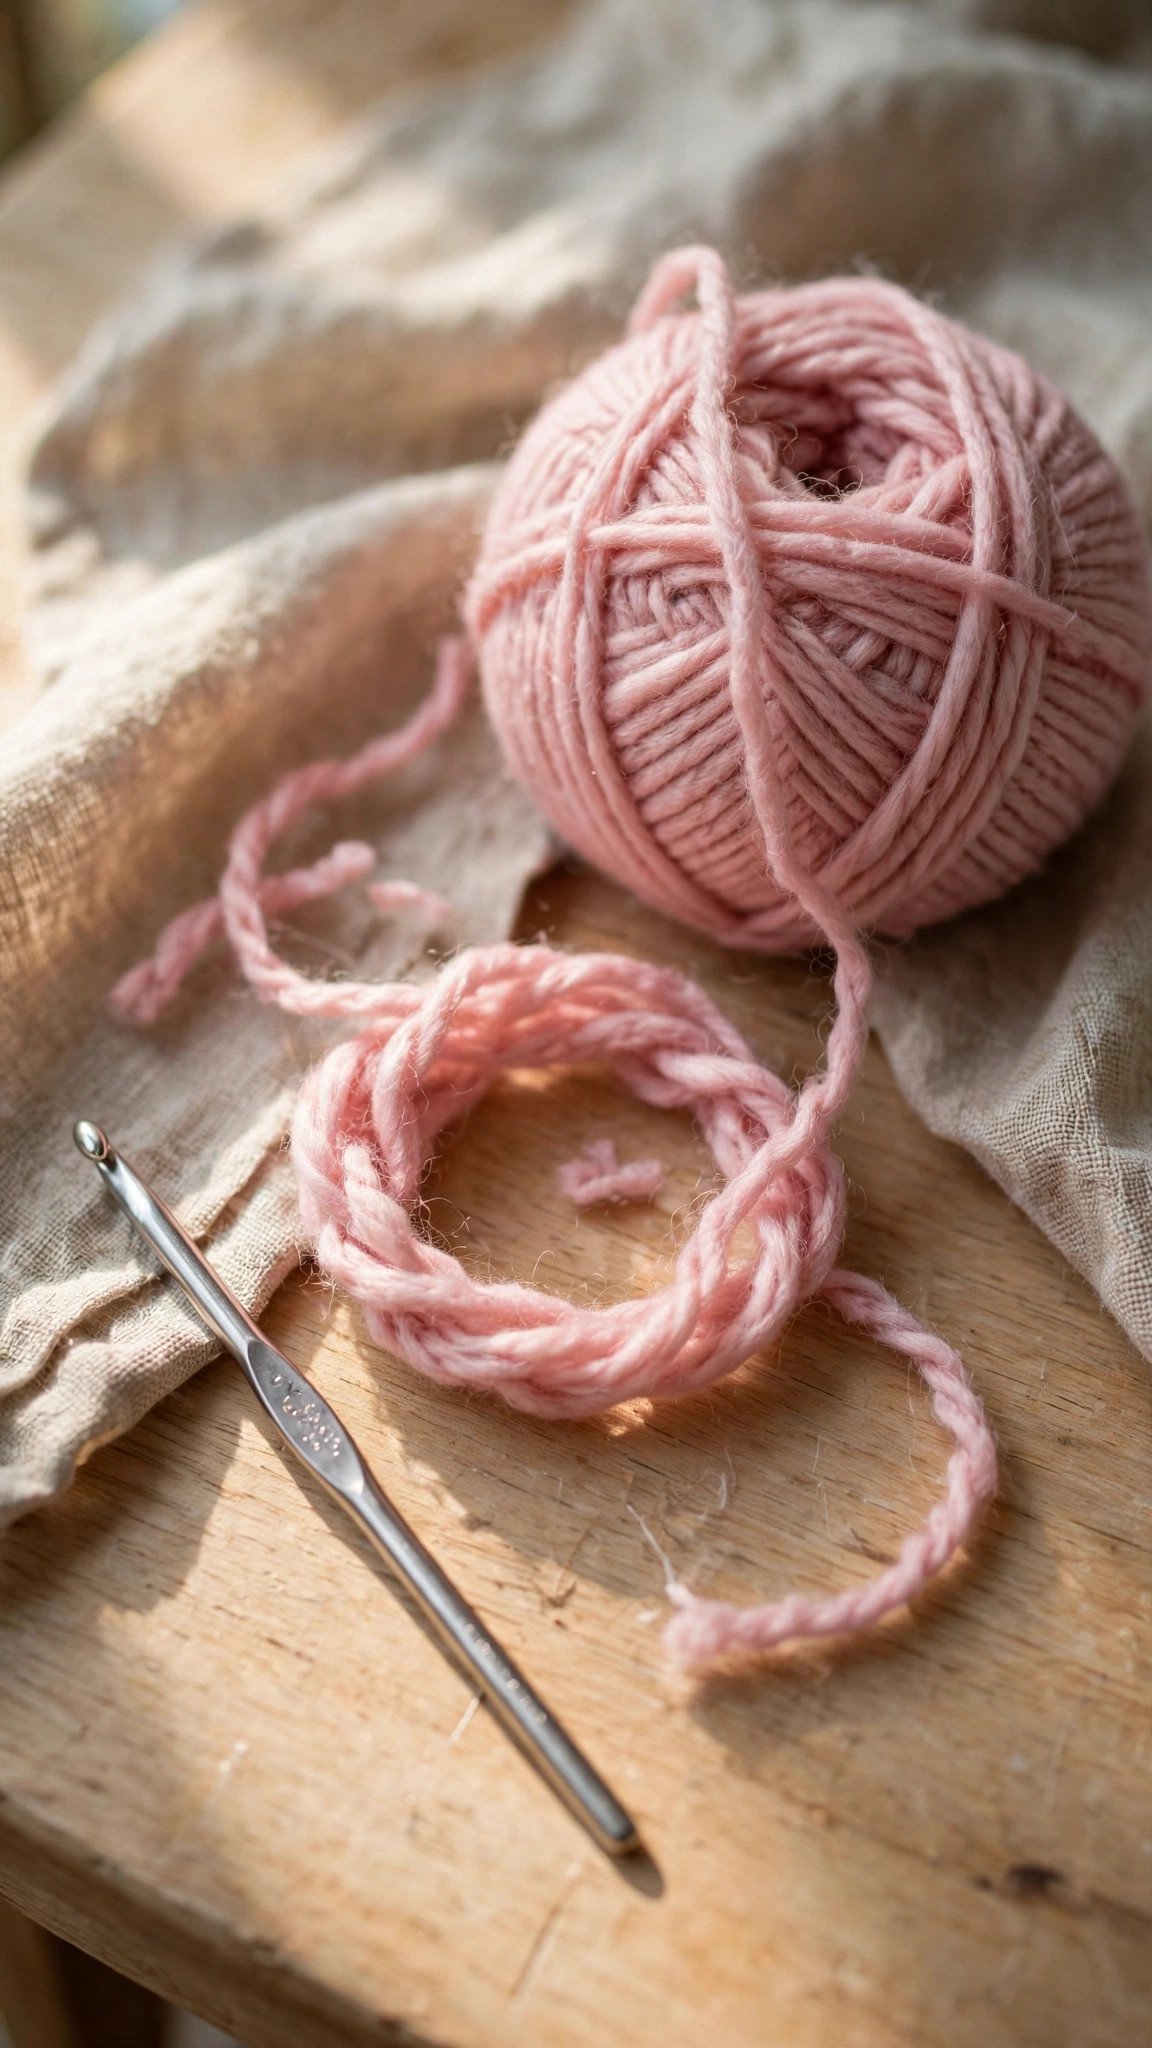
Method 1: The Classic Magic Ring, Step by Step
Step 1: Make a loop. Pull a few inches of yarn from the ball. Form a loop by crossing the working yarn over the tail, like making the start of a slip knot. Hold the crossing point firmly between the thumb and middle finger of your non-hook hand. The tail should hang down in front, and the working yarn should go up and back to the ball.
Step 2: Insert the hook. Push the hook through the center of the loop from front to back. Catch the working yarn (the strand going to the ball, not the tail) with the hook.
Step 3: Pull up a loop. Draw the working yarn back through the center of the loop. You now have one loop on the hook, and the original big loop is still held between your fingers. Do not let go of that crossing point. This is the moment most beginners drop everything, so keep pinching.
Step 4: Chain one to secure. Yarn over and pull through the loop on the hook, making one chain stitch. This little chain locks the ring so it cannot unravel while you work the first round. The ring is now secure and ready for stitches.
Step 5: Work stitches into the ring. For a standard amigurumi start, work 6 single crochet stitches into the center of the big loop, going under both the loop and the tail. Push the hook through the middle of the ring for each stitch. The stitches will slide around the loop, which feels strange at first. That sliding is normal and correct.
Step 6: Cinch it closed. Hold the stitches gently with one hand and pull the yarn tail with the other. Watch the center hole shrink and disappear. Pull firmly but not violently. Once closed, the ring is locked by the stitches and will not reopen. You just made a magic ring.
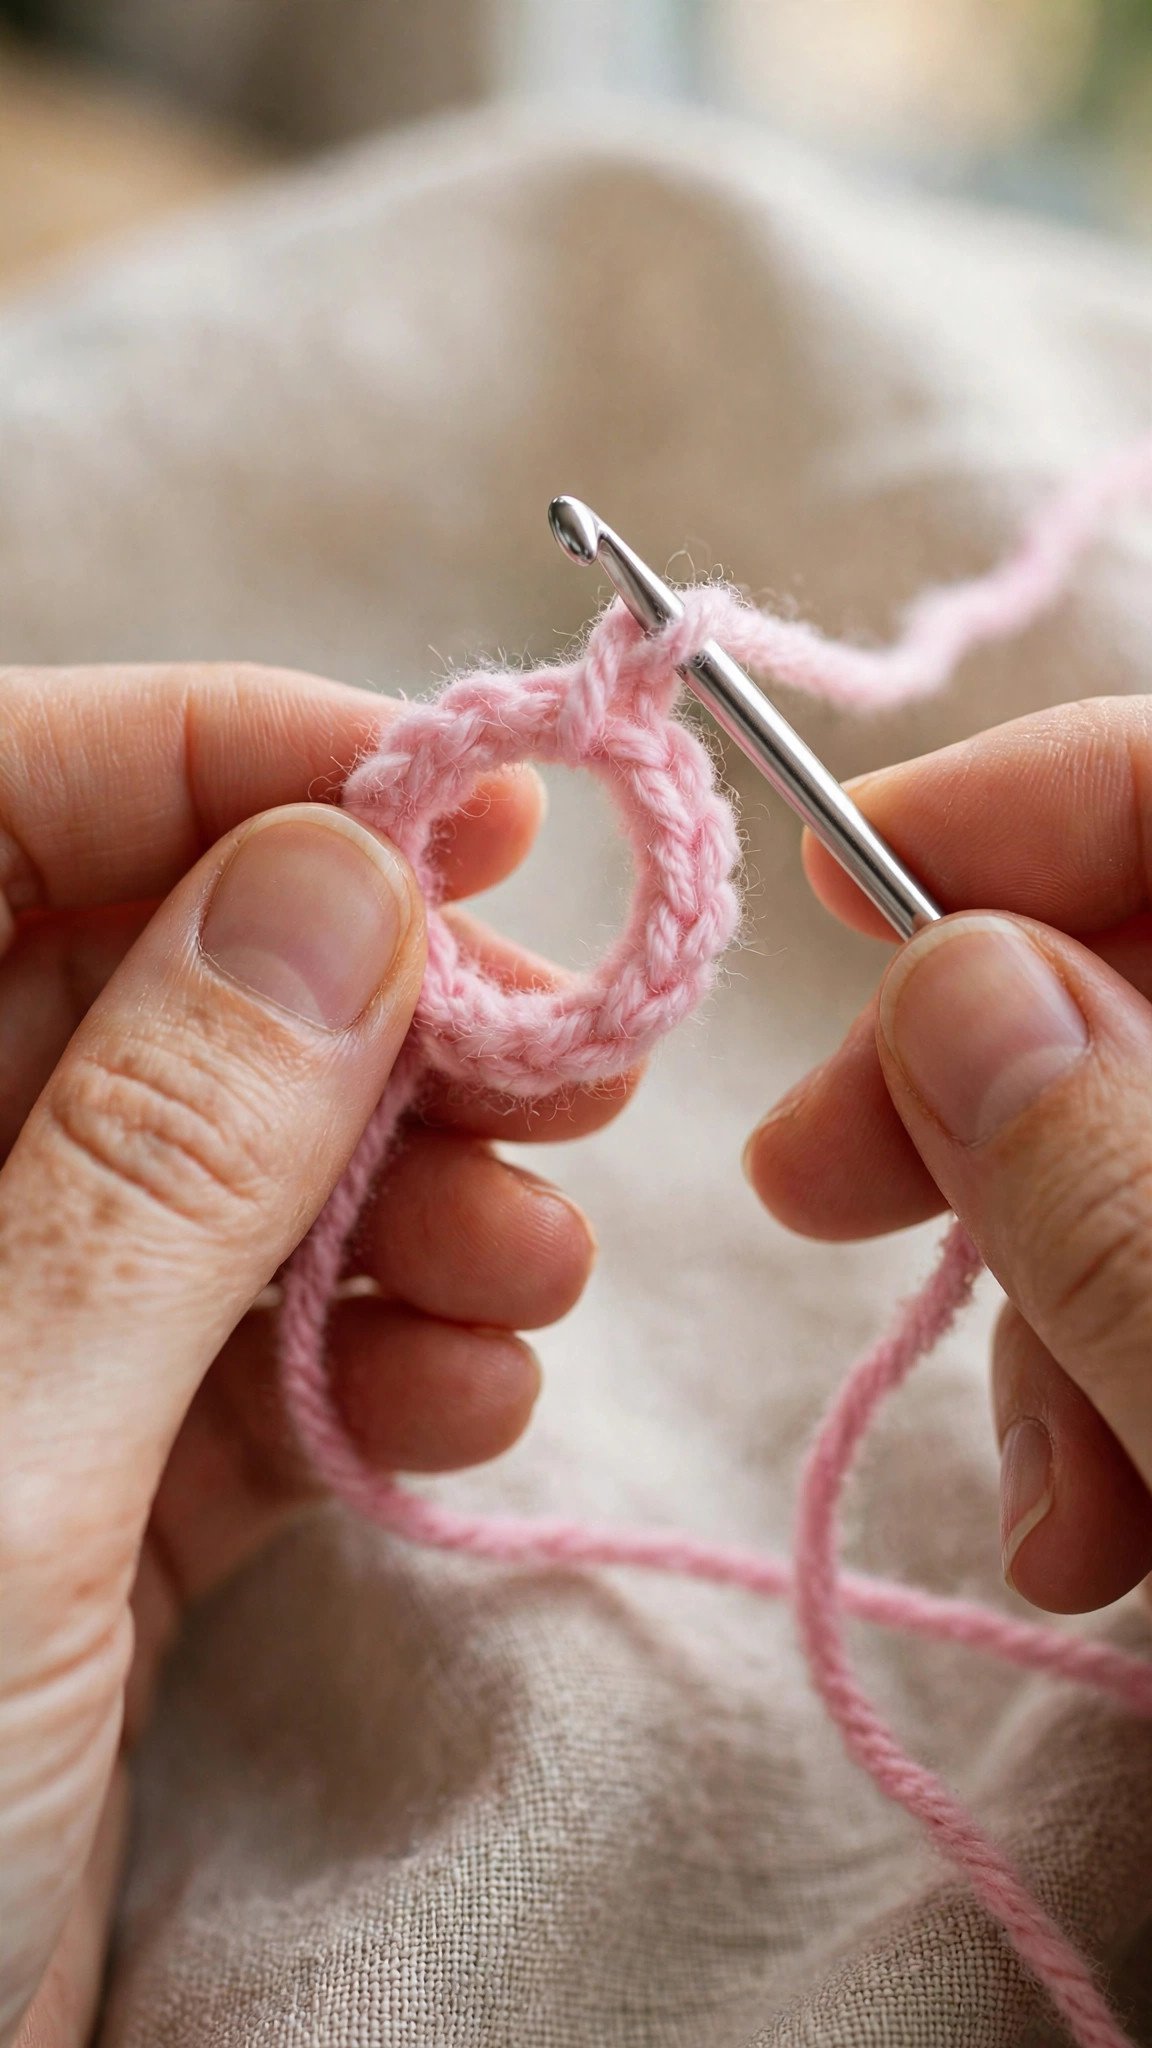
Method 2: The Double-Wrap Shortcut
If the classic method keeps slipping apart in your fingers, try wrapping the yarn around your fingers twice instead of once at the start. Make two loops instead of one, side by side, then work all the steps above into both loops together. The double wrap is grippier and more forgiving while you learn.
At the end, you will have two tails to deal with. Pull the first tail to close the inner loop most of the way, then pull the second tail to finish cinching. Some crocheters prefer this method permanently because the double loop feels more secure. There is no rule that says you must use the single-wrap version. Use whichever method your hands prefer.
Common Magic Ring Mistakes
The ring falls apart before you finish. This happens when the crossing point slips from your fingers during the early steps. The chain-one in Step 4 is what locks the ring, so the vulnerable moment is brief. Pinch firmly until that chain is made. With the double-wrap method, the ring holds itself together better.
Working into the wrong part. Your stitches must go into the center of the big loop, catching both the loop and the tail. If you work around only the tail, pulling the tail later will unravel the stitches. If you work around only the loop, the tail pull will not close the hole. Under both strands, every stitch.
A hole remains after cinching. If a small gap persists, you probably worked too few stitches into the ring or pulled the tail before finishing the round. Six single crochets usually fill the ring completely. You can also thread the tail onto a yarn needle and weave it through the base of the stitches to close any lingering gap.
The tail is too short to pull. Leave at least four to six inches of tail when you start. A stubby tail is hard to grip and may slip inside the work where you cannot reach it. When in doubt, leave more tail. You can always trim the excess later.
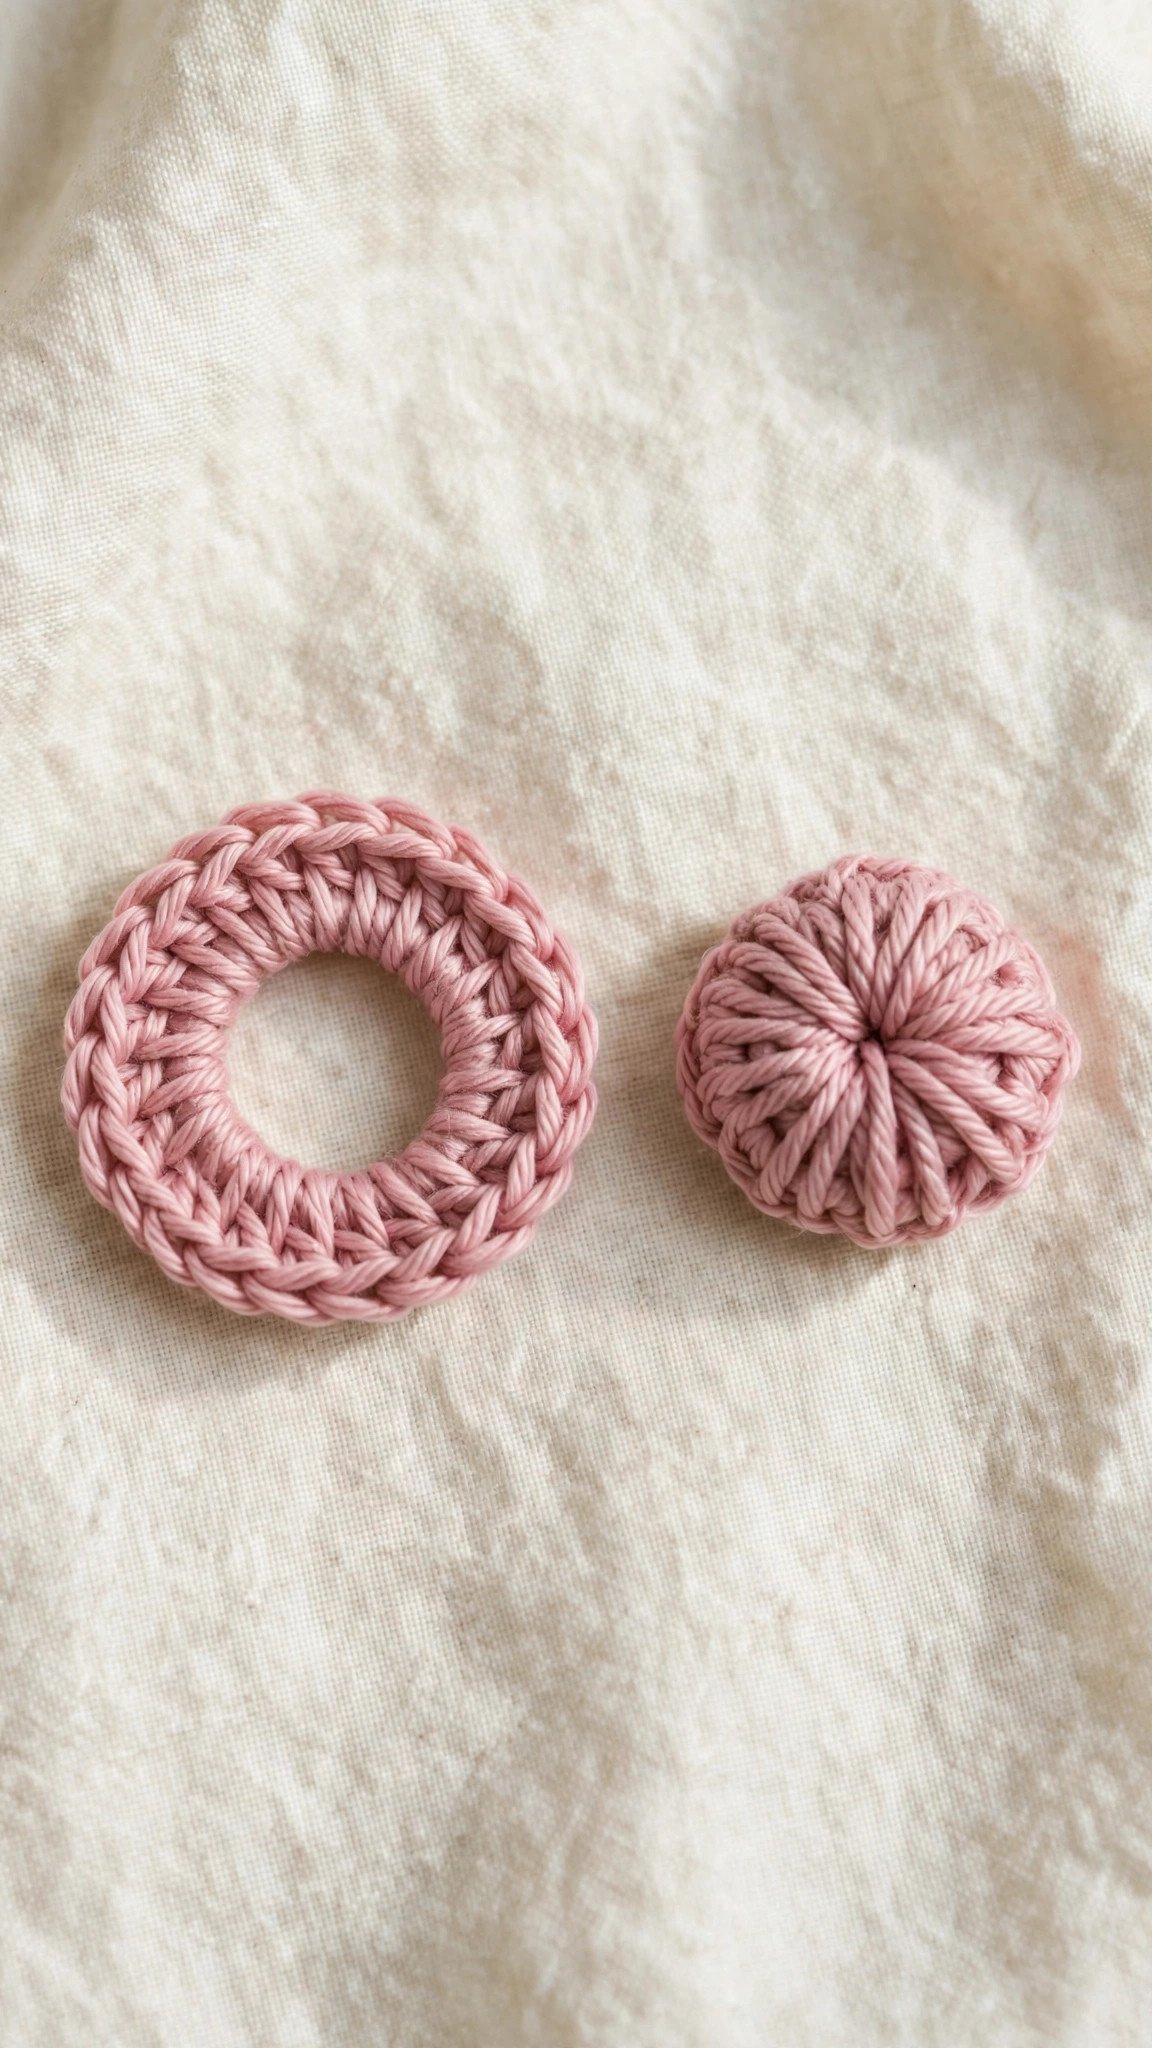
Tips for a Perfect Magic Ring
Practice the ring on its own before attaching it to a project. Make ten magic rings in a row, cinch each one, then unravel and repeat. This isolated practice builds the finger memory without the pressure of a pattern waiting. Ten minutes of this drill teaches more than an hour of struggling mid-project.
Keep the working yarn tension relaxed during the setup steps. A tight death grip makes the hook hard to maneuver through the loop. Once the securing chain is made, you can return to your normal tension for the stitches themselves.
For amigurumi, close the ring firmly and then weave the tail through the first round of stitches before trimming. Stuffed toys get squeezed and loved, and a well-secured tail means the center never reopens. This thirty-second step is the difference between a toy that lasts years and one that develops a hole.
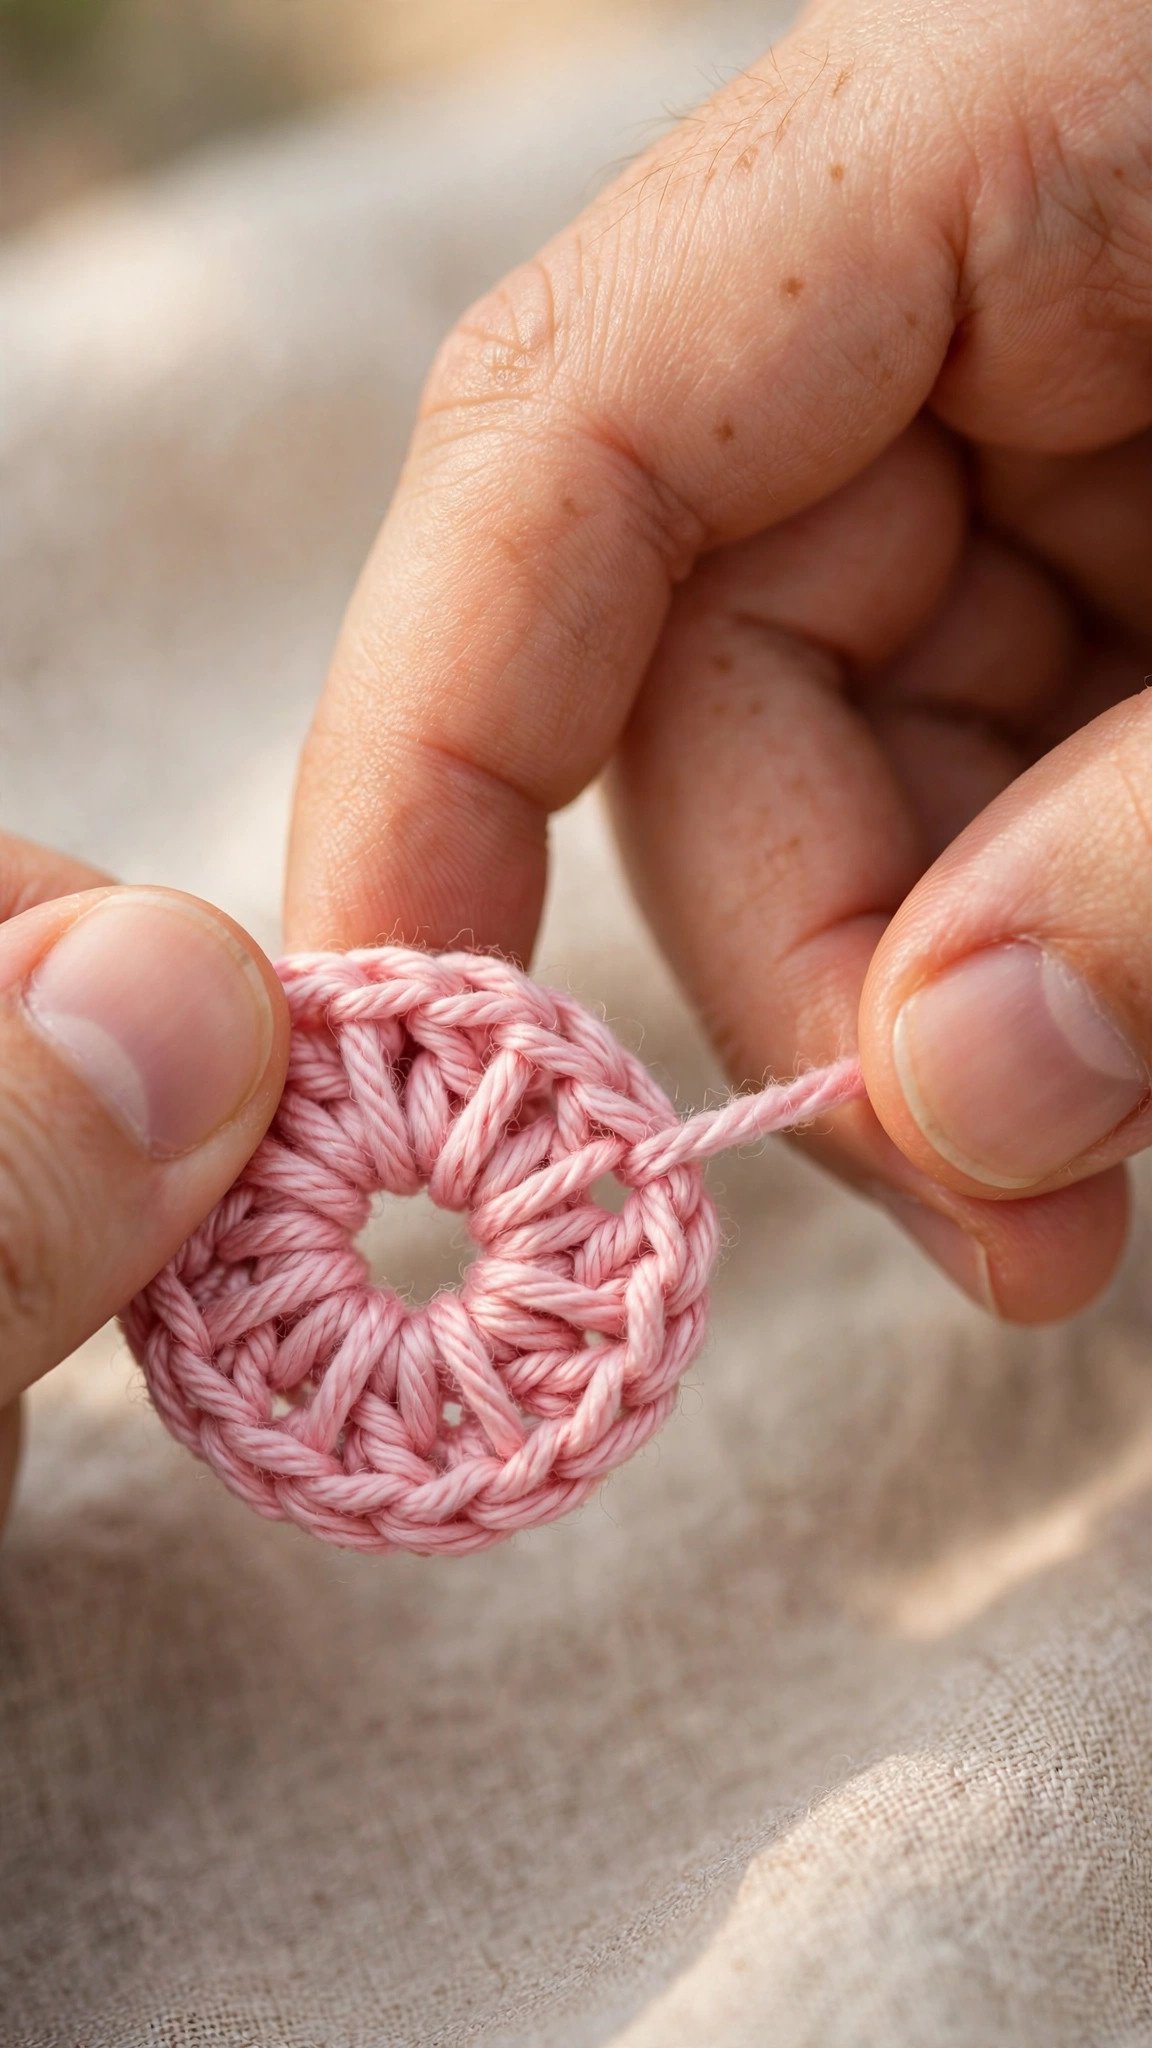
What to Make With the Magic Ring
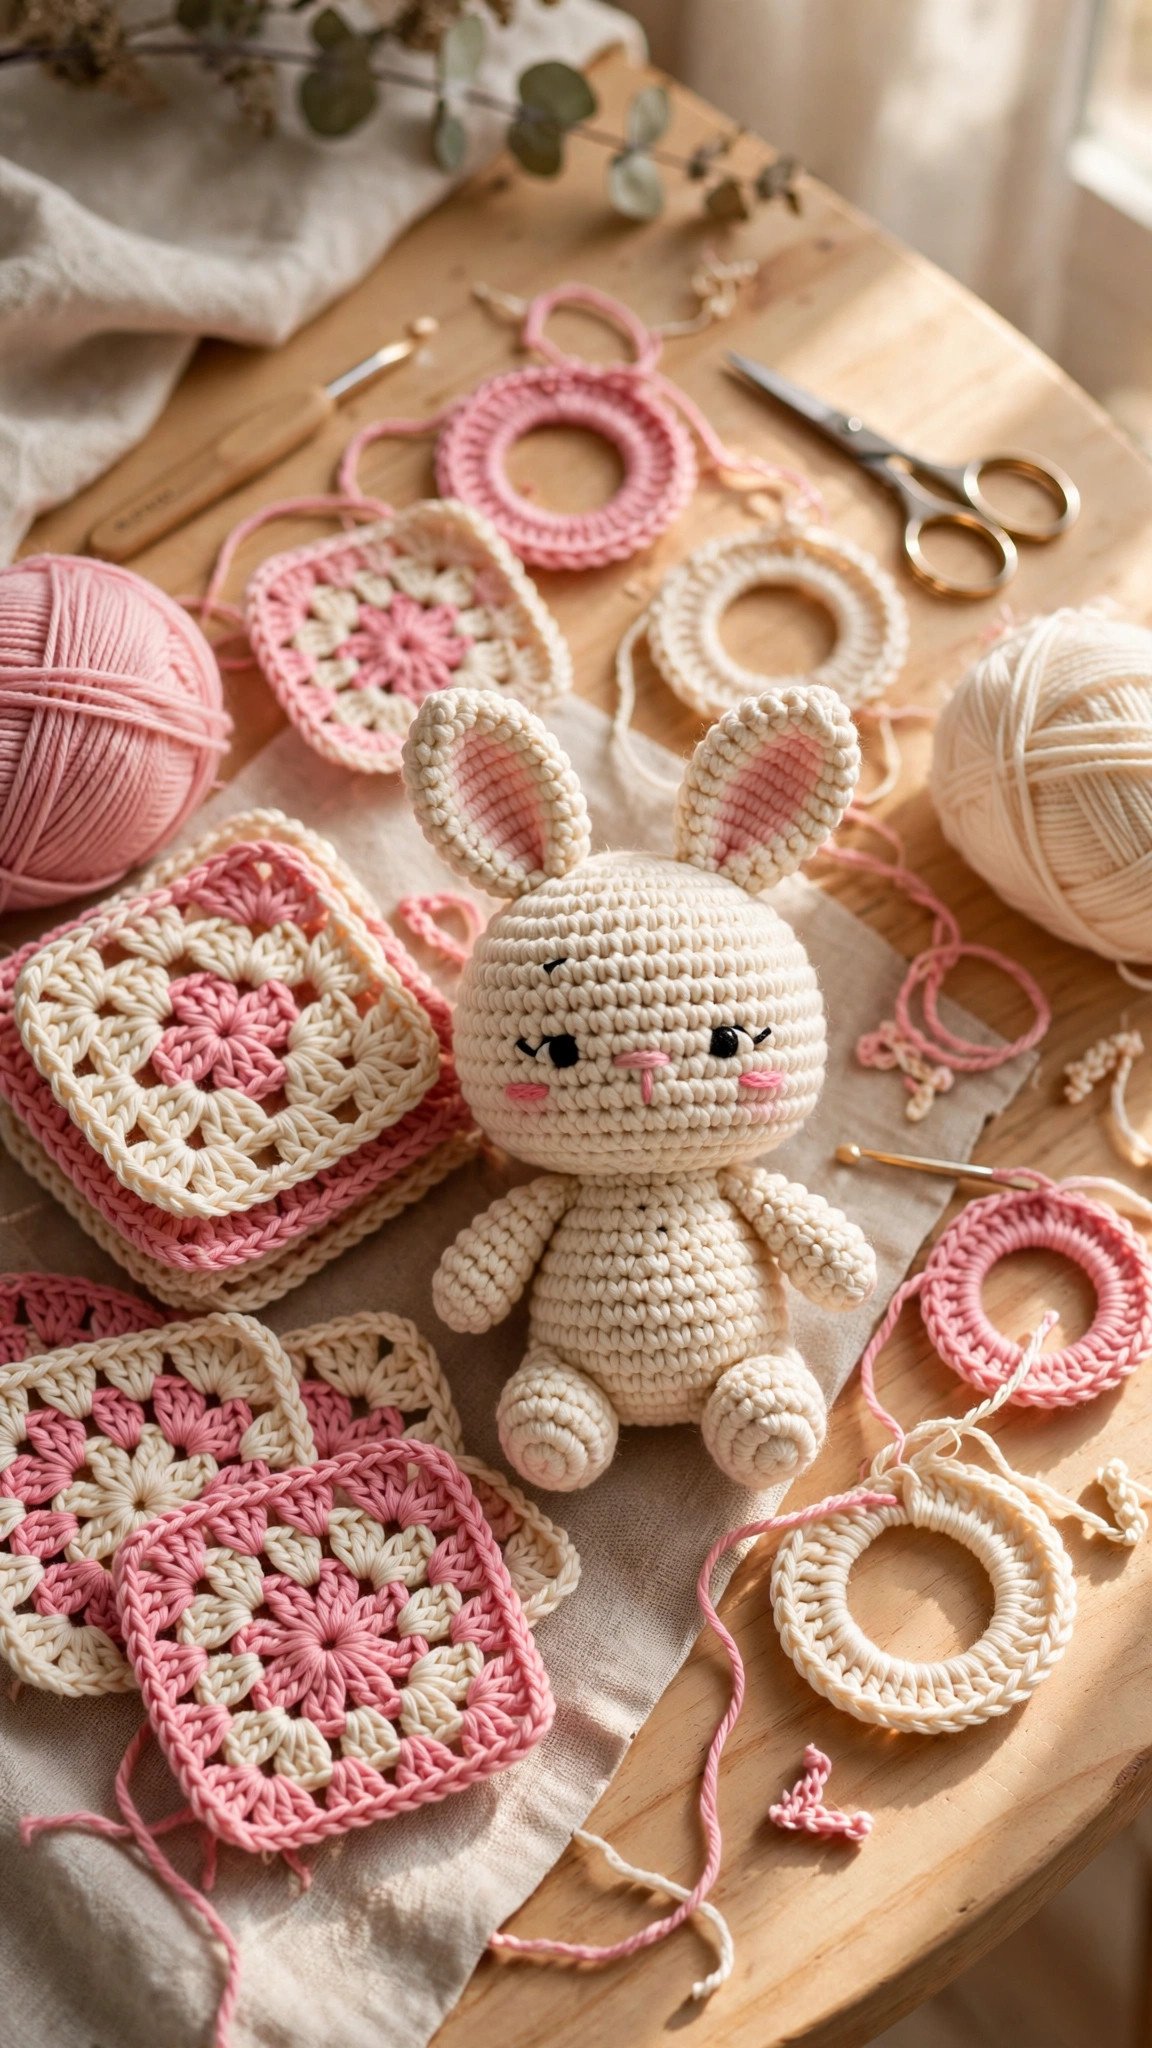
The magic ring is the gateway to amigurumi, the Japanese art of crocheted stuffed toys. Every teddy bear, bunny, octopus, and bee starts with a magic ring of six single crochets. If cute plushies are your goal, this technique is non-negotiable, and mastering it early will make every pattern easier.
Beyond toys, the magic ring starts hats worked top-down, granny squares, mandalas, coasters, and any motif that begins at the center and grows outward. Anytime a pattern says to crochet in the round without a hole, the magic ring is the intended start. Learn it once and you unlock a huge category of projects.
Magic Ring FAQ
What is the magic ring called in patterns? You will see MR, magic ring, magic circle, or adjustable loop. They all mean the same technique. Some patterns describe the alternative “chain 2” start instead.
Is there an easier alternative to the magic ring? Yes. Chain 2, then work your first-round stitches into the second chain from the hook. This leaves a small hole that you close by weaving the tail through the stitches. It is less elegant but perfectly functional, and many beginners start here before tackling the magic ring.
Why does my magic ring keep coming undone? The ring is only secured once you make the chain-one in Step 4. Before that, it is just a loop held by your fingers. Pinch firmly, work briskly through the setup steps, and consider the double-wrap method for extra grip.
How many stitches go into a magic ring? Six single crochets is the standard start for amigurumi and most round projects. Hats and motifs may start with eight, ten, or twelve stitches depending on the design. Your pattern will specify the number.
Can I use the magic ring with any stitch? Yes. While single crochet is most common, you can work half double crochet, double crochet, or any stitch into a magic ring. The ring is just the starting loop. The stitches you put into it are up to the pattern.
The magic ring is one of those techniques that feels impossible until it suddenly feels easy, and then you wonder what all the fuss was about. Give it ten focused practice rings, try both methods, and be patient with your fingers. Once it clicks, every amigurumi pattern becomes approachable. For the stitches you will work into that ring, my single crochet tutorial has you covered. Happy stitching.
Written by Wren
I am Wren, and I believe crochet should be fun from the very first loop. I test every tutorial and pattern here myself before it lands on Loop & Lark.