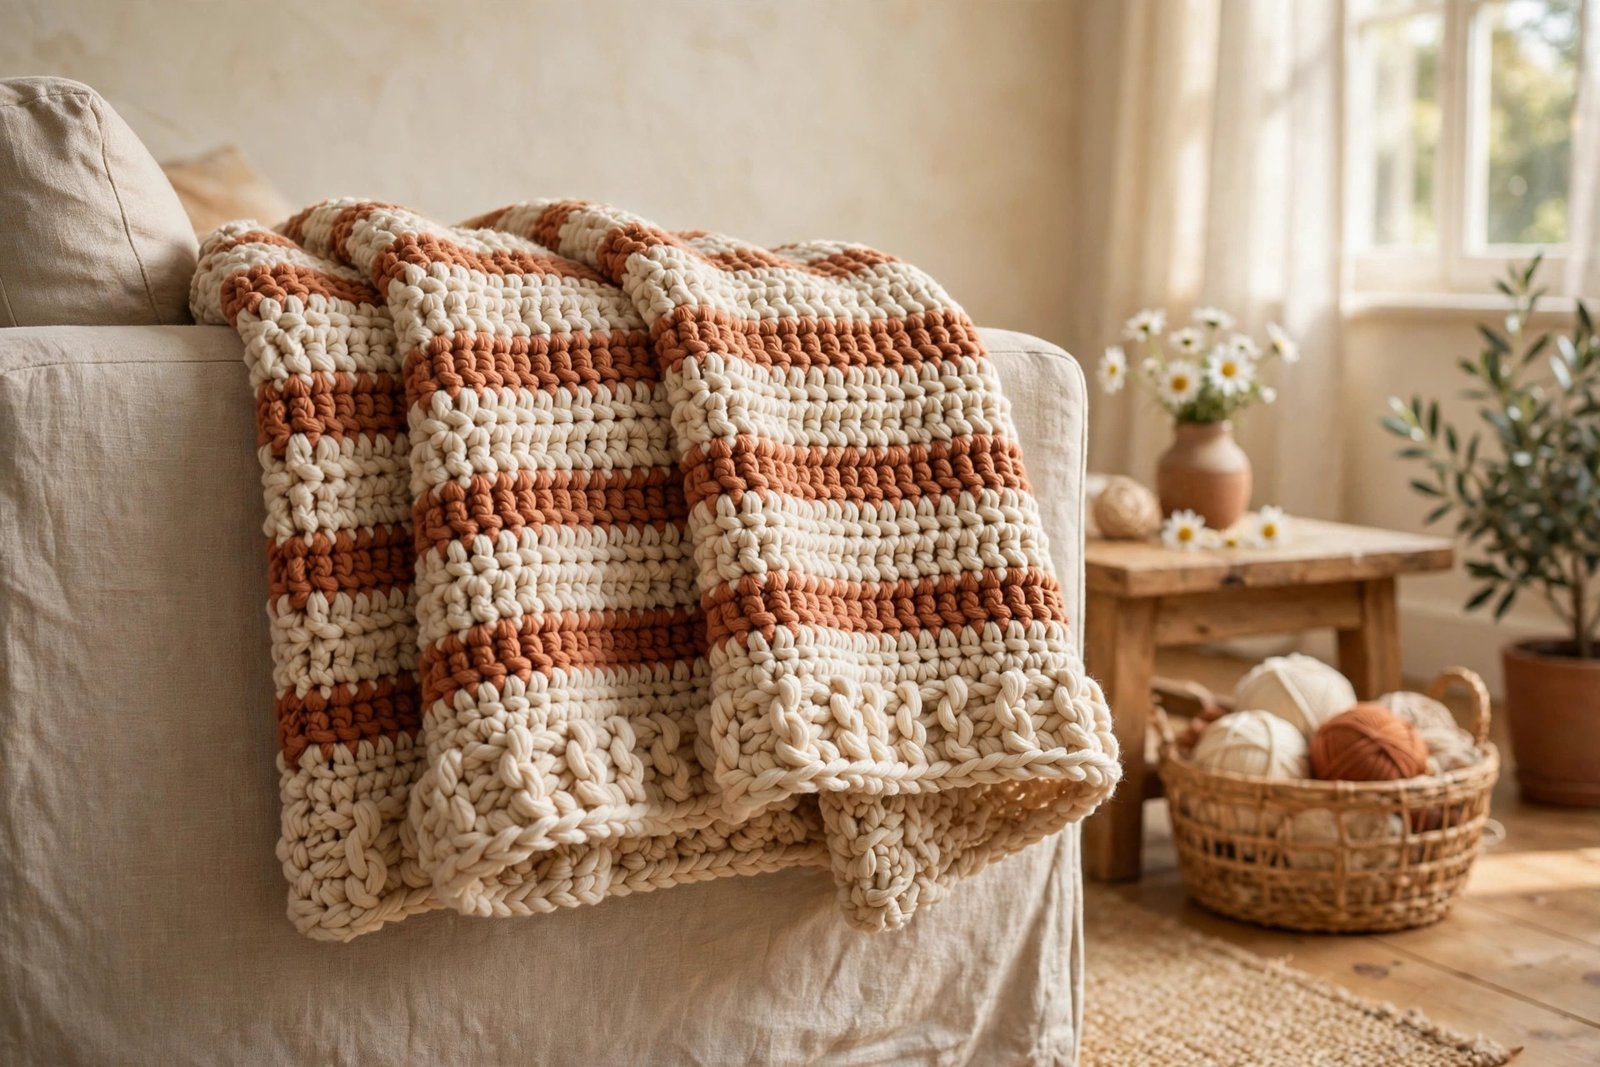
I still remember the exact moment my first blanket stopped looking like a sad scarf and started looking like, well, a blanket. It was a rainy Saturday, I was about thirty rows in, and I draped it over my knees just to see how it felt. It was chunky and warm and gloriously lopsided in places, and I loved it so much I immediately started planning the next one. That blanket taught me something every experienced crocheter knows: the throw blanket is the perfect beginner project. It is big enough to feel like a real achievement and simple enough that you can make it with exactly one stitch.
This pattern uses one repeating row of half double crochet, a slightly bigger hook than you would expect, and a yarn that does most of the pretty work for you. There is no shaping, no counting every row, no stitch dictionary to memorize. If you can chain and work a half double crochet, you can finish this throw. Let me show you how.
Why This Is the Perfect First Big Crochet Project
Here is the thing nobody tells you when you start crocheting: small projects are not always easier. A tiny amigurumi plush asks you to count constantly, work in the round, and keep tight tension. A throw blanket just asks you to show up and keep going. Every row is the same row, so your hands learn the motion fast, and by row twenty you will be crocheting while half-watching your favorite show.
Big yarn helps enormously. With bulky weight yarn and a 6.5 mm hook, each row grows almost half an inch tall, so you can see your progress after every evening session. That visible progress is pure fuel. How long to crochet a throw? I timed myself once: a comfortable pace of three or four relaxed evenings gave me a finished throw, and I am not a fast crocheter. I stop to fuss over my coffee. I rewind podcasts. You do not need to be fast; the stitch repeat does the work.
And because there is exactly one stitch involved, your tension evens out beautifully by the time you are done. Beginners often stress about tension, but nothing fixes wobbly tension faster than a hundred identical rows of practice. Think of this blanket as a masterclass disguised as a cozy weekend project.
What You Will Need: Yarn, Hook, and Notions
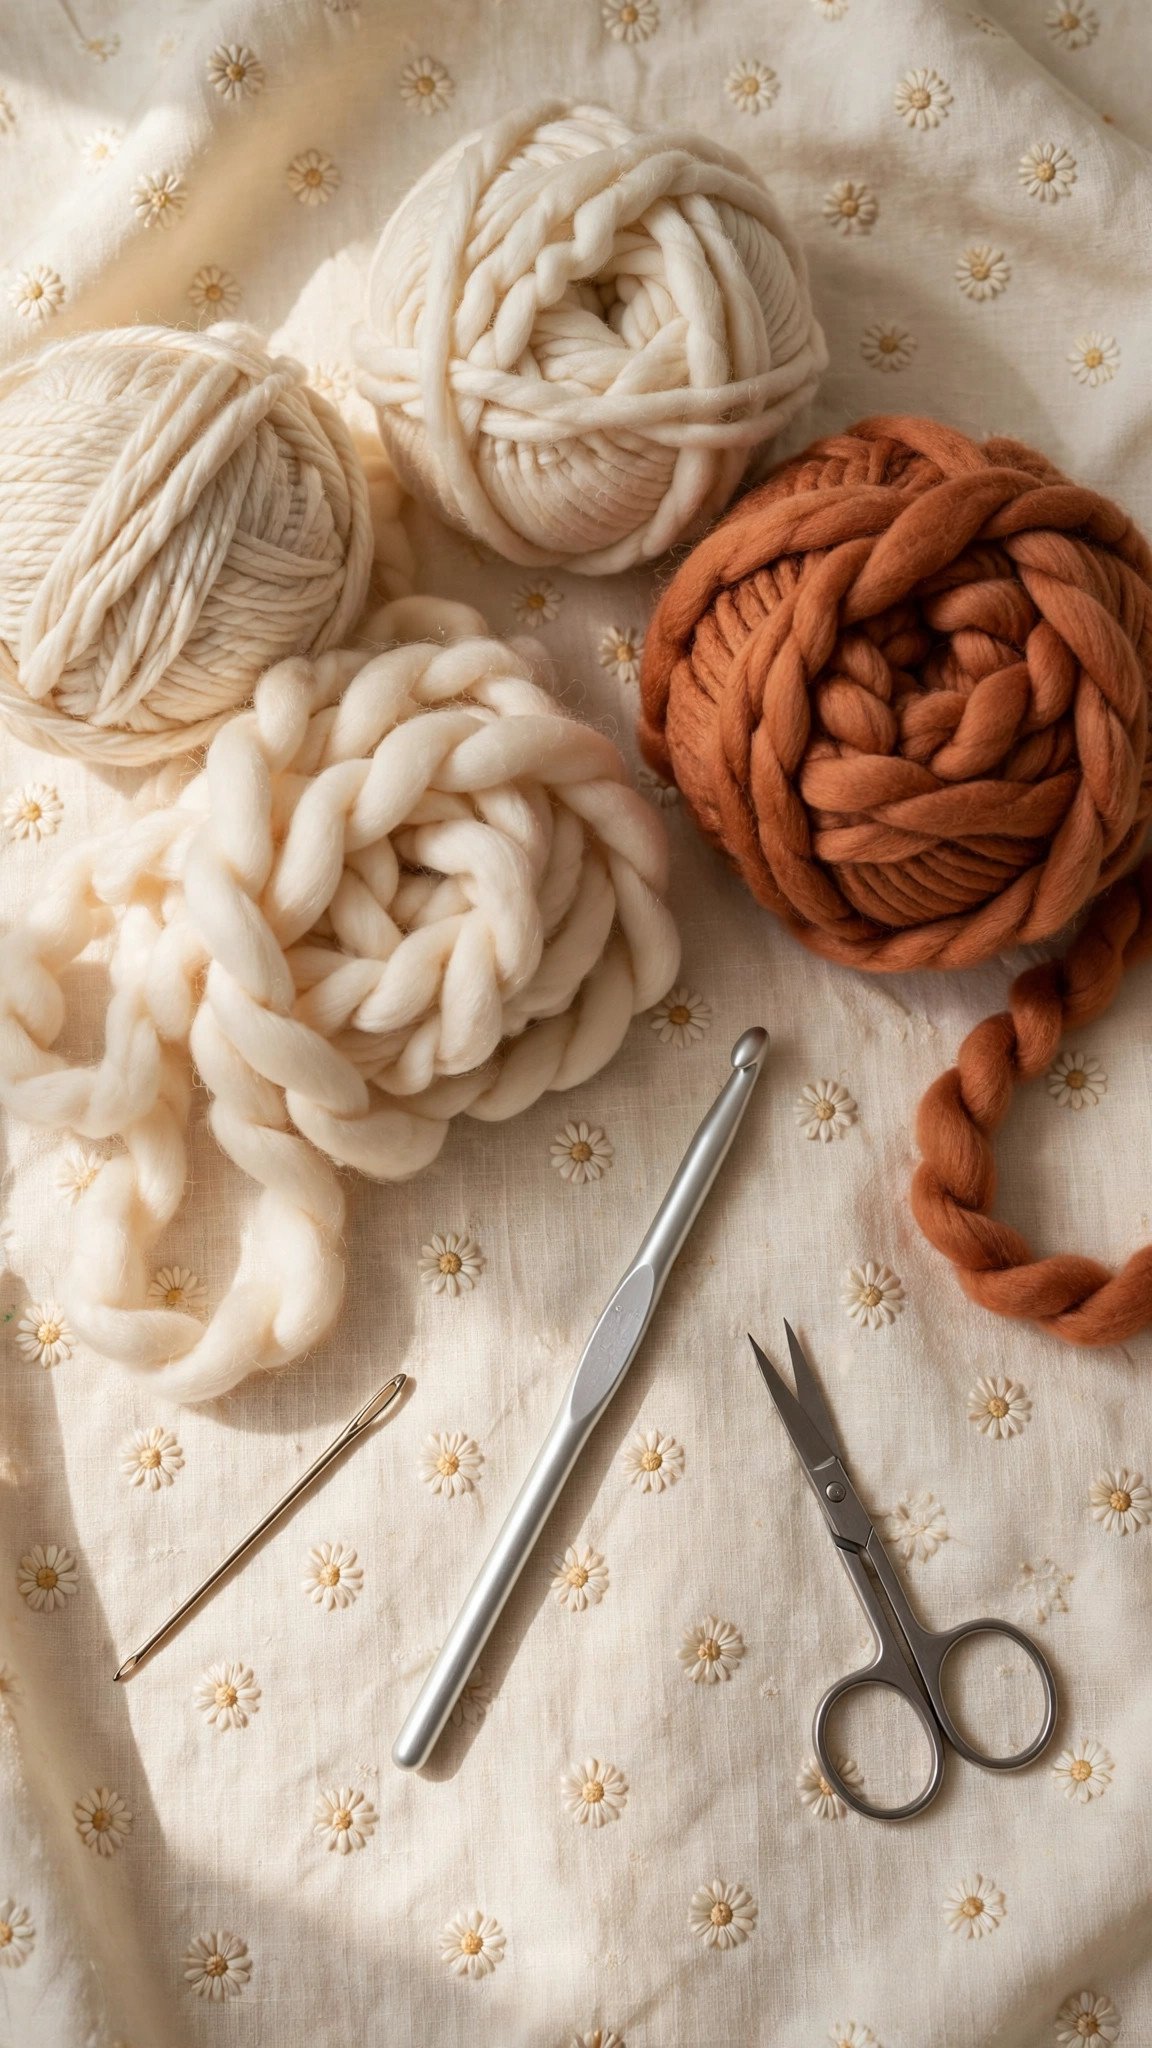
Gather your supplies before you start, because nothing kills crafting momentum like a midnight yarn run. For the throw shown here, which measures about 40 by 50 inches, you will need:
- Yarn: about 8 balls of Lion Brand Hue and Me Thick and Quick, a bulky weight 5 yarn with 137 yards per ball. That is roughly 1,050 yards total. I love this yarn for first blankets because it is soft, comes in grown-up color palettes, and hides small imperfections like a friend who only takes your good side in photos. Any comparable bulky weight yarn works too.
- Hook: one 6.5 mm hook, US size K-10.5. The yarn label suggests this size, and it gives the fabric a lovely soft drape. If you are a tight crocheter and your fabric feels like cardboard, try a 7 mm hook instead. Drape matters more than matching anyone’s gauge here.
- Stitch markers: two or three locking markers. These are the secret weapon for straight edges, and I will explain exactly how to use them below.
- Yarn needle and scissors: for weaving in ends and trimming tails when you change colors or finish.
Want it even chunkier? You can make the exact same pattern with Bernat Blanket yarn, a super bulky weight 6, and a 9 mm hook. Your finished throw will be extra squishy and work up even faster. Just know that super bulky yarn eats yardage, so plan on about 900 yards for the same size. If hook shopping feels confusing, my guide to the best crochet hooks for beginners walks through what actually matters.
Color Palette Ideas for Your Throw
Stripes, solids, or color blocks: this one-stitch pattern makes every option easy. For a modern look, try two rows of cream and two rows of terracotta all the way down. For a calm neutral throw, pair oat and warm gray. Feeling bold? A sage green base with mustard stripes is a Pinterest favorite for a reason. How much yarn for a throw in stripes? Plan on about 1,050 yards total for the 40 by 50 inch size, split roughly half and half between your two colors.
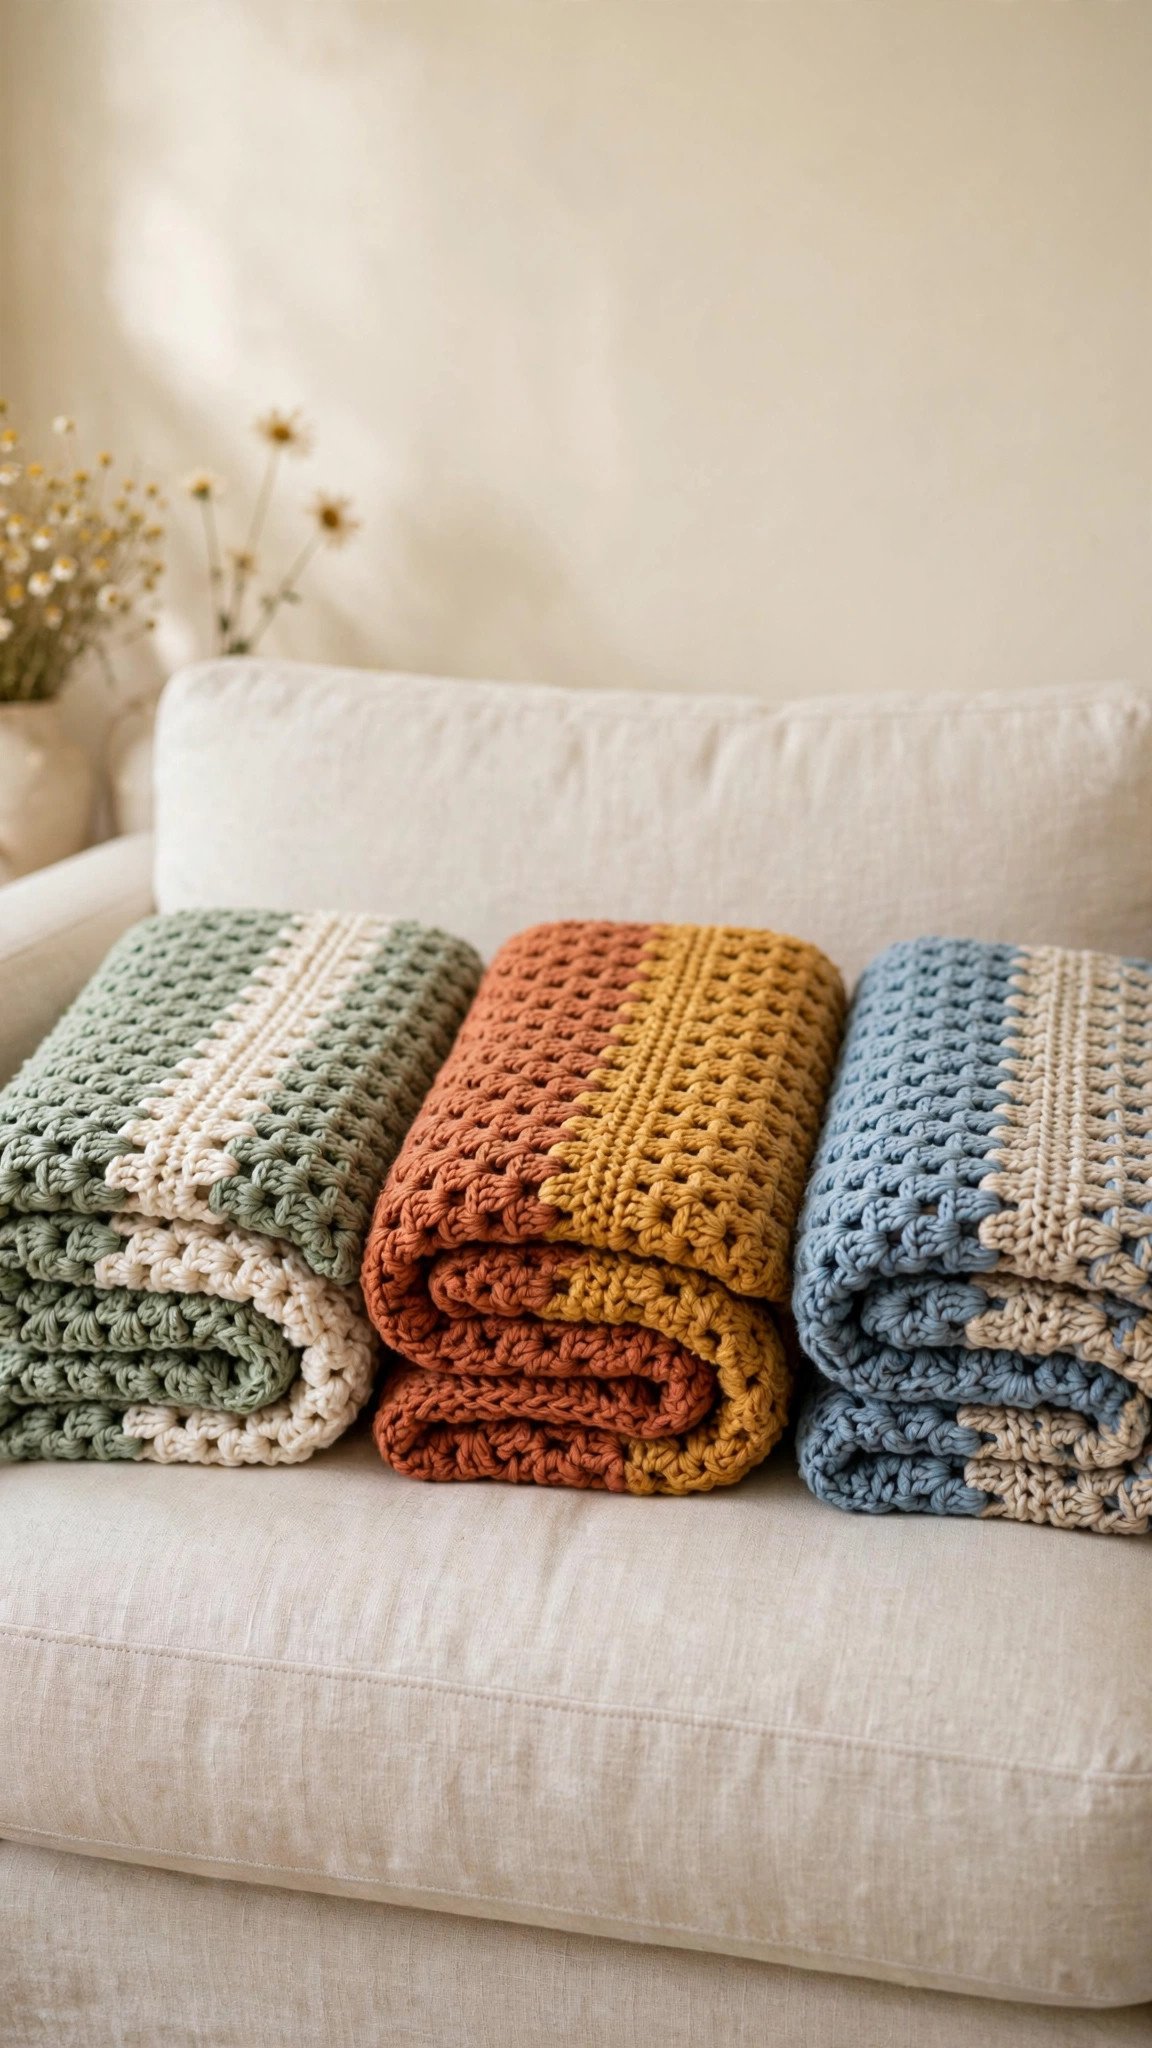
Two rules for happy colors: pick shades in the same yarn line so the texture matches, and hold your choices together in daylight before you buy. What looks perfect under store lights can surprise you at home.
Picking Your Blanket Size
One of the questions I get most often is how wide to chain for a throw. Here are the three sizes I recommend, with starting chains that match this yarn and hook combination:
- Lapghan: 36 by 48 inches, chain 100. Perfect for armchairs and chilly movie nights.
- Classic throw: 40 by 50 inches, chain 112. The size in this pattern. Drapes beautifully over a standard sofa.
- Twin bed cover: 66 by 90 inches, chain 182. A true commitment piece, but the same single stitch all the way.
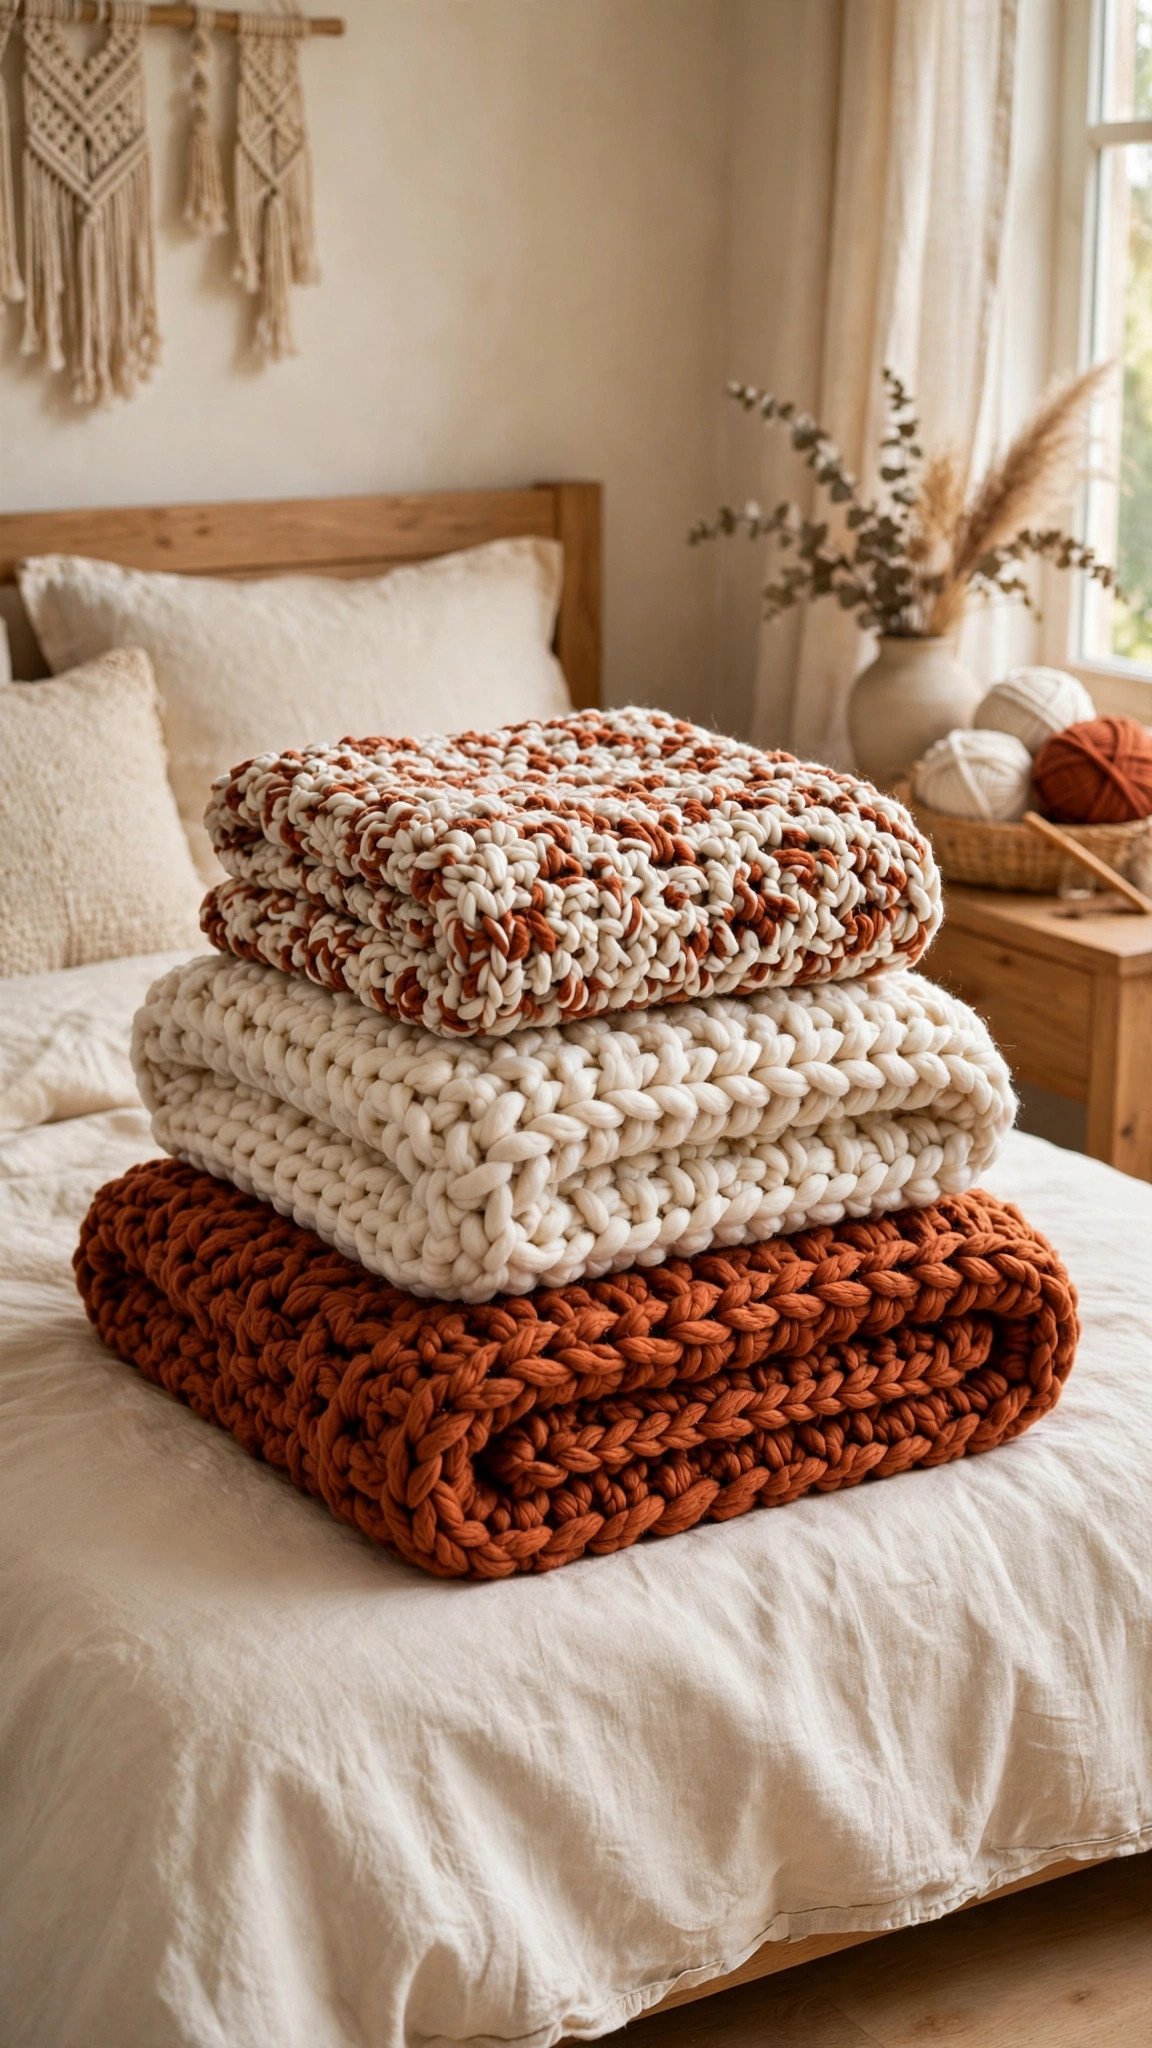
Want a size that is not on the list? Here is the easy math. This pattern gauges at about 11 half double crochet stitches per 4 inches. Multiply your target width in inches by 2.75, then round to an even number, and that is your chain count. For length, just keep repeating the pattern row until it measures what you want, then stop. Blankets are wonderfully forgiving: you literally decide when yours is done.
The One-Stitch Pattern, Step by Step
This is the whole pattern, and I mean that. Learn these four abbreviations and you are set: ch (chain), hdc (half double crochet), st (stitch), and sl st (slip stitch, only for the border).
To make a half double crochet: yarn over, insert your hook into the stitch, yarn over and pull up a loop so you have three loops on your hook, then yarn over and pull through all three loops. That is it. It is one loop fatter than a single crochet and one step shorter than a double crochet, which makes it the Goldilocks stitch for blankets: tall enough to grow fast, short enough to stay sturdy.
Foundation row: Chain 112 (for the 40-inch throw). In row 1, work one hdc into the third chain from your hook, then one hdc into every chain across. You should have 110 stitches. Turn your work.
The repeat row: Chain 2. This turning chain does NOT count as a stitch, so ignore it when you count. Work one hdc into the very first stitch, then one hdc into every stitch across. Turn. That is the row. Do it again. And again.
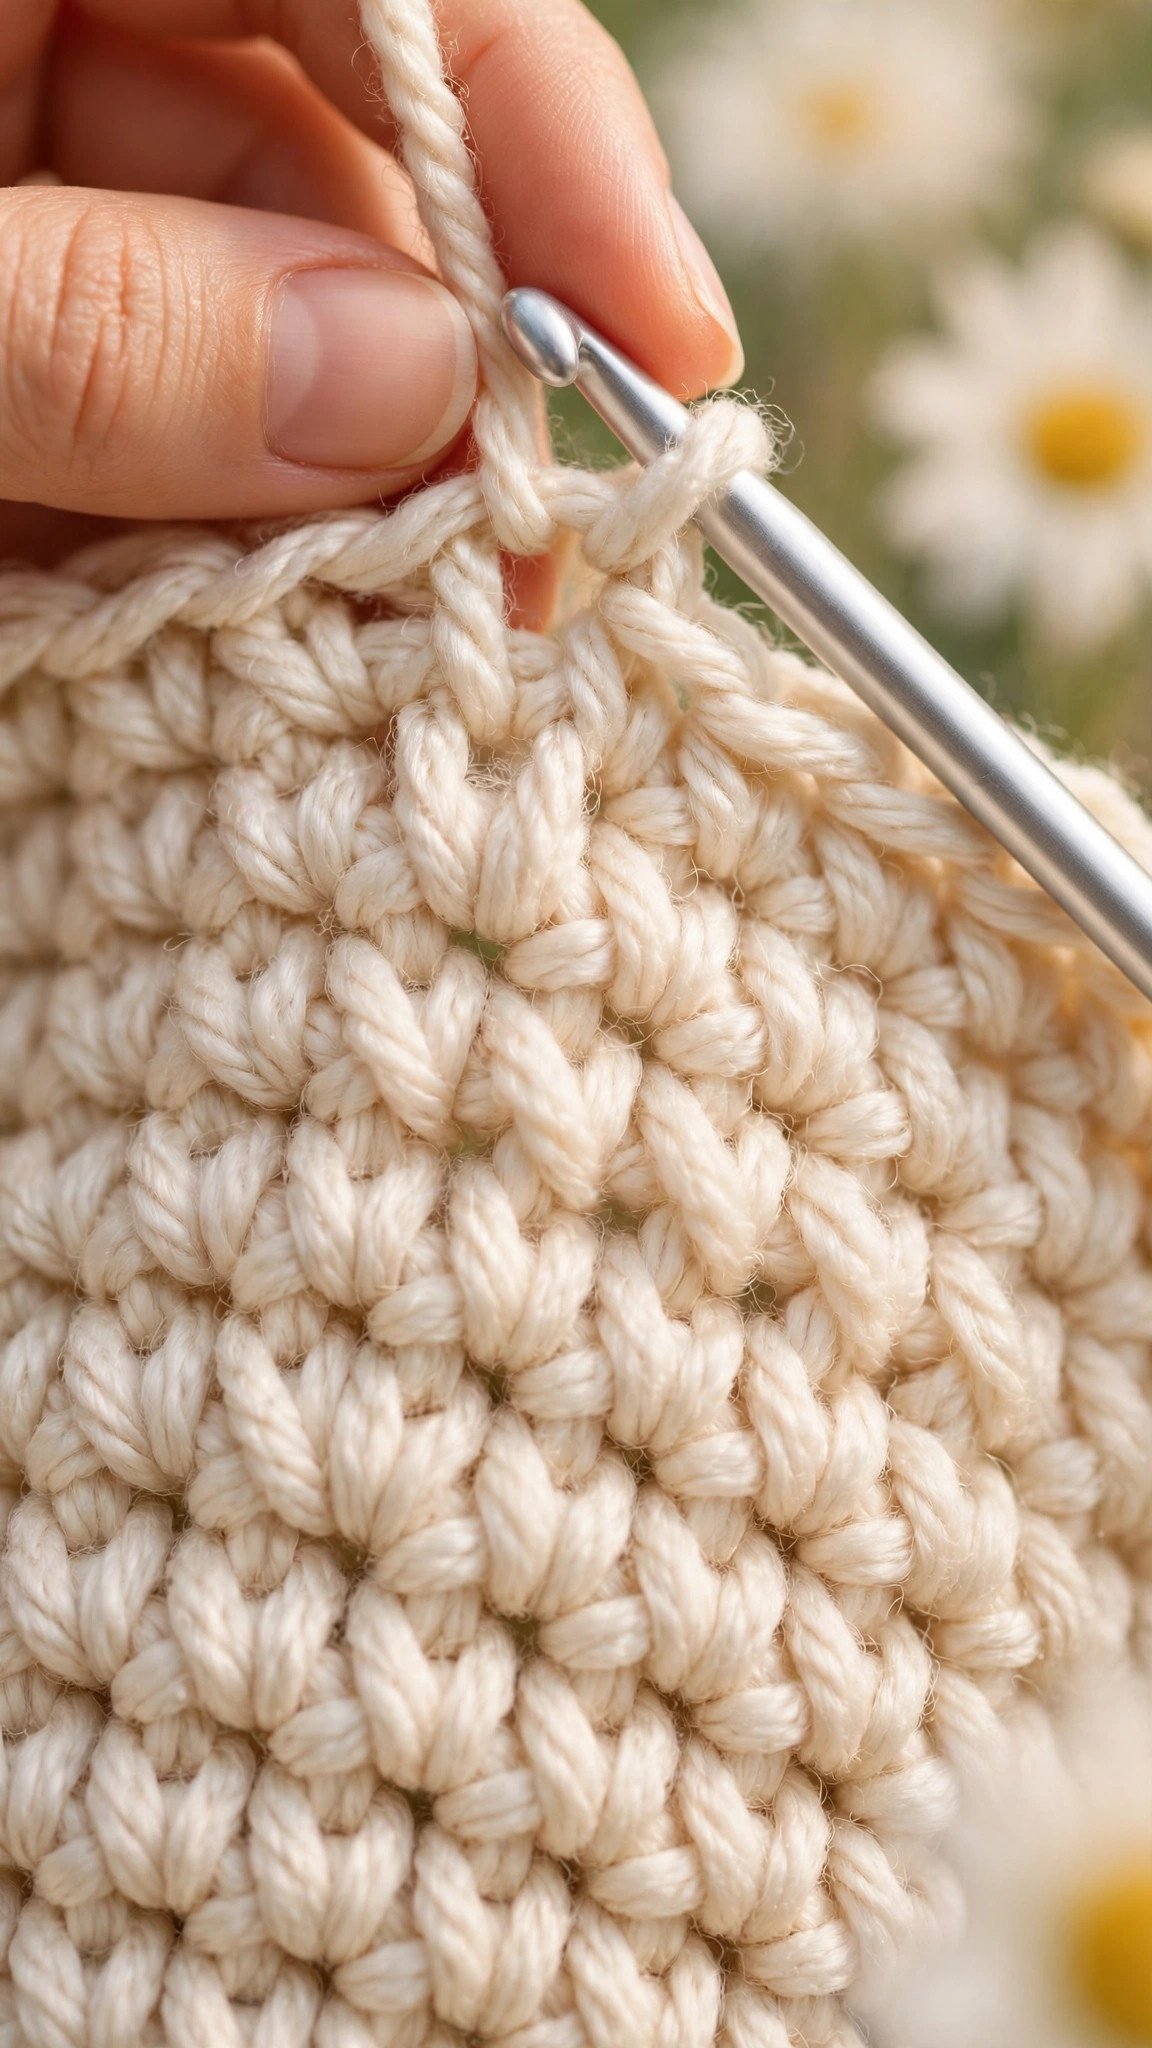
Repeat that row until your blanket measures 50 inches long, which takes about 60 rows at this gauge. The beauty of this half double crochet blanket is the simple stitch pattern: one easy repeat row, memorized in minutes. To keep track without losing your mind, clip a stitch marker into every tenth row so you can count groups instead of individual rows. If you are brand new and turning chains still confuse you, my complete beginner crochet guide covers them with photos before you start your blanket.
Keeping Your Edges Straight
The number one beginner blanket complaint is edges that drift wider or narrower as the rows stack up. It happens because of one tiny habit: accidentally working into (or skipping) the turning chain or the first stitch. Both are easy to fix once you know to look.
Here is my foolproof method, and the straight edges tip I share with every beginner I teach. On your first pattern row, after you chain 2 and turn, place a locking stitch marker into the very first half double crochet you make. On the next row, when you reach that marker, you know exactly where the row ends. Keep moving the marker up as you go. It feels fussy for about three rows, then it becomes second nature.
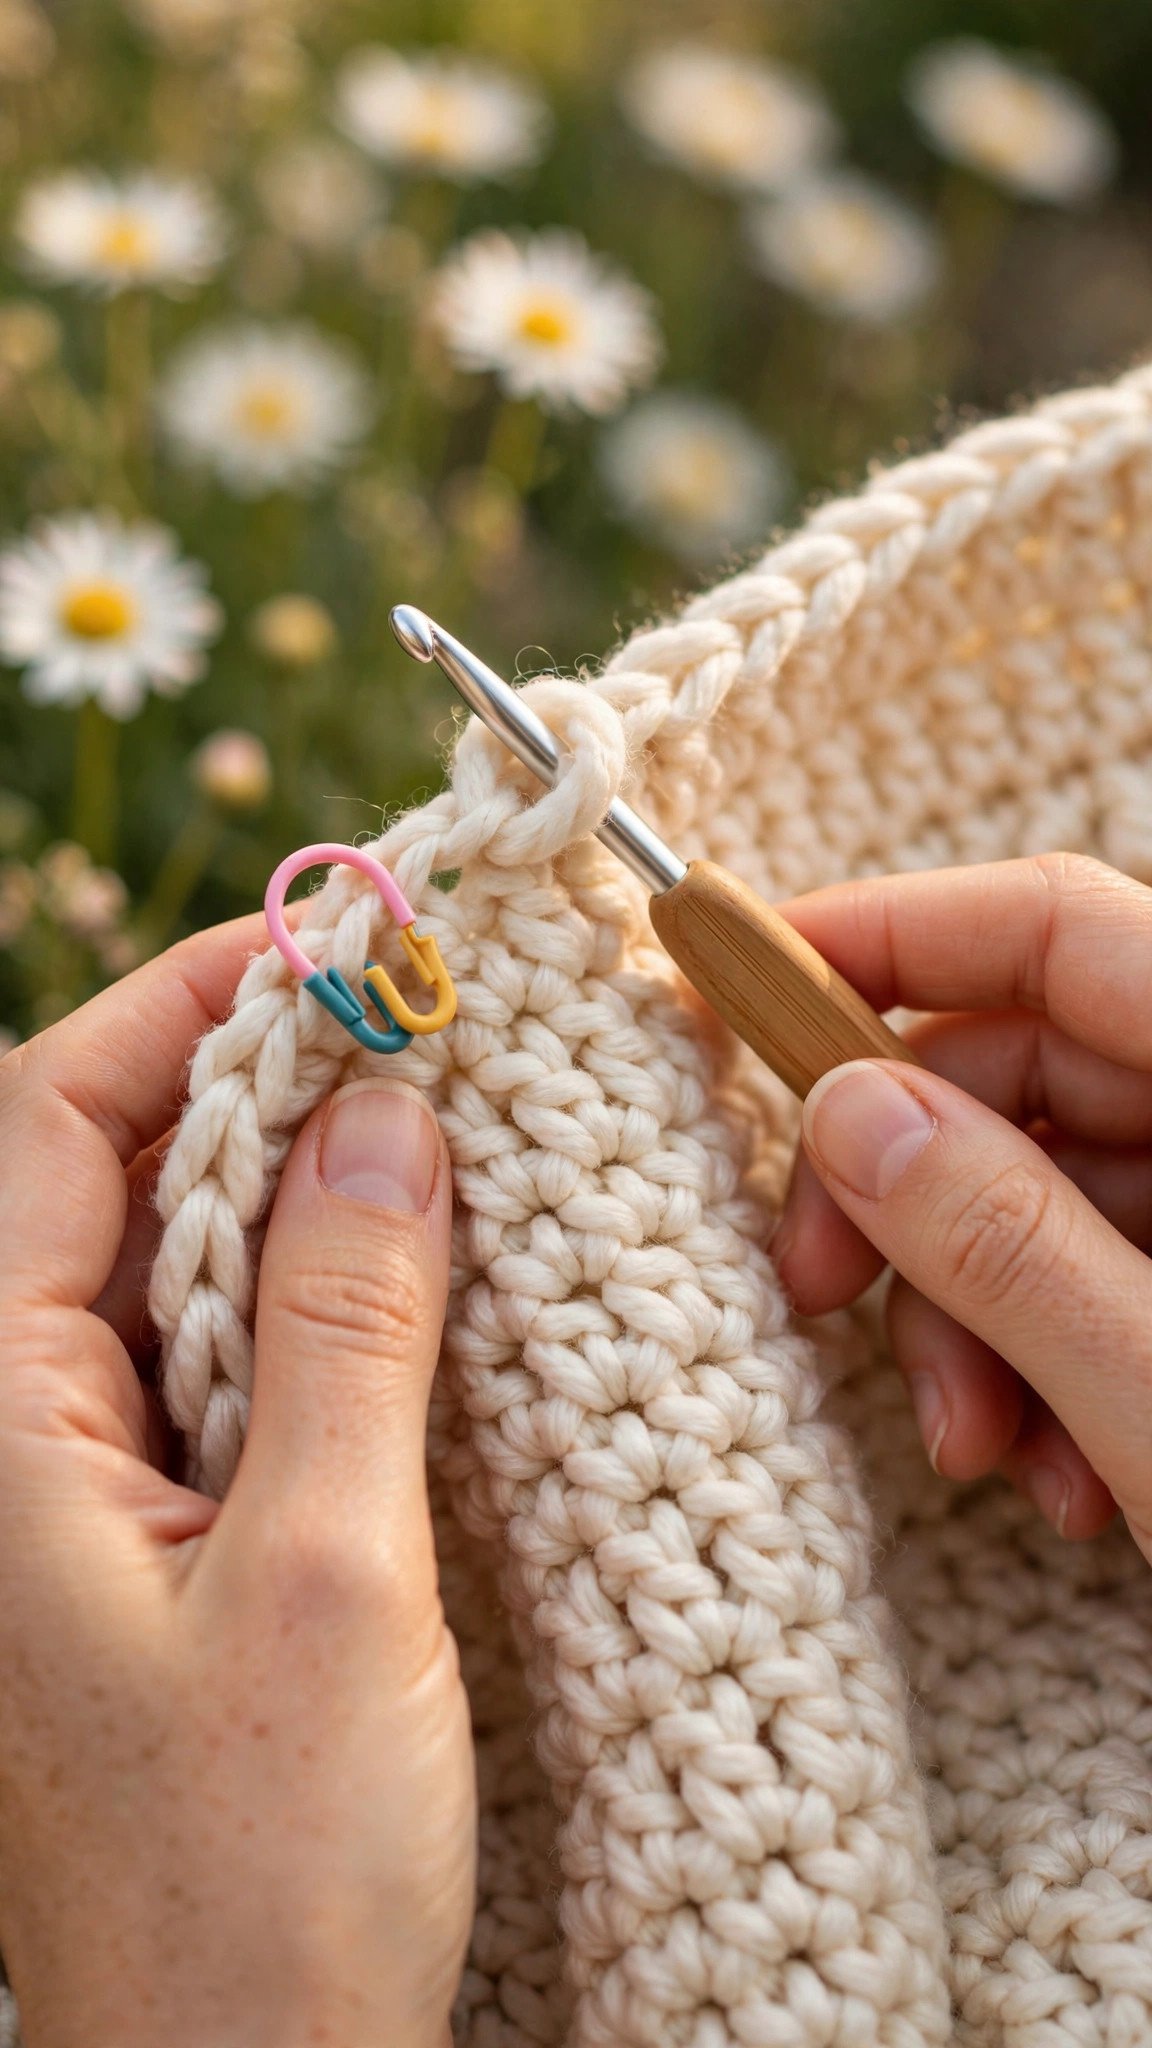
Also count your stitches every five or six rows. Yes, all 110. It takes about a minute, and catching a mistake early saves you from the heartbreak of discovering it forty rows later. If your count is off by one, the usual culprit is the last stitch: beginners often skip it because it hides under the turning chain. Tug your turning chain to the side and you will spot that shy little stitch peeking out.
Finishing With a Simple Border
A border is like good eyeliner: it makes everything look intentional. This one is as easy as the blanket itself. When you reach your final length, do not fasten off yet.
Round 1: Chain 1, then work one single crochet into every stitch across the top edge. When you reach the corner, work 3 single crochet into the corner stitch to turn neatly. Continue with single crochet evenly down the side (about one stitch per row), 3 single crochet in the next corner, single crochet across the bottom edge, and up the other side with 3 in each corner. Join with a slip stitch to the first single crochet.
Round 2: Chain 1, single crochet in every stitch around, working 3 single crochet into the middle stitch of each corner. Join, fasten off, and weave in all your ends with the yarn needle. Weave each tail through several stitches in one direction, then back the other way, so it can never wiggle loose.
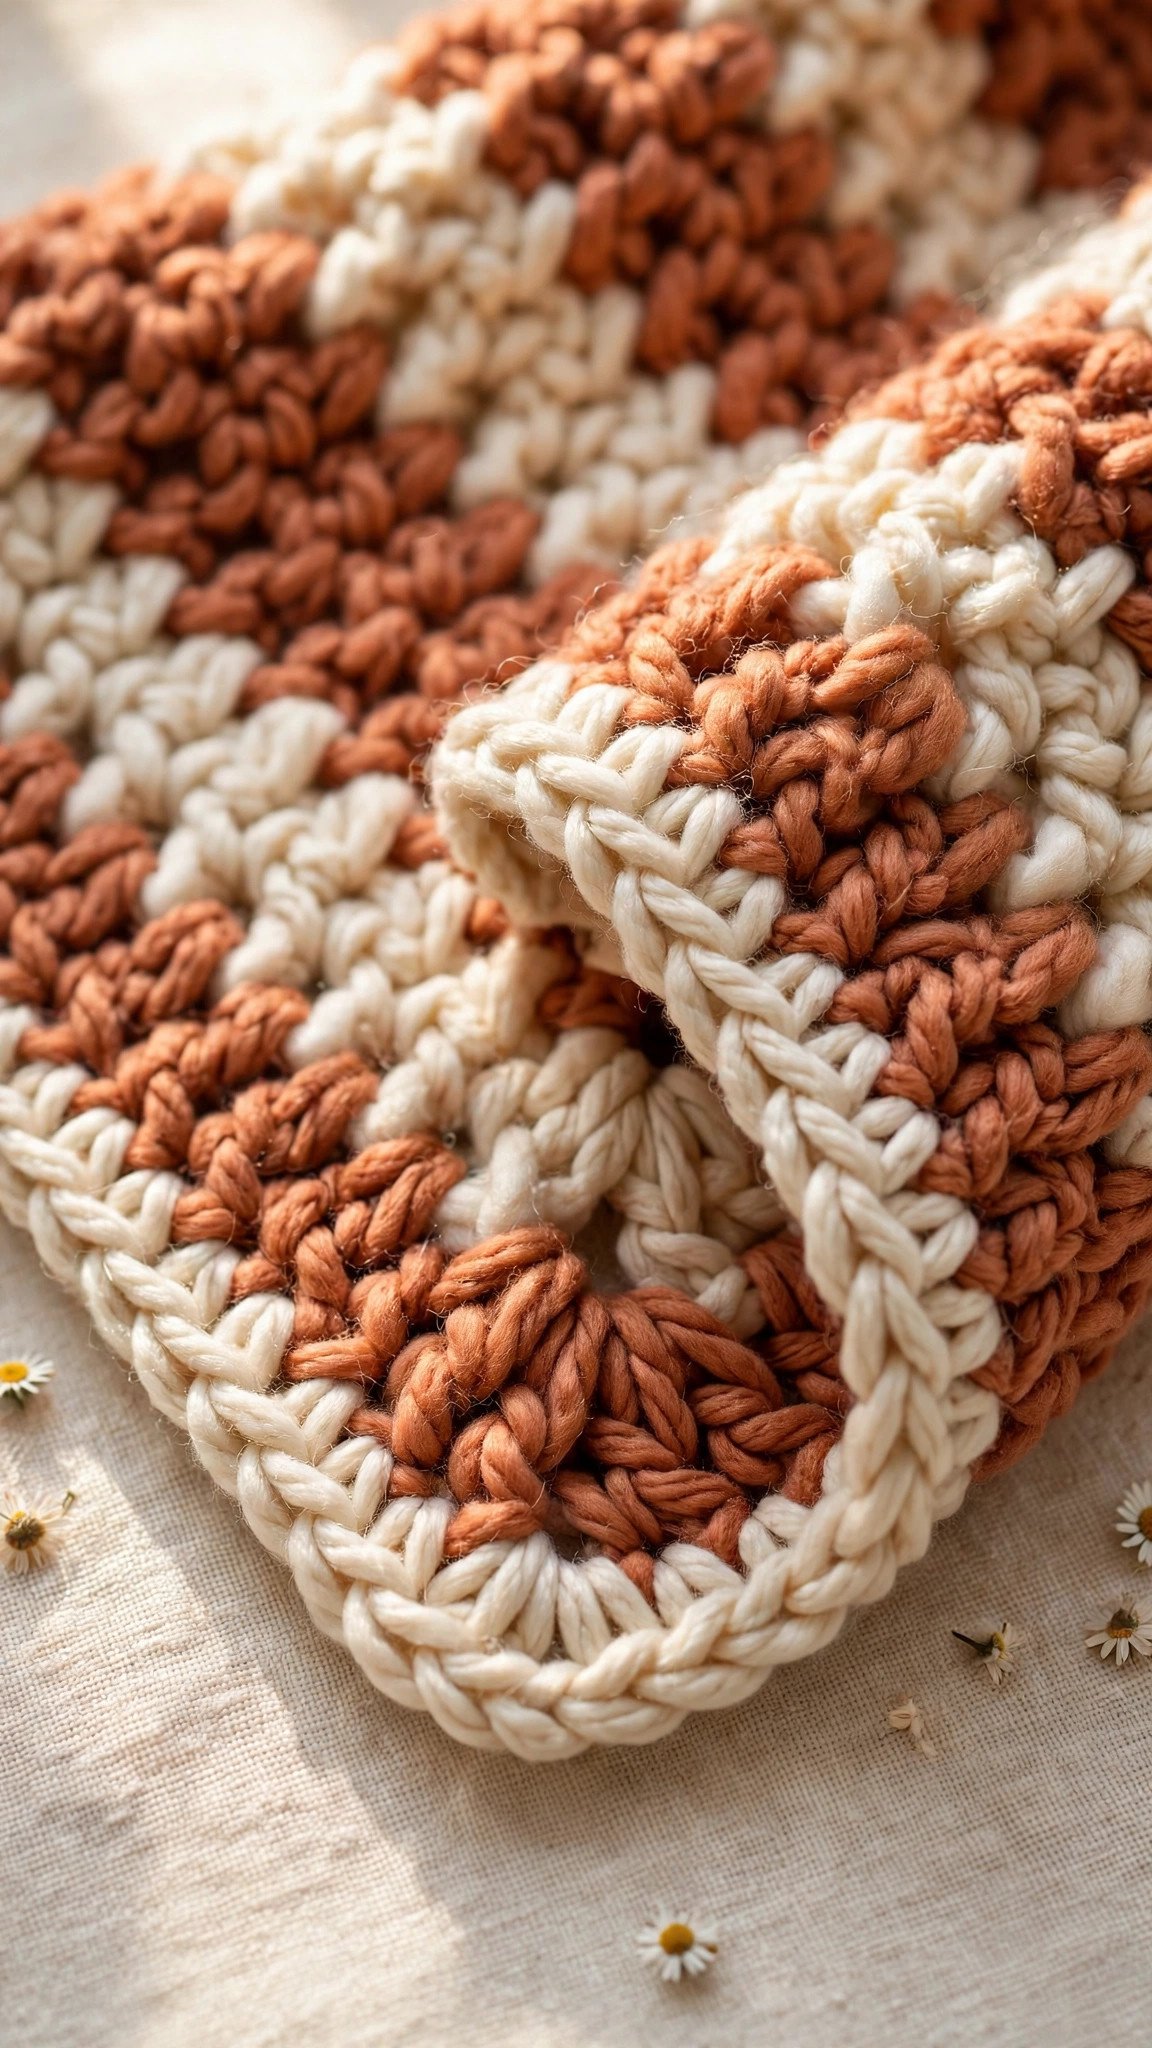
That is the whole border: a simple single crochet border that is sturdy and frames your color choices beautifully. If you used stripes or color blocks, a border in your darkest or most neutral color pulls everything together.
Washing, Gifting, and Living With Your Throw
Before you call it done, lay your blanket flat and gently shape it into a rectangle with your hands. No fancy blocking boards needed for a cozy throw: just pat it into shape and let it relax for a day. Then drape it somewhere you will see it every day. The back of the sofa, the foot of the bed, the good armchair. Let it collect compliments.
For washing, follow your yarn label, but most bulky acrylic blends machine wash cold on gentle and tumble dry low. Skip fabric softener, which can coat fibers and dull their softness over time. Wash it alone the first time so any loose dye does not visit your white laundry.
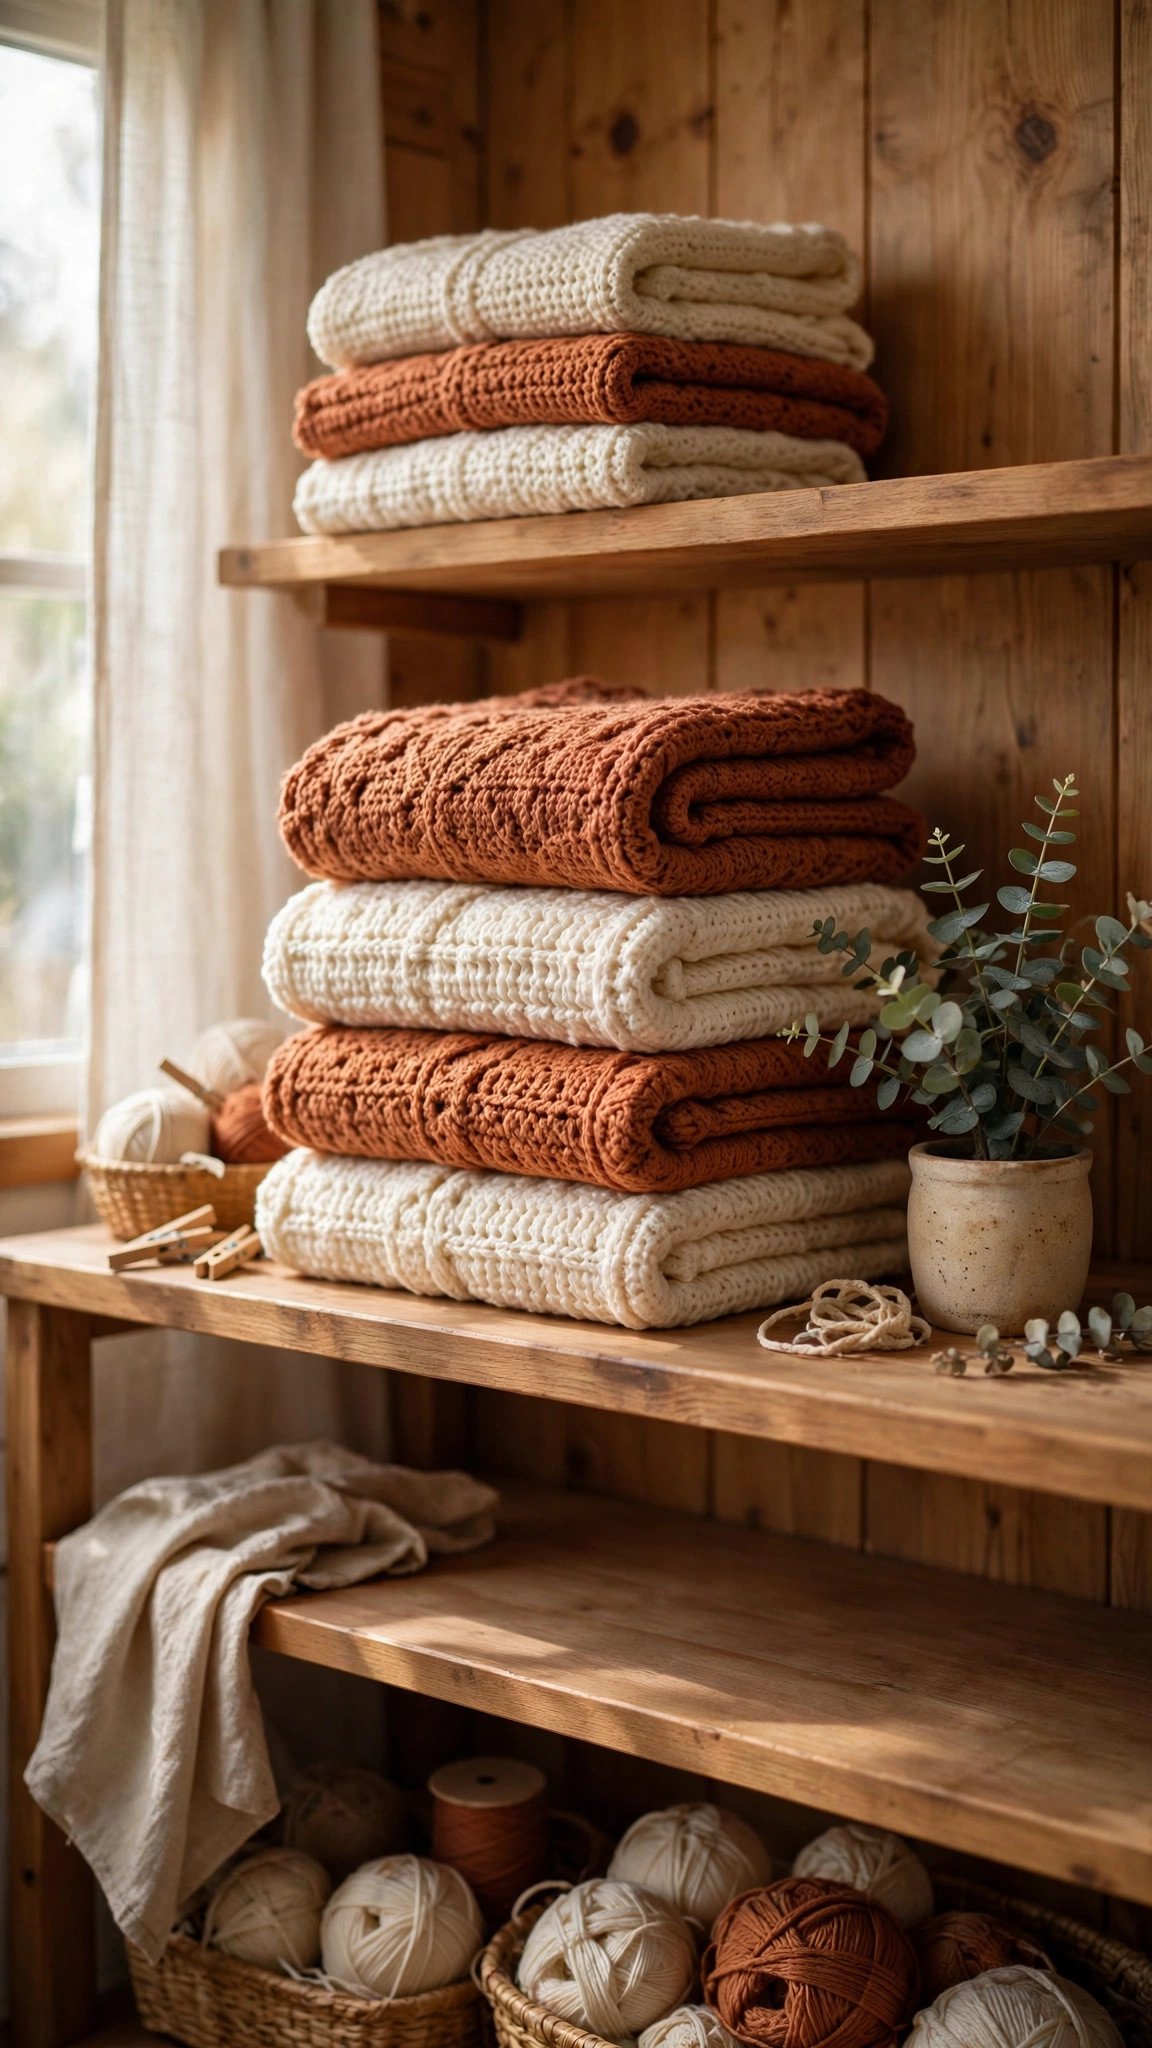
If this throw is destined as a gift, fold it in thirds, wrap it with a wide ribbon, and tuck in a handwritten note with the care instructions. Handmade blankets are the gifts people keep for decades, so include your name and the year somewhere. Future you, or future them, will be glad you did.
Finished your first throw and hungry for more? The Crochet Home Decor section is full of cozy next projects, from pillow covers to everlasting flower bouquets. And if stripes caught your eye, try alternating two colors every two rows in this exact pattern: the one-stitch repeat makes color changes completely painless.
Now go chain 112. Your sofa is waiting.
Written by Wren
I am Wren, and I believe crochet should be fun from the very first loop. I test every tutorial and pattern here myself before it lands on Loop & Lark.