I still remember my first crochet top. The pattern said “size medium” as if that meant the same thing on every body on earth. I followed it stitch for stitch and ended up with something shaped like a sad trapezoid that fit nobody, least of all me. It sat in a drawer for a year before I admitted defeat.
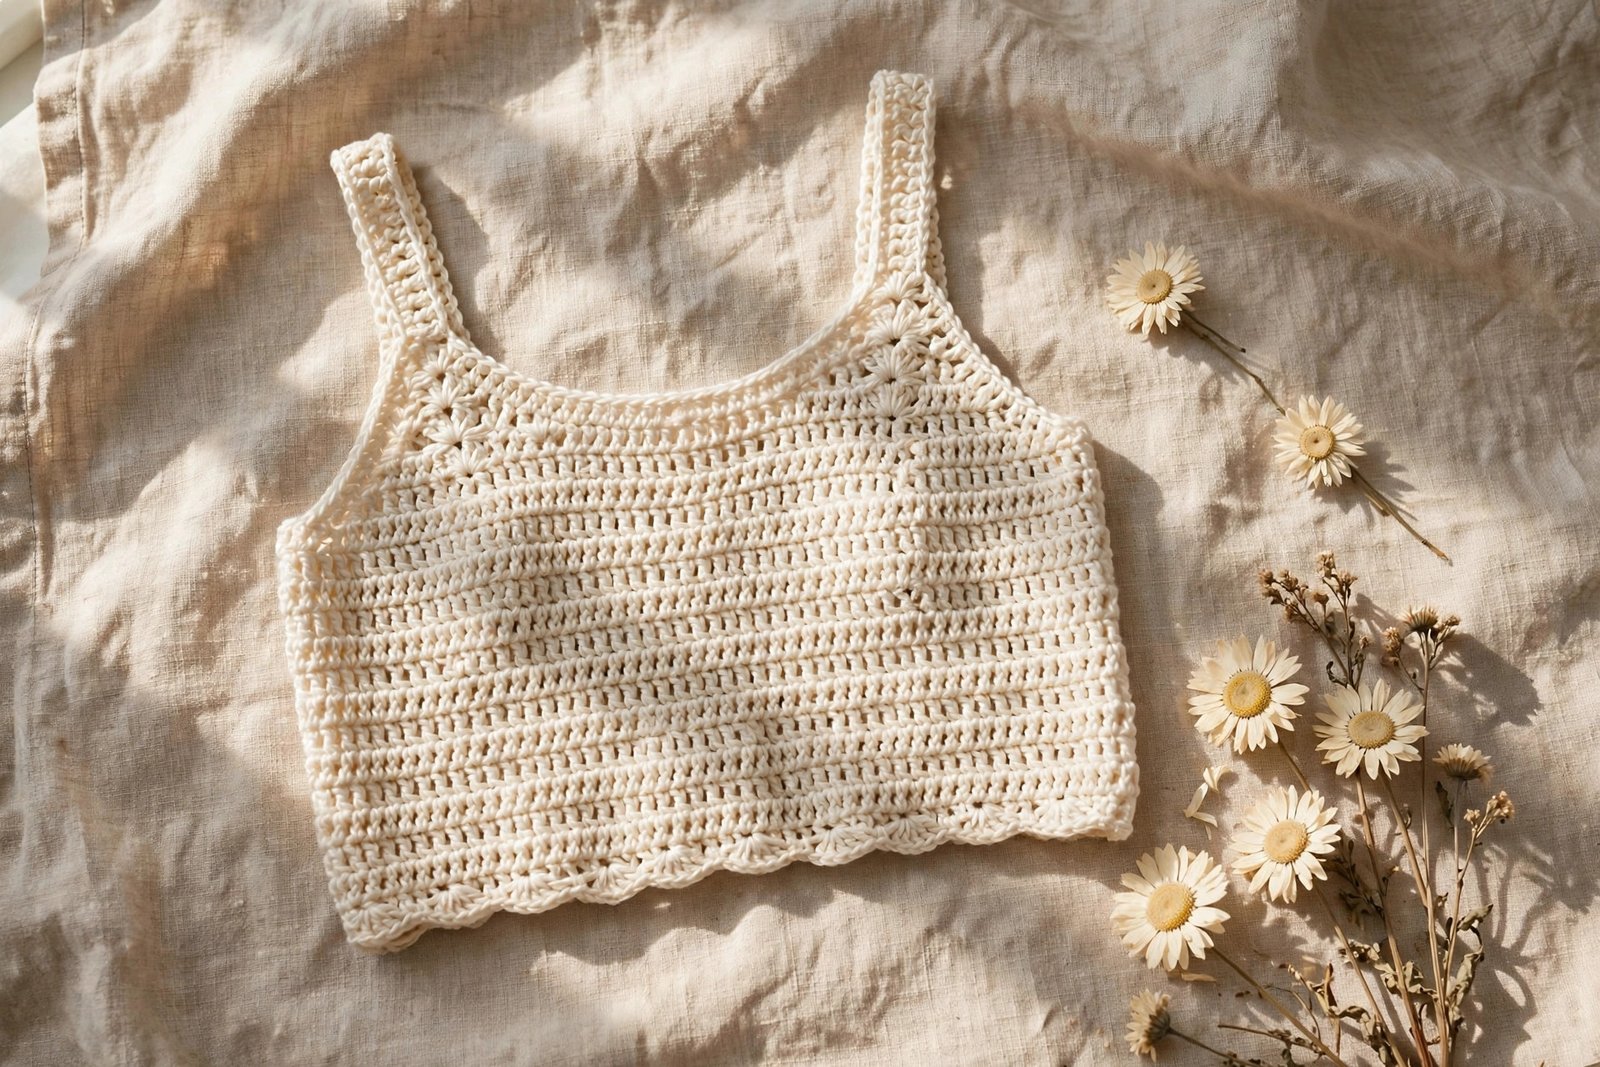
This is the top I wish someone had handed me instead. It is made of two plain rectangles, measured to your actual body, and joined with your crochet hook instead of a sewing needle. There is no armhole shaping, no neckline decreases, and no size chart that pretends we are all built the same. If you can chain and double crochet, you can make a top that truly fits. Let us do it.
Why This Top Works for Total Beginners
Most garment patterns ask beginners to do three hard things at once: follow shaping math, trust a generic size chart, and picture the finished fit in their head. This pattern removes all three problems. You crochet two rectangles. The width of each rectangle comes from your own bust measurement, not a chart. The length comes from measuring your own torso. There is nothing to shape, because rectangles do not need shaping.
The joining is the part beginners usually dread, and here is the good news: you do not need a sewing needle or any seaming skills. Every seam in this top is made with slip stitches worked through both panels with your crochet hook. If you can slip stitch, you can seam. And if you have never made anything wearable before, start with my complete beginner guide first, then come back. I will wait.
You will use three skills in this project: the chain, the double crochet for the body, and the single crochet for a tidy edging at the end. The single crochet tutorial has you covered if that last one is new. Everything else is counting and measuring, and I will walk you through both.
What You Will Need
Keep the supply list short on purpose. Fancy extras do not make a better top, but the right yarn does.
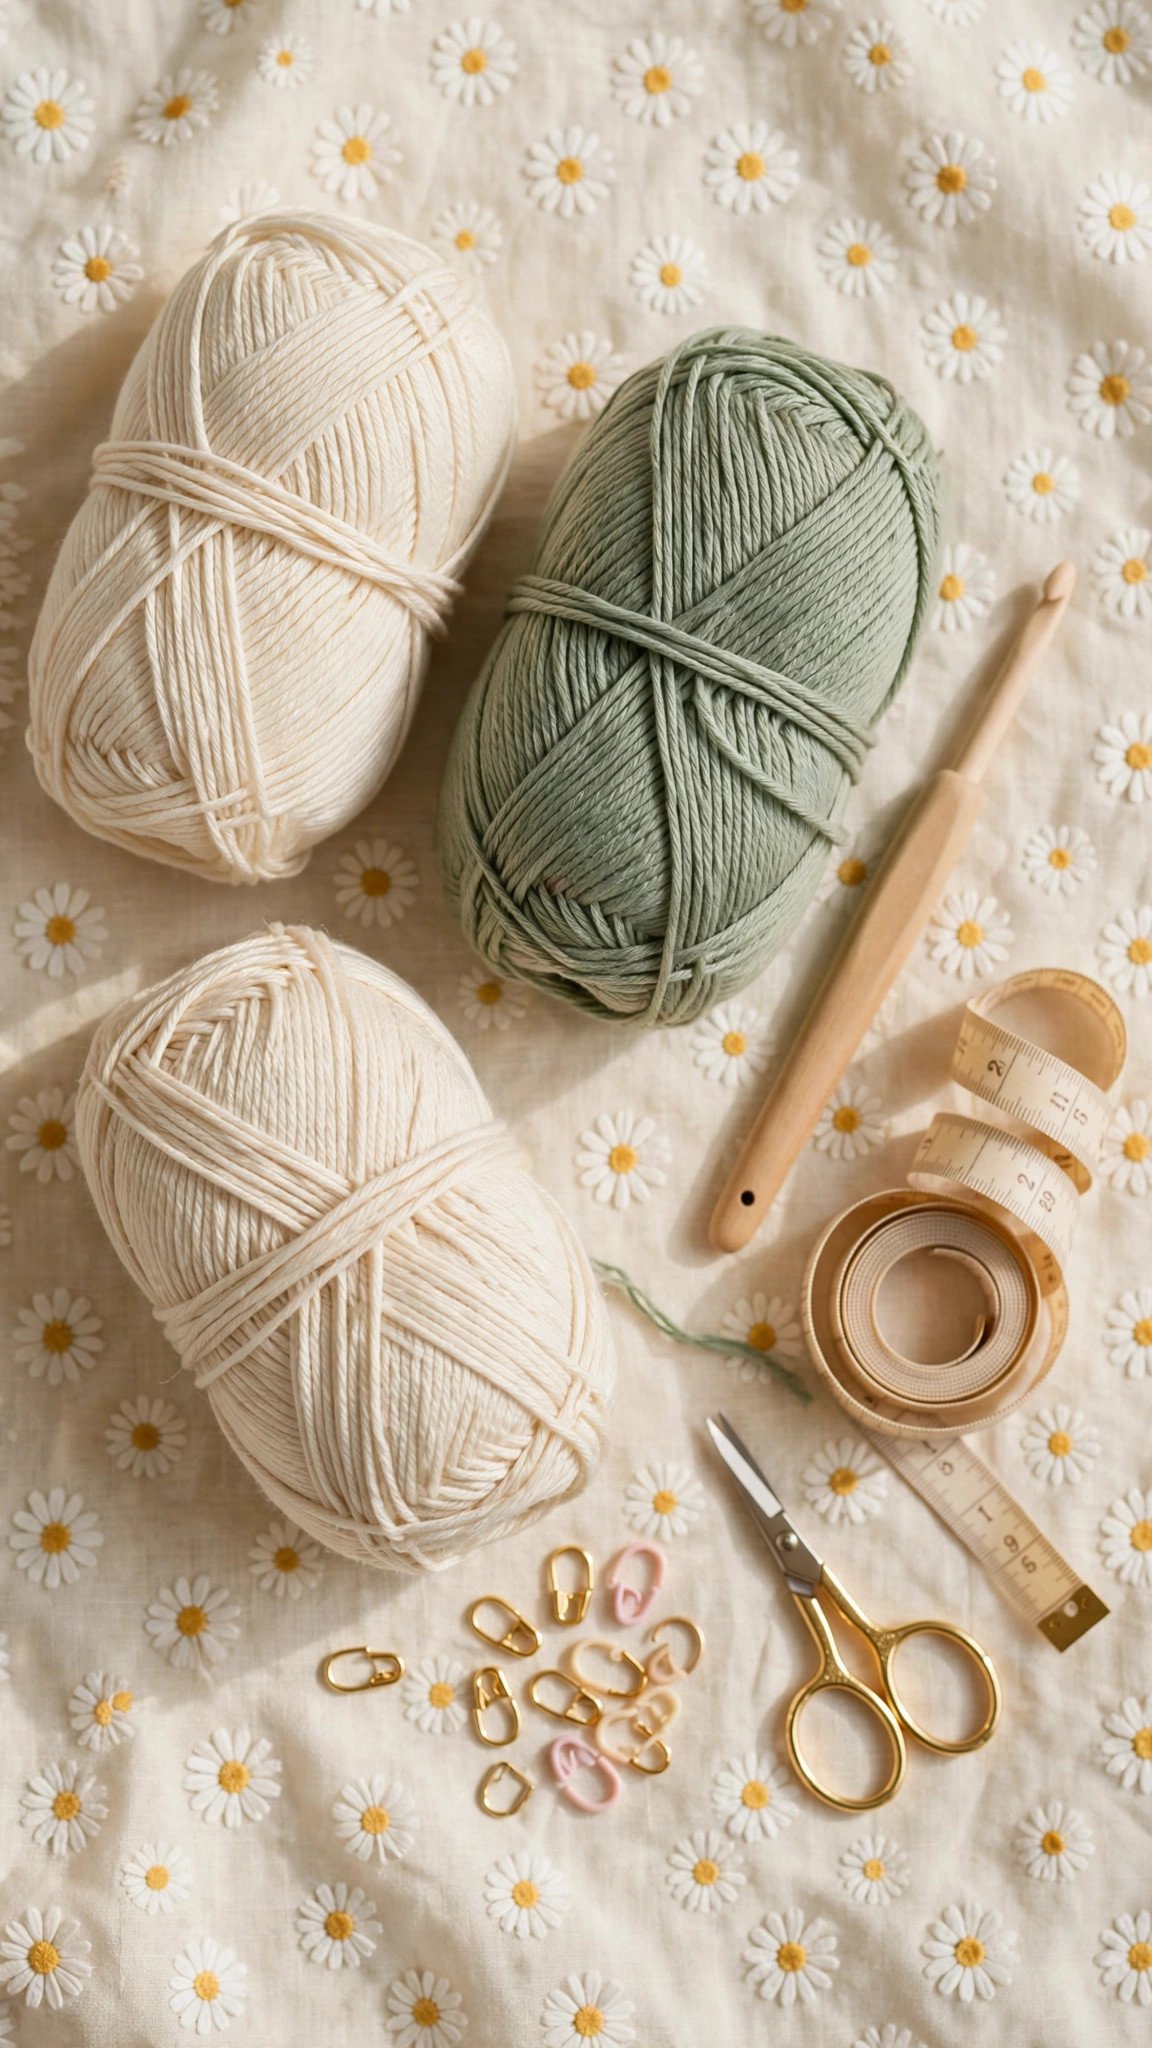
- Yarn: worsted weight (#4) cotton or a cotton blend. Cotton gives the top structure and breathability, which is exactly what you want in a summer garment, and it shows off stitch definition beautifully. My favorite workhorses for this are Lion Brand 24/7 Cotton, WeCrochet Cotlin, and Paintbox Yarns Cotton Aran. Plan on 2 to 4 skeins of 100 grams each, depending on your size and how long you make the top. Smaller cropped sizes need 2, longer tunic lengths in larger sizes need 4.
- Hook: 5.0 mm (US H-8). This is the sweet spot for worsted cotton: the fabric drapes instead of standing up like cardboard. If you crochet tightly, go up to 5.5 mm. If your stitches are loose and loopy, try 4.5 mm. Not sure what kind of hooker you are? The beginner hook guide walks through how to tell.
- Tape measure: soft and flexible, the sewing kind. Non-negotiable for a made-to-measure project.
- Stitch markers: a handful of locking markers. They mark your neckline, your armholes, and the first stitch of the row so your edges stay straight.
- Scissors and a yarn needle for weaving in the final ends. You can weave ends with your hook in a pinch, but a needle is faster.
One yarn warning from experience: skip fuzzy, dark, or novelty yarns for your first garment. You need to see your stitches to count them, and cotton in a light or medium color is the most forgiving choice you can make.
Take Your Measurements (This Is the Made-to-Measure Part)
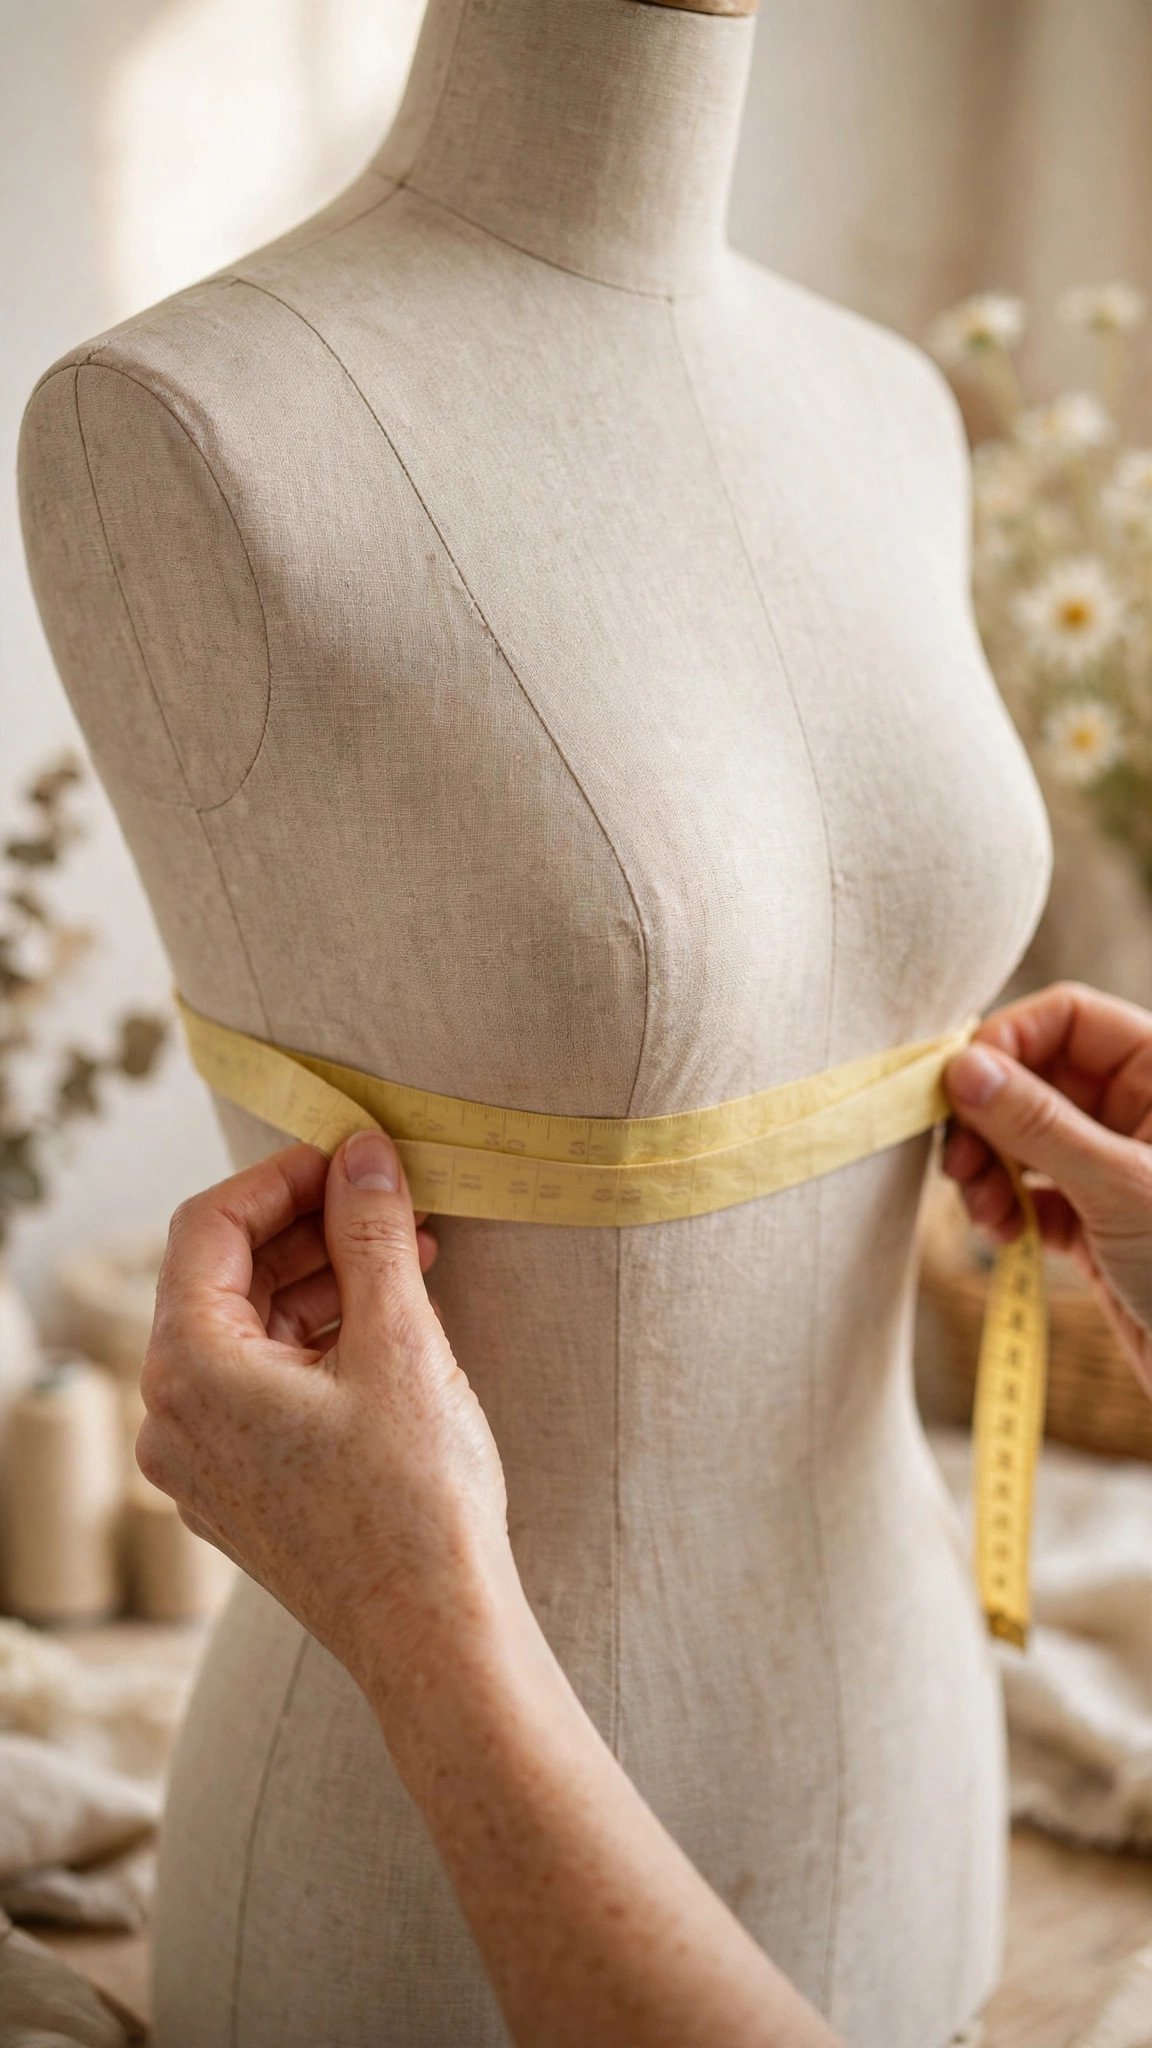
This is the whole magic trick, and it takes five minutes. Grab your tape measure and take three numbers.
1. Your bust. Wrap the tape around the fullest part of your bust, keeping it level all the way around and snug but not tight. Wear the bra or bralette you plan to wear under the top. Write the number down. Now add ease: 2 inches for a relaxed, breezy fit, or 0 to 1 inch for a closer fit. Cotton relaxes a little with wear, so when in doubt, choose less ease rather than more.
2. Your panel width. Divide your bust-plus-ease number by 2. That is the width of each rectangle. Example: a 38 inch bust with 2 inches of ease is 40 inches total, so each panel is 20 inches wide.
3. Your length. Measure from your underarm down to where you want the hem to land. A cropped top is about 14 inches, a classic length is 17 inches, and a tunic is 20 inches or more. This number decides how many rows you crochet.
Now check your gauge, because your hands are not my hands. Crochet a small swatch of double crochet about 5 inches wide, measure 4 inches across the middle, and count the stitches. With a 5.0 mm hook and worsted cotton, most beginners land near 14 double crochet stitches and 8 rows per 4 inches. If your numbers are close, use the starting chains in the table below. If your gauge is very different, use this formula instead: starting chains = (panel width / 4 x your stitch count) + 3.
| Your bust | Total width (with 2 in ease) | Panel width | Starting chain | Rows for 17 in length |
|---|---|---|---|---|
| 32 in | 34 in | 17 in | 63 | 34 |
| 36 in | 38 in | 19 in | 70 | 34 |
| 40 in | 42 in | 21 in | 77 | 34 |
| 44 in | 46 in | 23 in | 84 | 34 |
| 48 in | 50 in | 25 in | 91 | 34 |
| 52 in | 54 in | 27 in | 98 | 34 |
Between sizes or want a different ease? Use the formula. That is the entire point of made to measure: the table is a shortcut, but your tape measure is the boss.
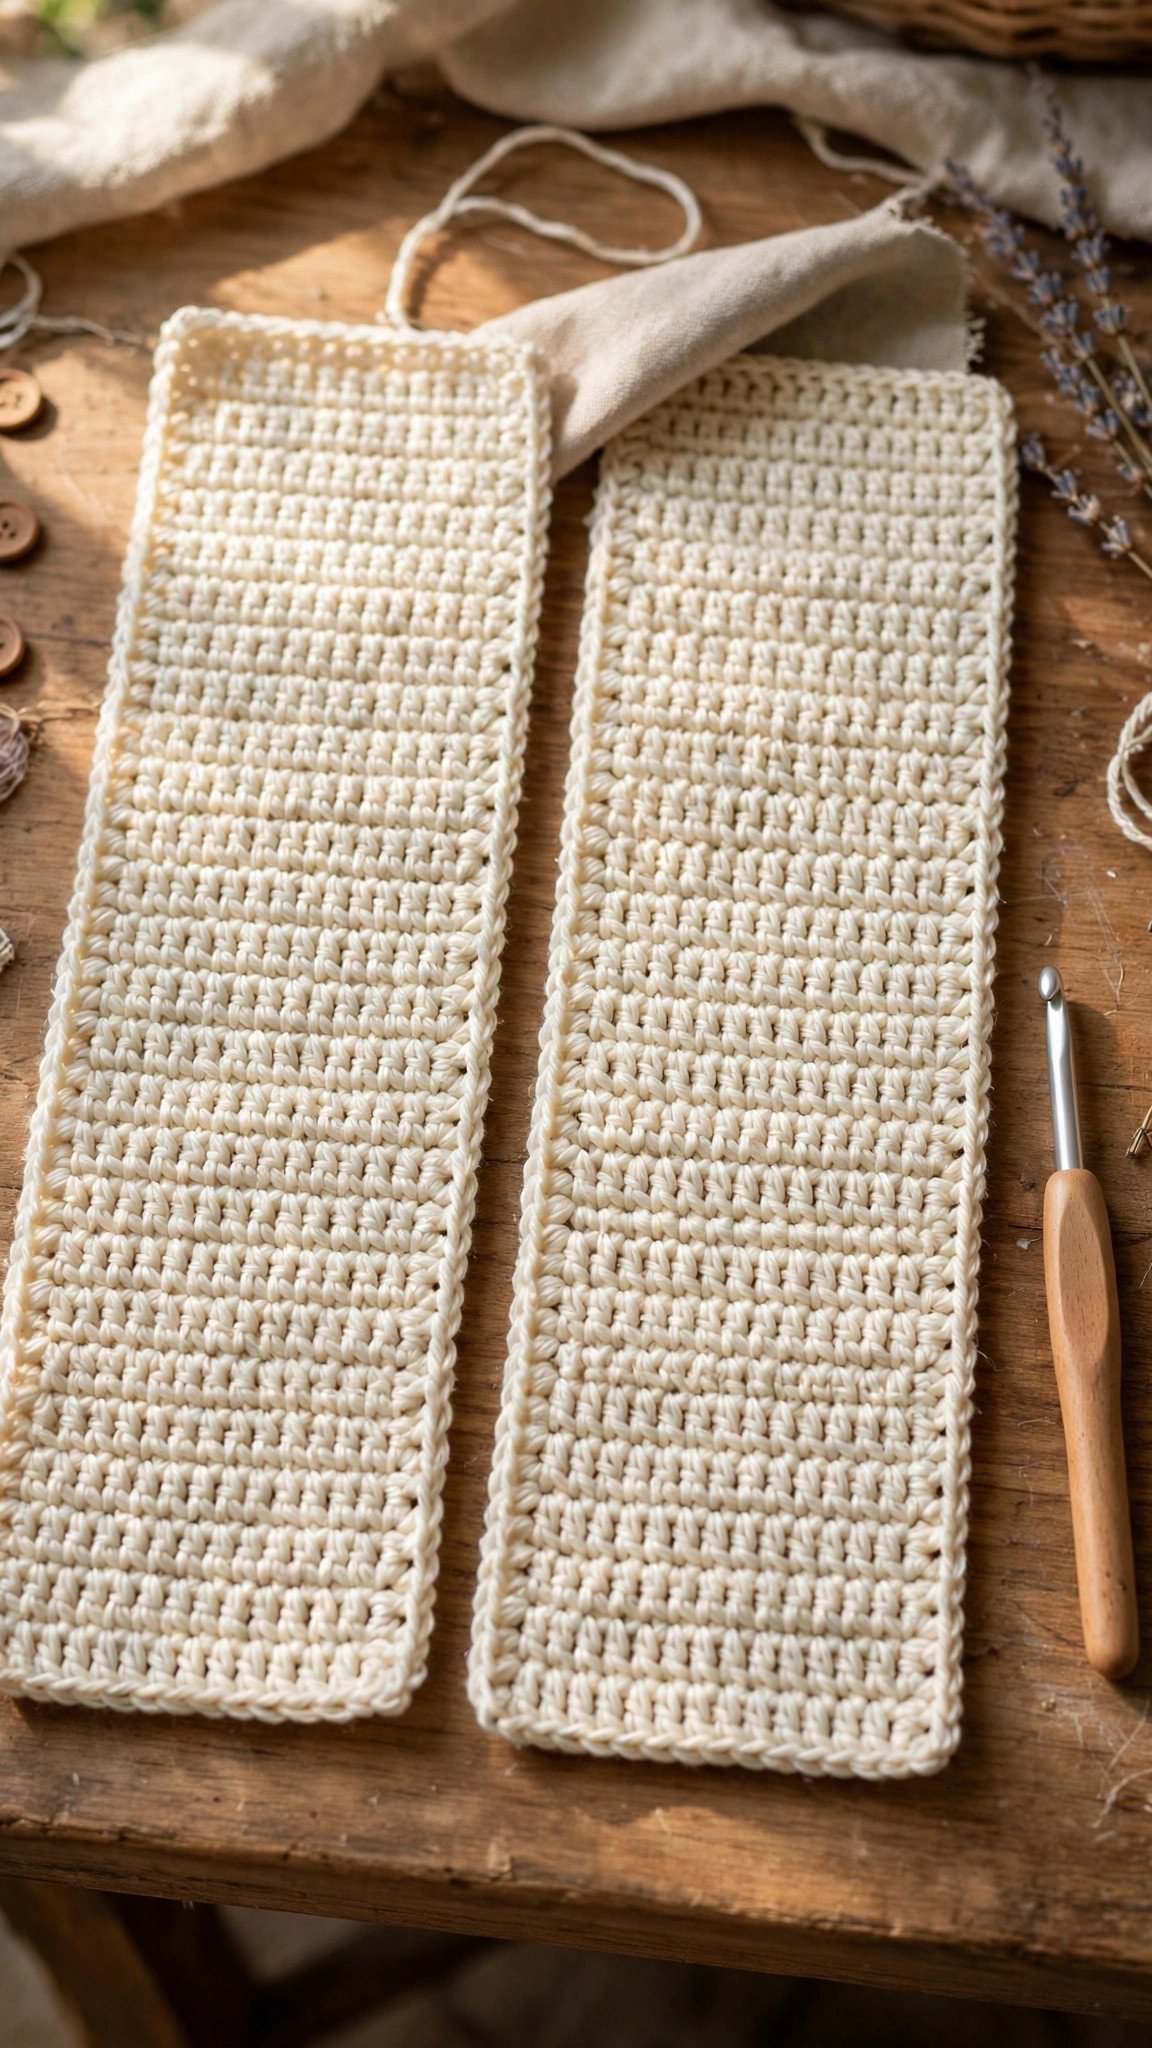
Crochet the Two Panels
Here is the whole pattern. Read it once, then crochet it twice, because you need two identical panels.
Foundation: Chain your starting number loosely. If your foundation chain is tighter than your crochet, which happens to almost everyone, chain with a hook one size larger, then switch back to your 5.0 mm for row 1.
Row 1: Double crochet in the 4th chain from the hook and in each chain across. Chain 3, turn. (The chain 3 counts as your first double crochet of the next row.)
Row 2 and beyond: Double crochet in each stitch across, chain 3, turn. That is it. That is the entire stitch pattern. Repeat until your panel measures your chosen length from the foundation edge.
Three habits will save your top. First, count your stitches every 4 or 5 rows. If the count drifts, your edges will slant, and a slanted rectangle makes a lopsided top. Second, put a locking stitch marker in the first stitch of the row. The turning chain can masquerade as a stitch and trick you into adding one extra every row, which is the classic reason beginner rectangles slowly get wider. Third, measure the panel flat, without stretching, and make the second panel match the first in rows, not just in inches. Same row count means same length, every time.
Your panels will look almost aggressively plain at this stage. Good. Plain means correct. The shaping happens at the seams.
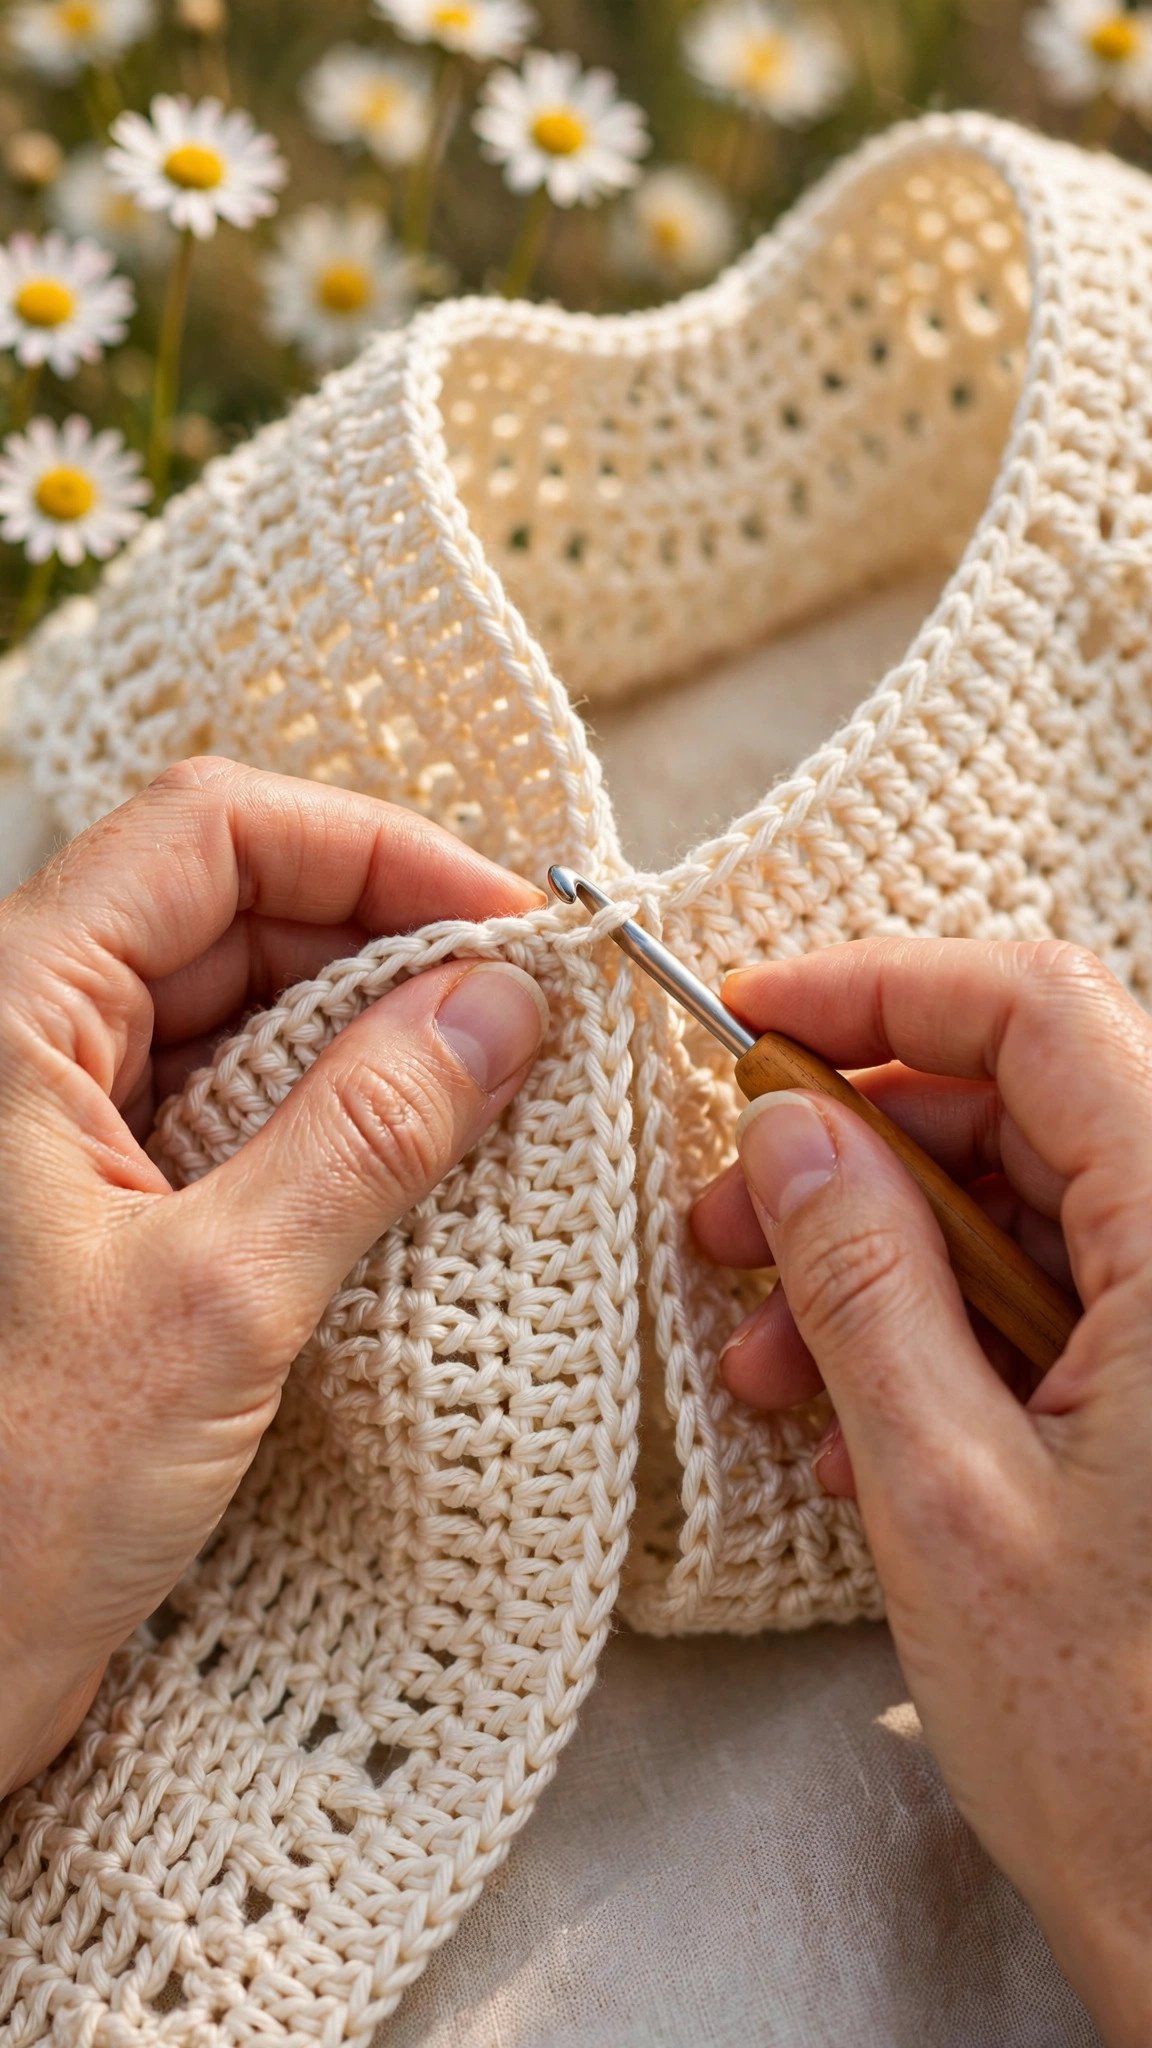
Shape the Neckline and Shoulders
Lay your two panels on top of each other, right sides facing out. Decide how wide you want the neck opening: 10 inches is modest, 12 inches is a comfortable everyday scoop, and 14 inches gives a wide boat neck. Measure the opening across the top edge and center it, then mark each side of the opening with a stitch marker.
The sections outside the markers are your shoulder seams. The math is simple: shoulder width = (panel width minus neck width) divided by 2. For a 19 inch panel with a 12 inch neck, each shoulder is 3.5 inches. Join a new length of yarn at one outer edge and slip stitch through both layers across the shoulder section, working one slip stitch into each stitch. Repeat on the other shoulder. Fasten off and weave in the ends.
Try it on before you go further. Drape it over your head and check the neckline. Too wide? Pull the shoulder seams in by an inch on each side. Too narrow to get your head through comfortably? Widen the opening. Fixing it now takes two minutes. Fixing it after the side seams takes twenty.
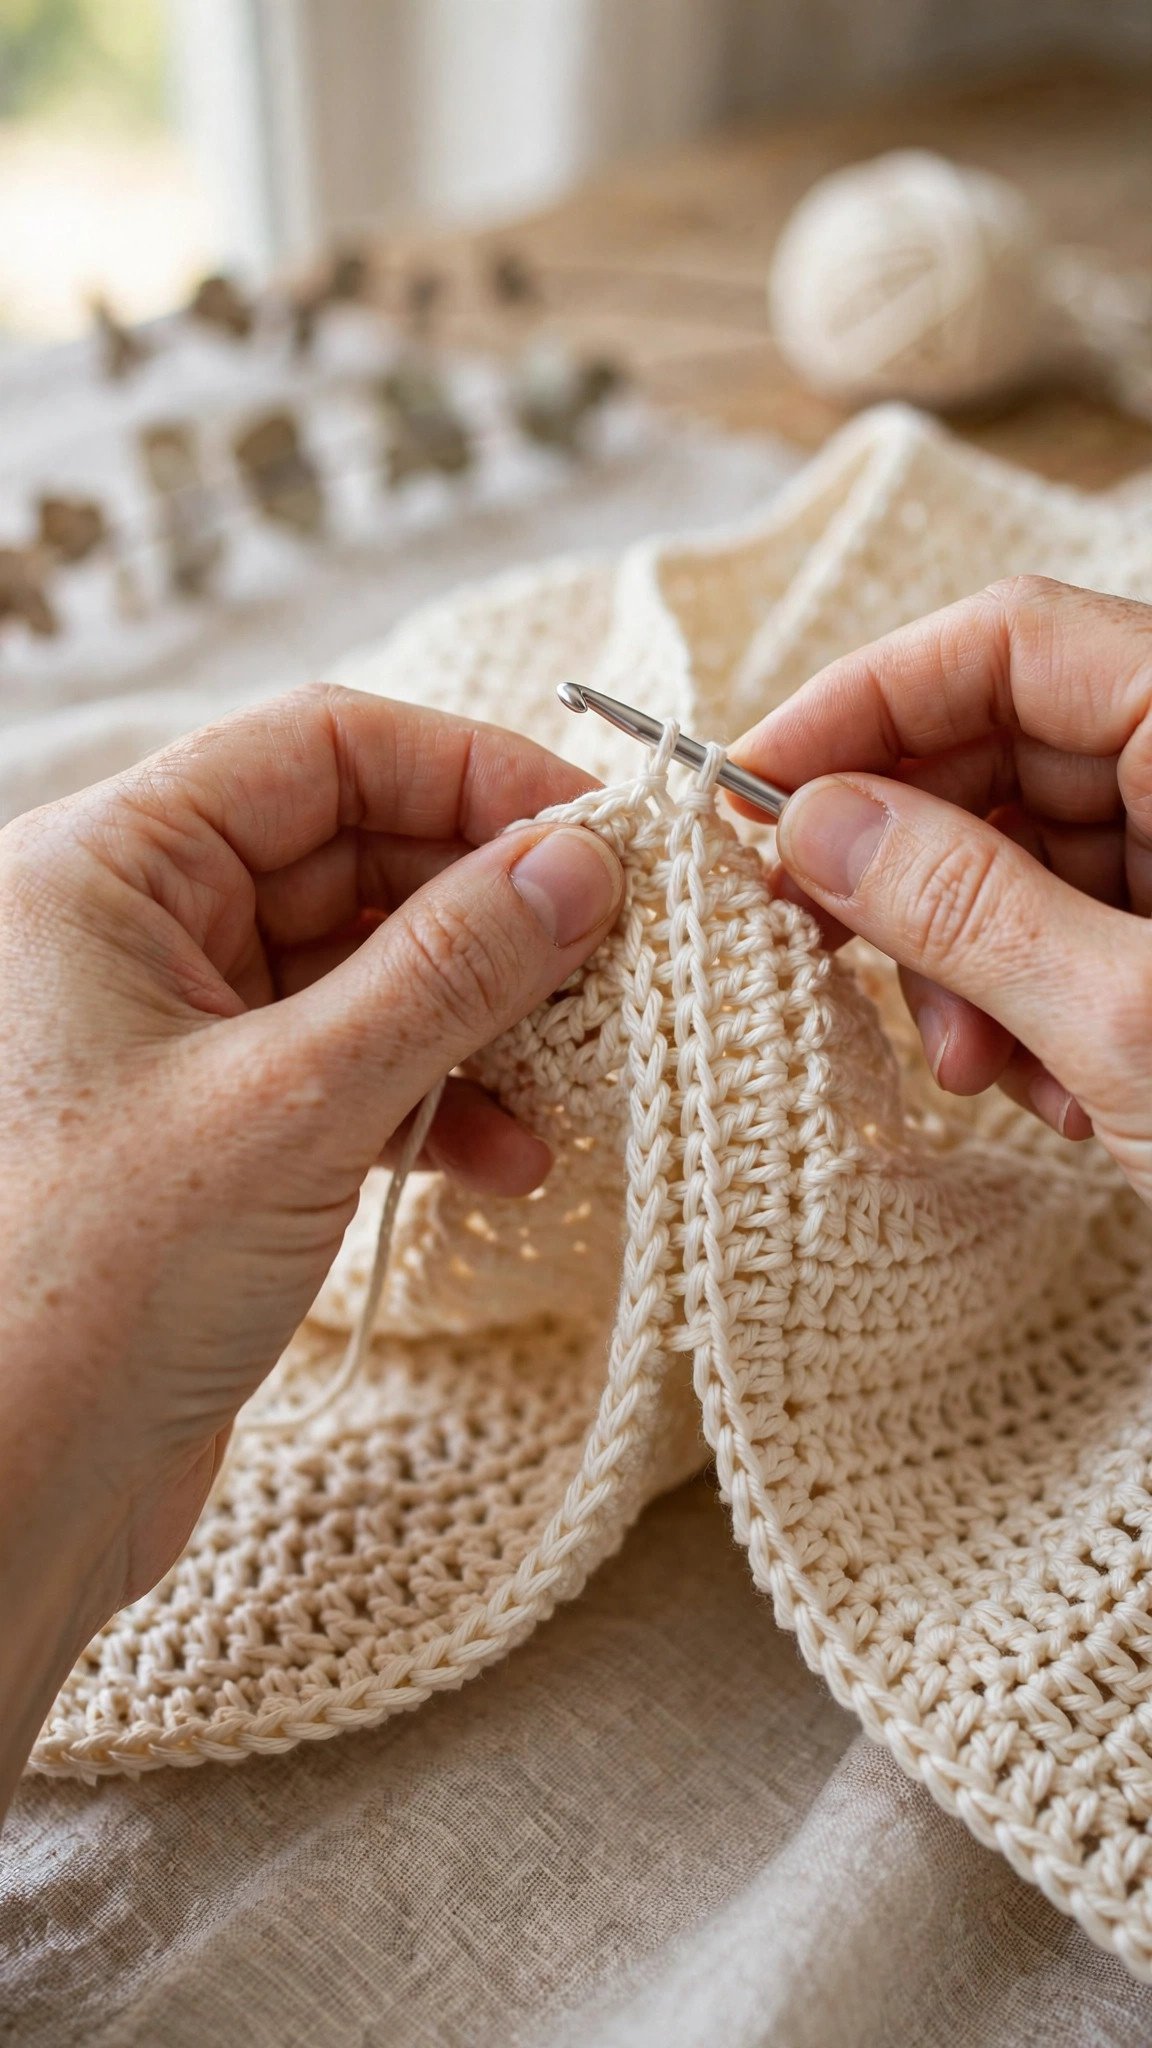
Seam the Sides and Finish
With the top still inside out, mark your armholes. Measure down from the shoulder seam along each side edge: leave 8 inches open for sizes up to a 44 inch bust, or 9 to 10 inches open for larger sizes. Mark with stitch markers. Now slip stitch the two layers together from the hem upward, stopping at your marker. Do both sides.
Turn the top right side out and try it on. This is the moment of truth, and with made-to-measure panels it is usually a happy one. If a side seam feels too loose, deepen it by an inch. If the armhole gapes, take the seam up a little higher.
For a clean finish, work one round of single crochet evenly around the neckline and around each armhole. This firms up the edges so they do not stretch out with wear, and it gives the whole top a polished, store-bought look. Weave in every end, give the top a gentle steam or a cool wash and flat dry, and it is ready to wear.
Variation: straps instead of a wide neck. If you prefer a tank style, make the neck opening just 8 inches wide, then crochet two straps: chain 60, single crochet back along the chain, and slip stitch each end to the front and back at the shoulder. It is the same no-sew joining, just skinnier.
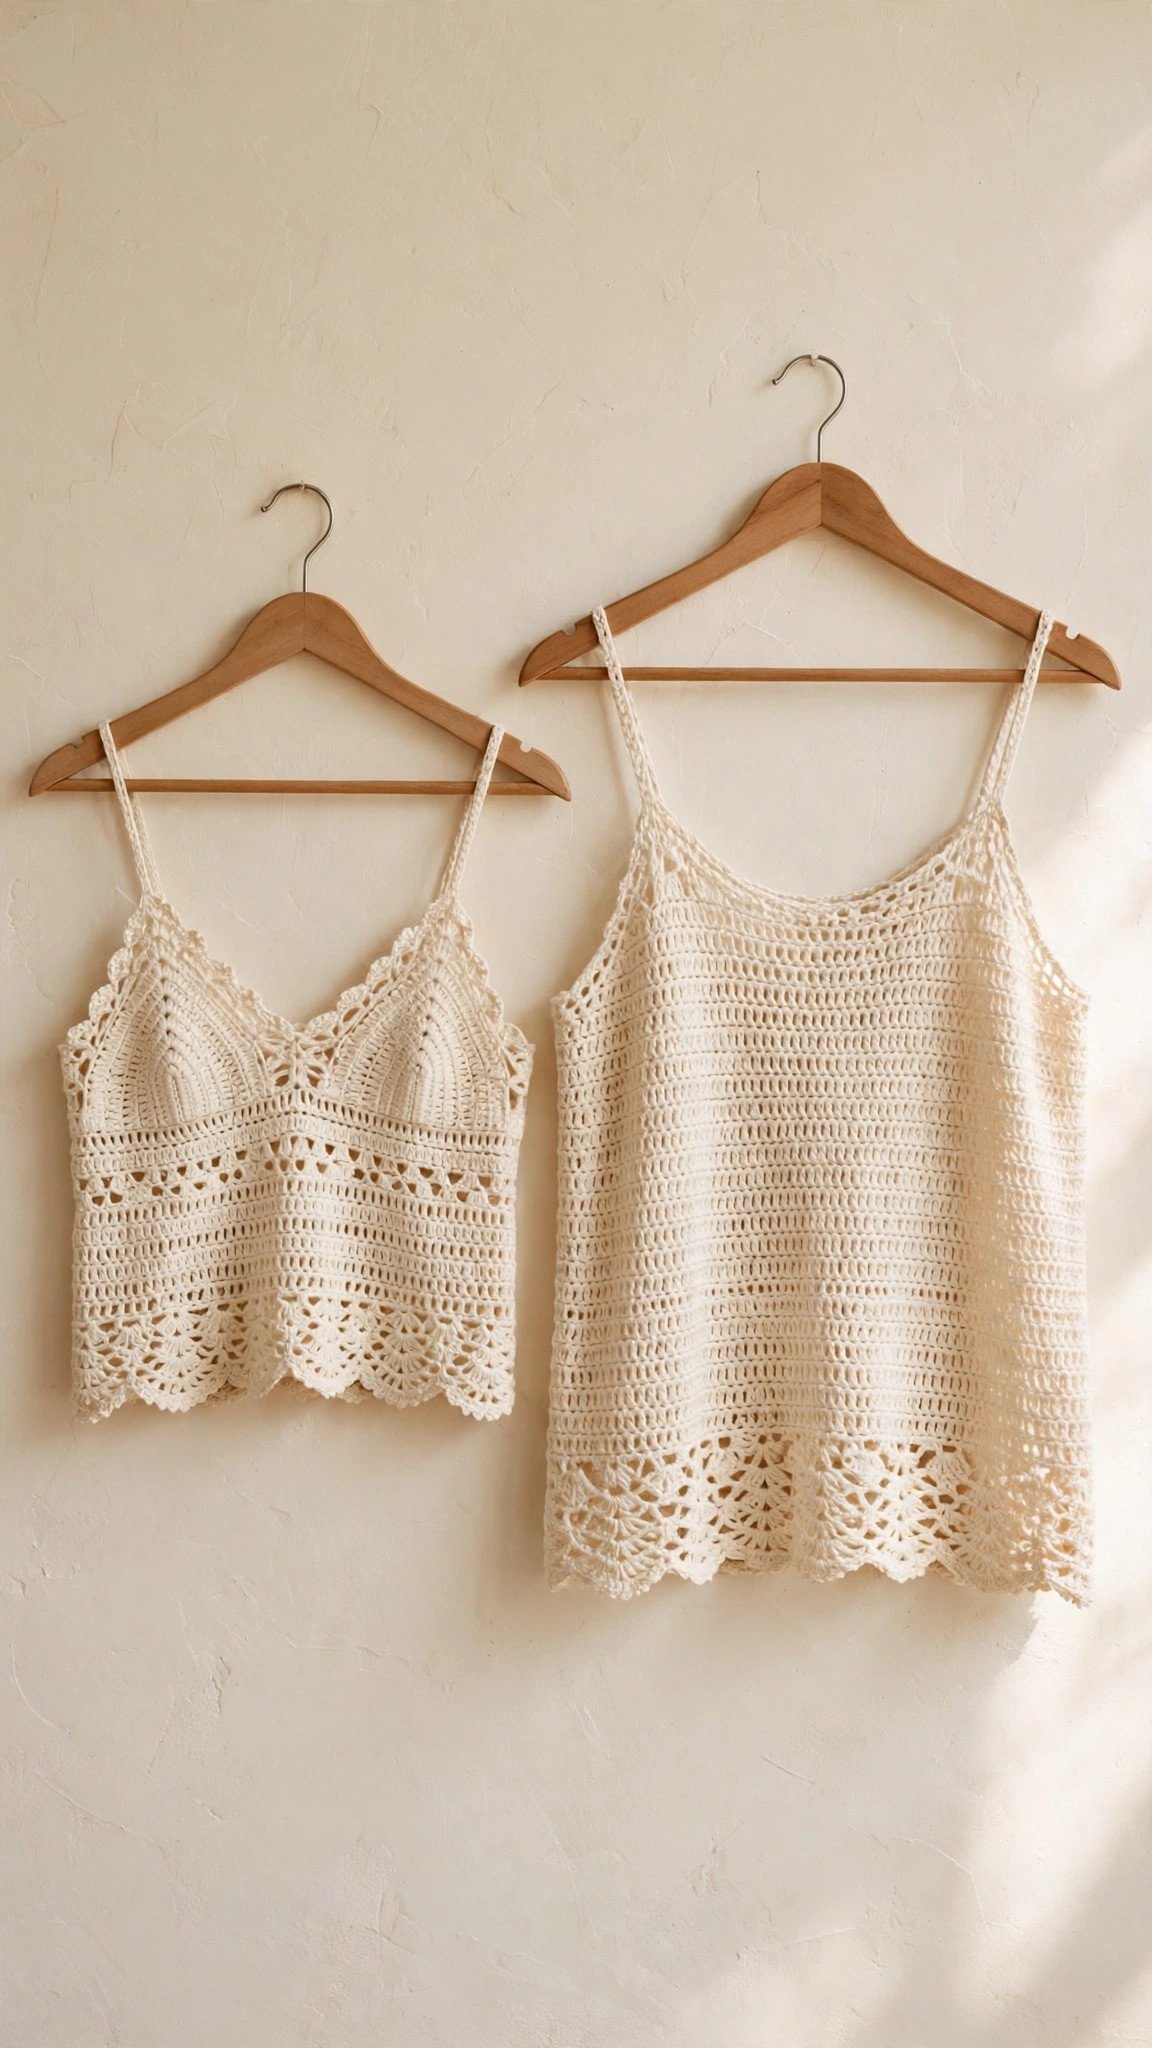
Fit and Styling Tips
A few things I learned the slightly embarrassing way. First, cotton grows. A top that fits perfectly off the hook will relax about half an inch with wear, so aim for just barely snug rather than roomy. Second, block your panels before seaming if your edges curl. A cool wash and flat dry evens out tension differences between the two panels. Third, this top loves layers: wear it over a cami or bralette, half-tucked into high-waisted jeans, or open over a swimsuit as a beach cover-up. Make it cropped in a bright color for summer festivals, or make it tunic length in cream for something timeless.
And here is my favorite part: once you have made one, you have a personal pattern. Write your chain count, row count, neck width, and armhole depth on an index card and keep it with your yarn. Your second top will take half the time, and your third will feel like a ten-minute project with extra steps.
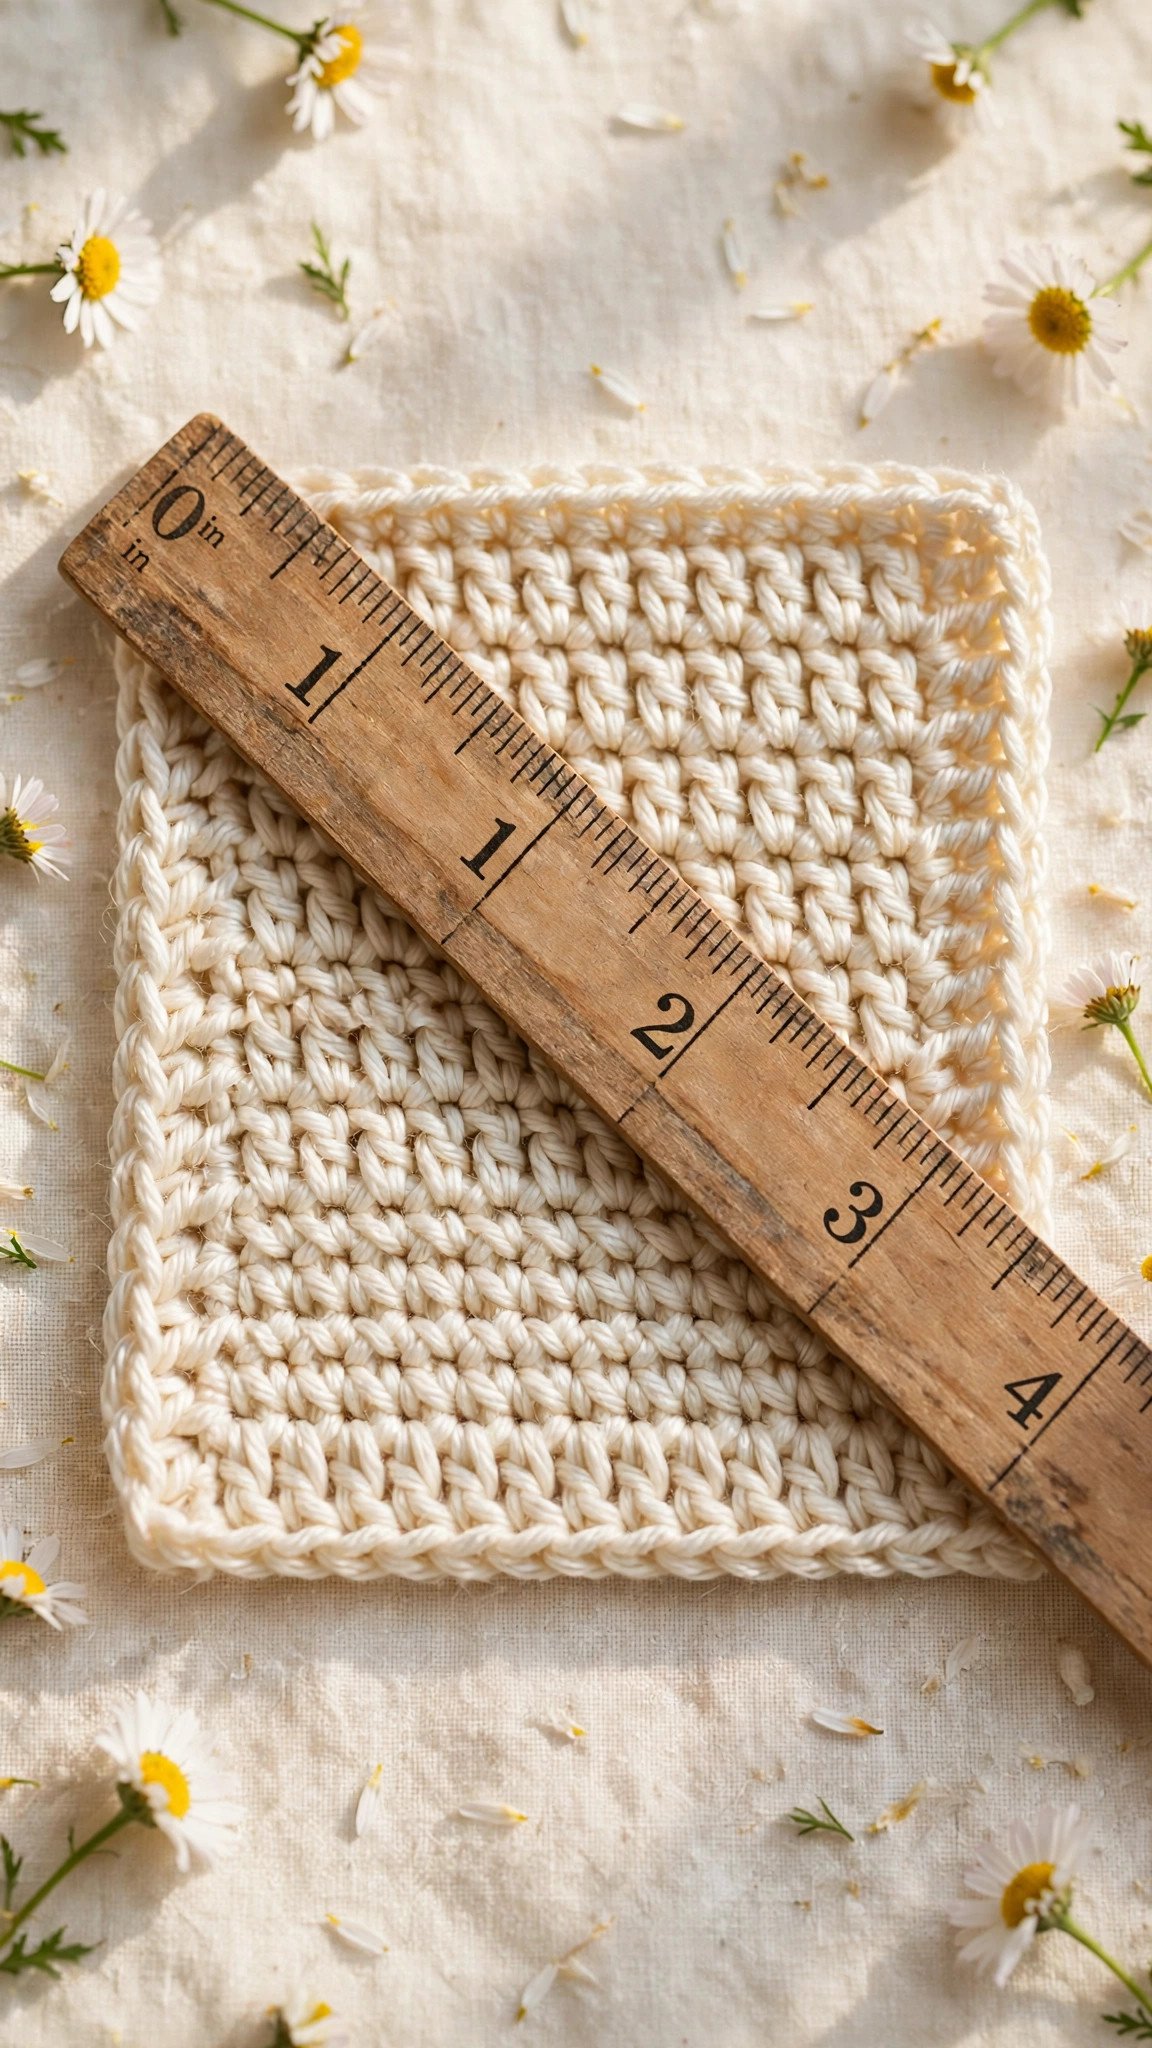
Troubleshooting: Wavy Edges and Gappy Fabric
My edges slant outward like a trapezoid. You are accidentally adding a stitch at the end of rows, almost always by working into the turning chain. Count your stitches. Put a marker in the first real stitch of the row and stop trusting your eyes at the edges.
The fabric feels stiff like cardboard. Your tension is tight for this yarn, or the hook is too small. Go up to a 5.5 mm or even 6.0 mm hook and swatch again. Drape matters more than exact gauge in a garment.
One panel is longer than the other. Count rows on both panels and add rows to the short one. Inches lie when tension shifts mid-project. Row counts do not.
The neckline gapes. Work a second round of single crochet around the neck, working two stitches together every few stitches to draw it in gently. Or narrow the opening by extending the shoulder seams.
The whole top looks boxy. Take the side seams in by an inch on each side, or remake with 1 inch of ease instead of 2. Boxy is usually just too much ease, not a broken pattern.
You just made a garment that fits your actual body, from two rectangles and a tape measure. That is not a beginner project, that is a superpower. When you are ready for your next wearable, the easy ribbed beanie uses the same rectangle logic with zero crown shaping. And if garments are your new thing, browse everything in Crochet Garments for what to make next.
Written by Ashley
I am Ashley, and I believe crochet should be fun from the very first loop. I test every tutorial and pattern here myself before it lands on Loop & Lark.