
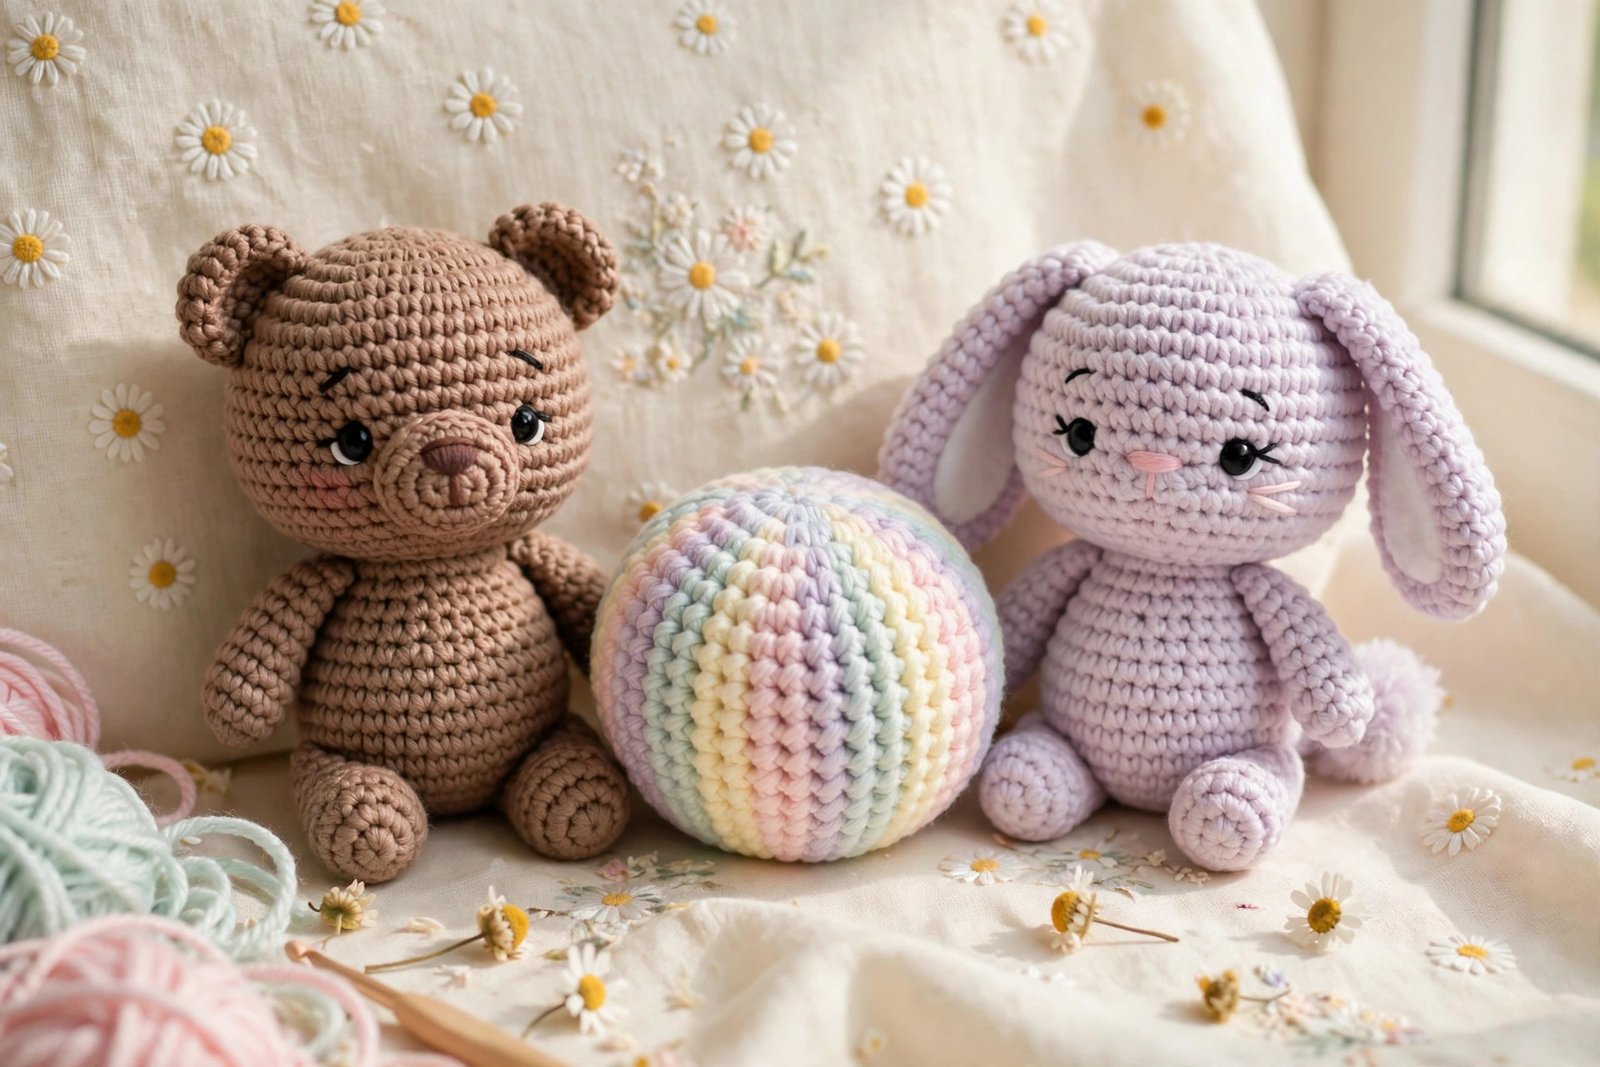
Amigurumi is the Japanese art of crocheting tiny stuffed creatures, and it looks way harder than it is. Here is the secret nobody tells beginners: every amigurumi you have ever drooled over is built from the same five beginner techniques. Learn those, and you can crochet your first plush tonight. In this guide I will teach you each technique, then we will make a simple amigurumi ball together so you finish with something squishy in your hands.
Your Amigurumi Starter Kit
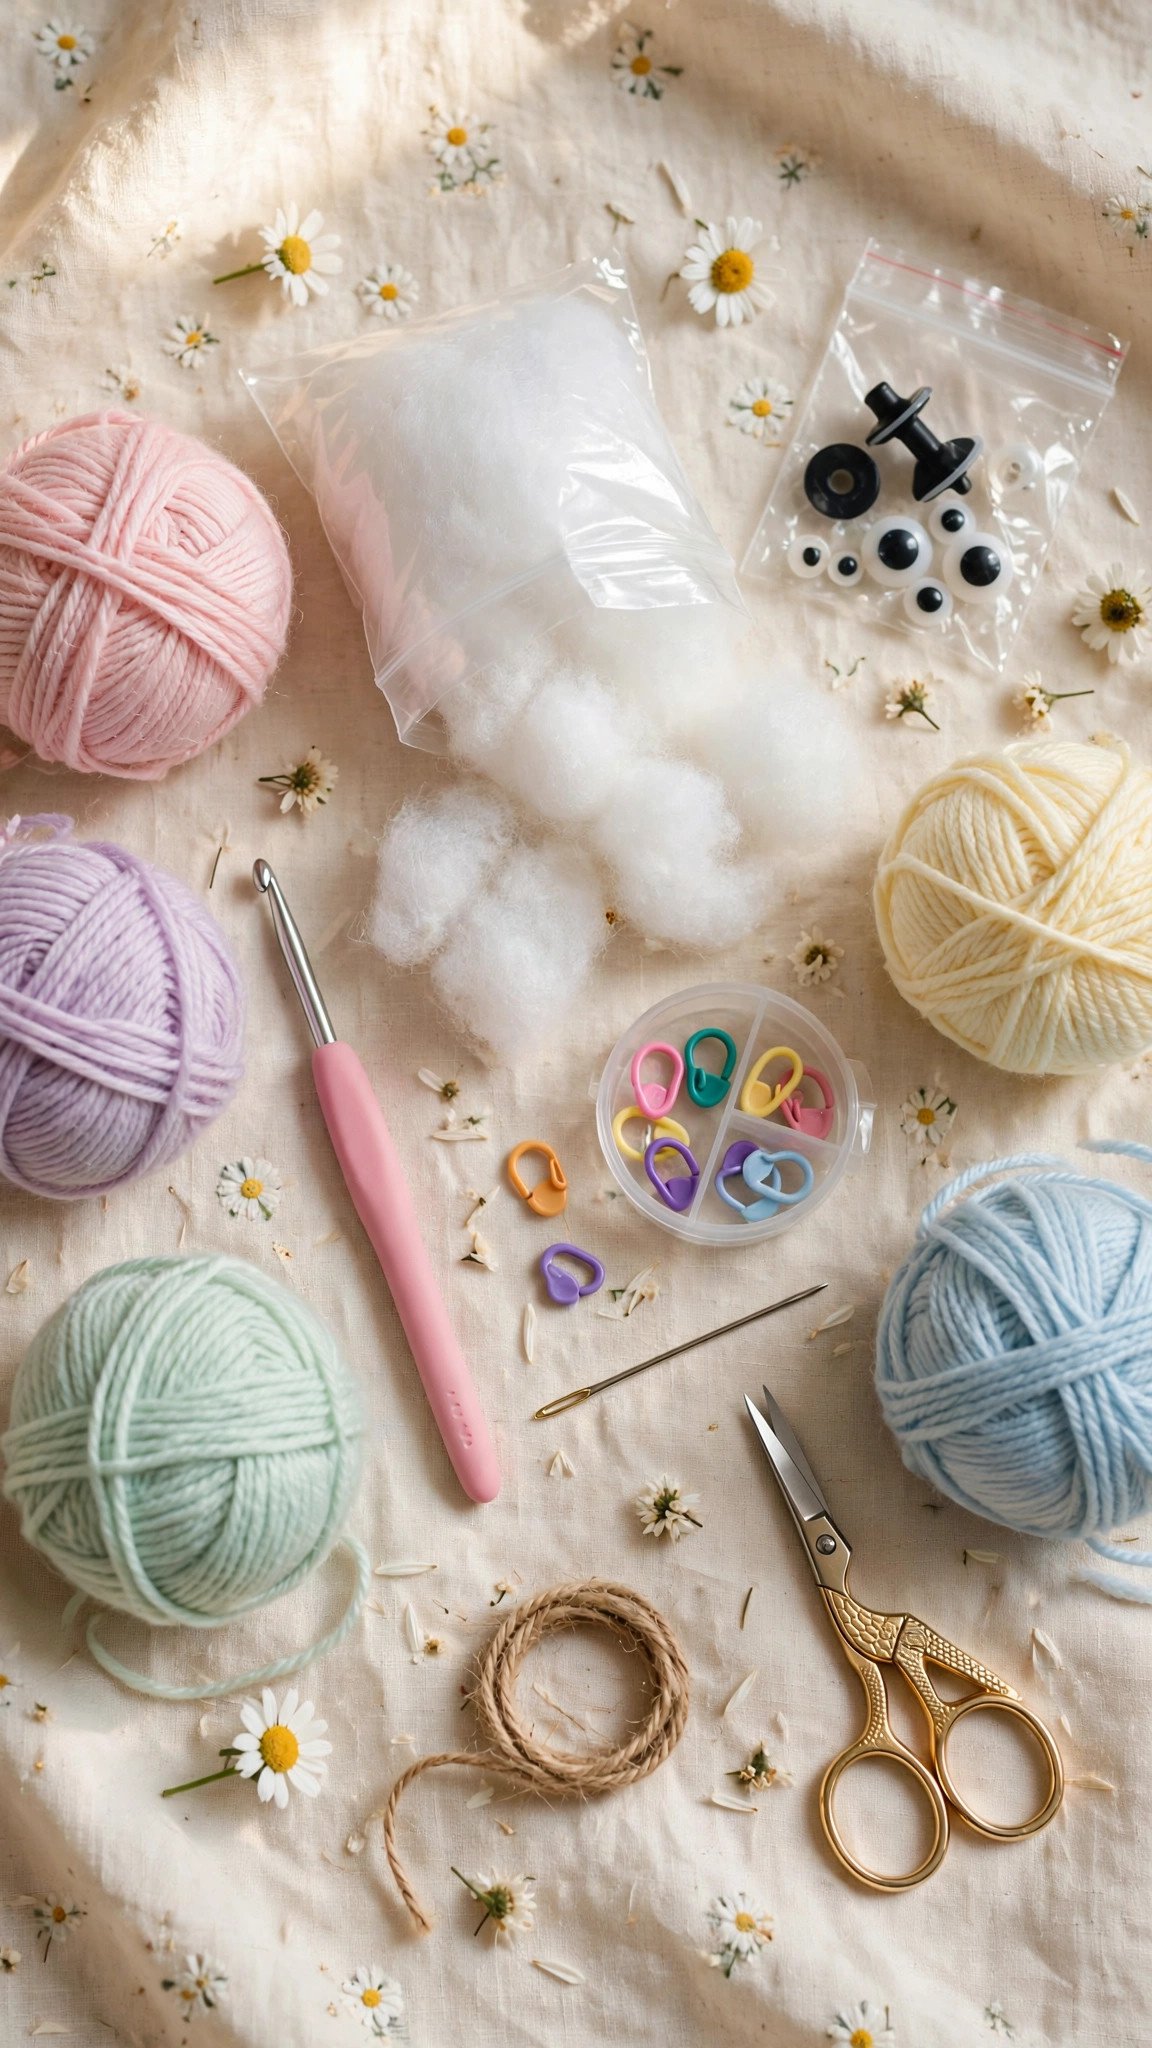
Amigurumi needs fewer supplies than you think, but two of them matter more than everything else. Here is my honest list:
- Worsted weight yarn (number 4). Red Heart Super Saver acrylic is forgiving and easy to count stitches in, which makes it my top pick for your first plush. Lily Sugar’n Cream cotton gives crisper stitch definition and a lovely handmade look once you are comfortable. Use a smooth, light to medium colored yarn, because dark or fuzzy yarn hides your stitches and makes counting miserable.
- A hook SMALLER than the yarn label suggests: a 3.5 mm hook (US E-4). This is the big one. Amigurumi fabric must be dense so the stuffing cannot peek through. The label on worsted yarn usually calls for a 5.0 to 5.5 mm hook, and for amigurumi you deliberately size down. If your hands crochet tightly, a 4.0 mm hook can work, but 3.5 mm is the safe beginner choice.
- Polyester fiberfill stuffing. The classic brand is Fairfield Poly-Fil. You want it soft and clump-free, and you will use less than you think.
- Stitch markers. Amigurumi is worked in spirals with no visible round joins, so without a marker you will lose your place in about four rounds. A locking marker or even a scrap of contrasting yarn works.
- A tapestry needle with a big eye and blunt tip, for sewing pieces together and burying tails.
- Safety eyes (optional). 9 mm or 12 mm eyes suit a palm-sized plush. You can always embroider the face instead, which I recommend for anything a baby or toddler will cuddle.
- Scissors.
The 5 Techniques Behind Every Plush
Forget the idea that a crocheted octopus requires advanced skills. Nearly every amigurumi pattern is just these five moves in different combinations:
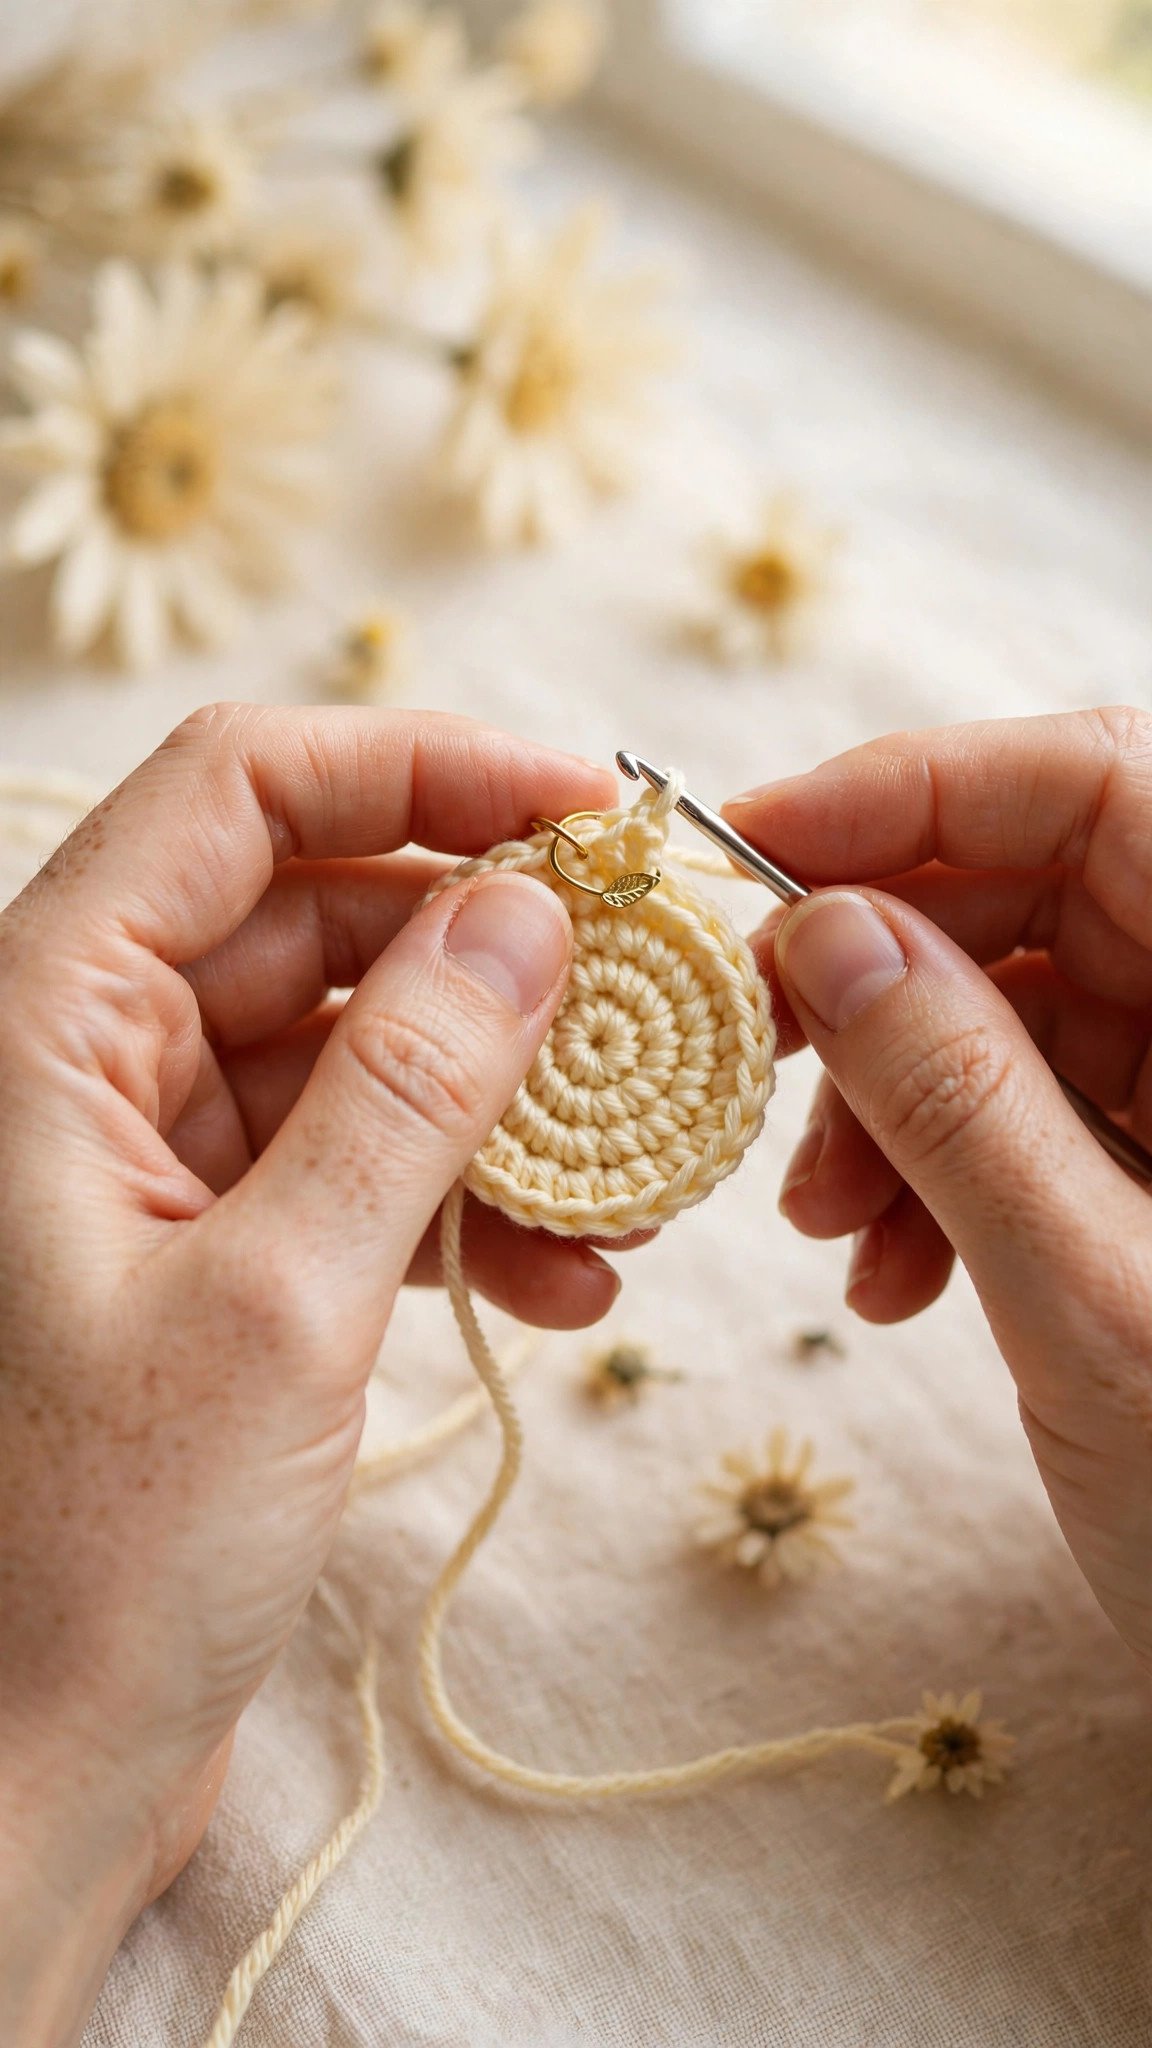
- Magic ring: an adjustable loop that closes the center with no hole.
- Single crochet in continuous rounds: no joining, no turning chains. You just spiral upward, which is why you need that stitch marker.
- Increase: two single crochets worked into the same stitch, which makes the piece grow wider. Written as “inc”.
- Decrease: two stitches worked together into one, which makes the piece narrow. Written as “dec”. The invisible decrease is the amigurumi upgrade and we will cover it below.
- Counting rounds: checking your stitch count at the end of each round. Thirty seconds of counting now saves thirty minutes of frogging later.
That is genuinely the whole toolbox. Heads, bodies, arms, and legs are all spheres and tubes shaped by increases and decreases. If you can single crochet, you are ready. If single crochet is new to you, my single crochet stitch tutorial will get you fluent in about twenty minutes.
The Magic Ring, Made Painless
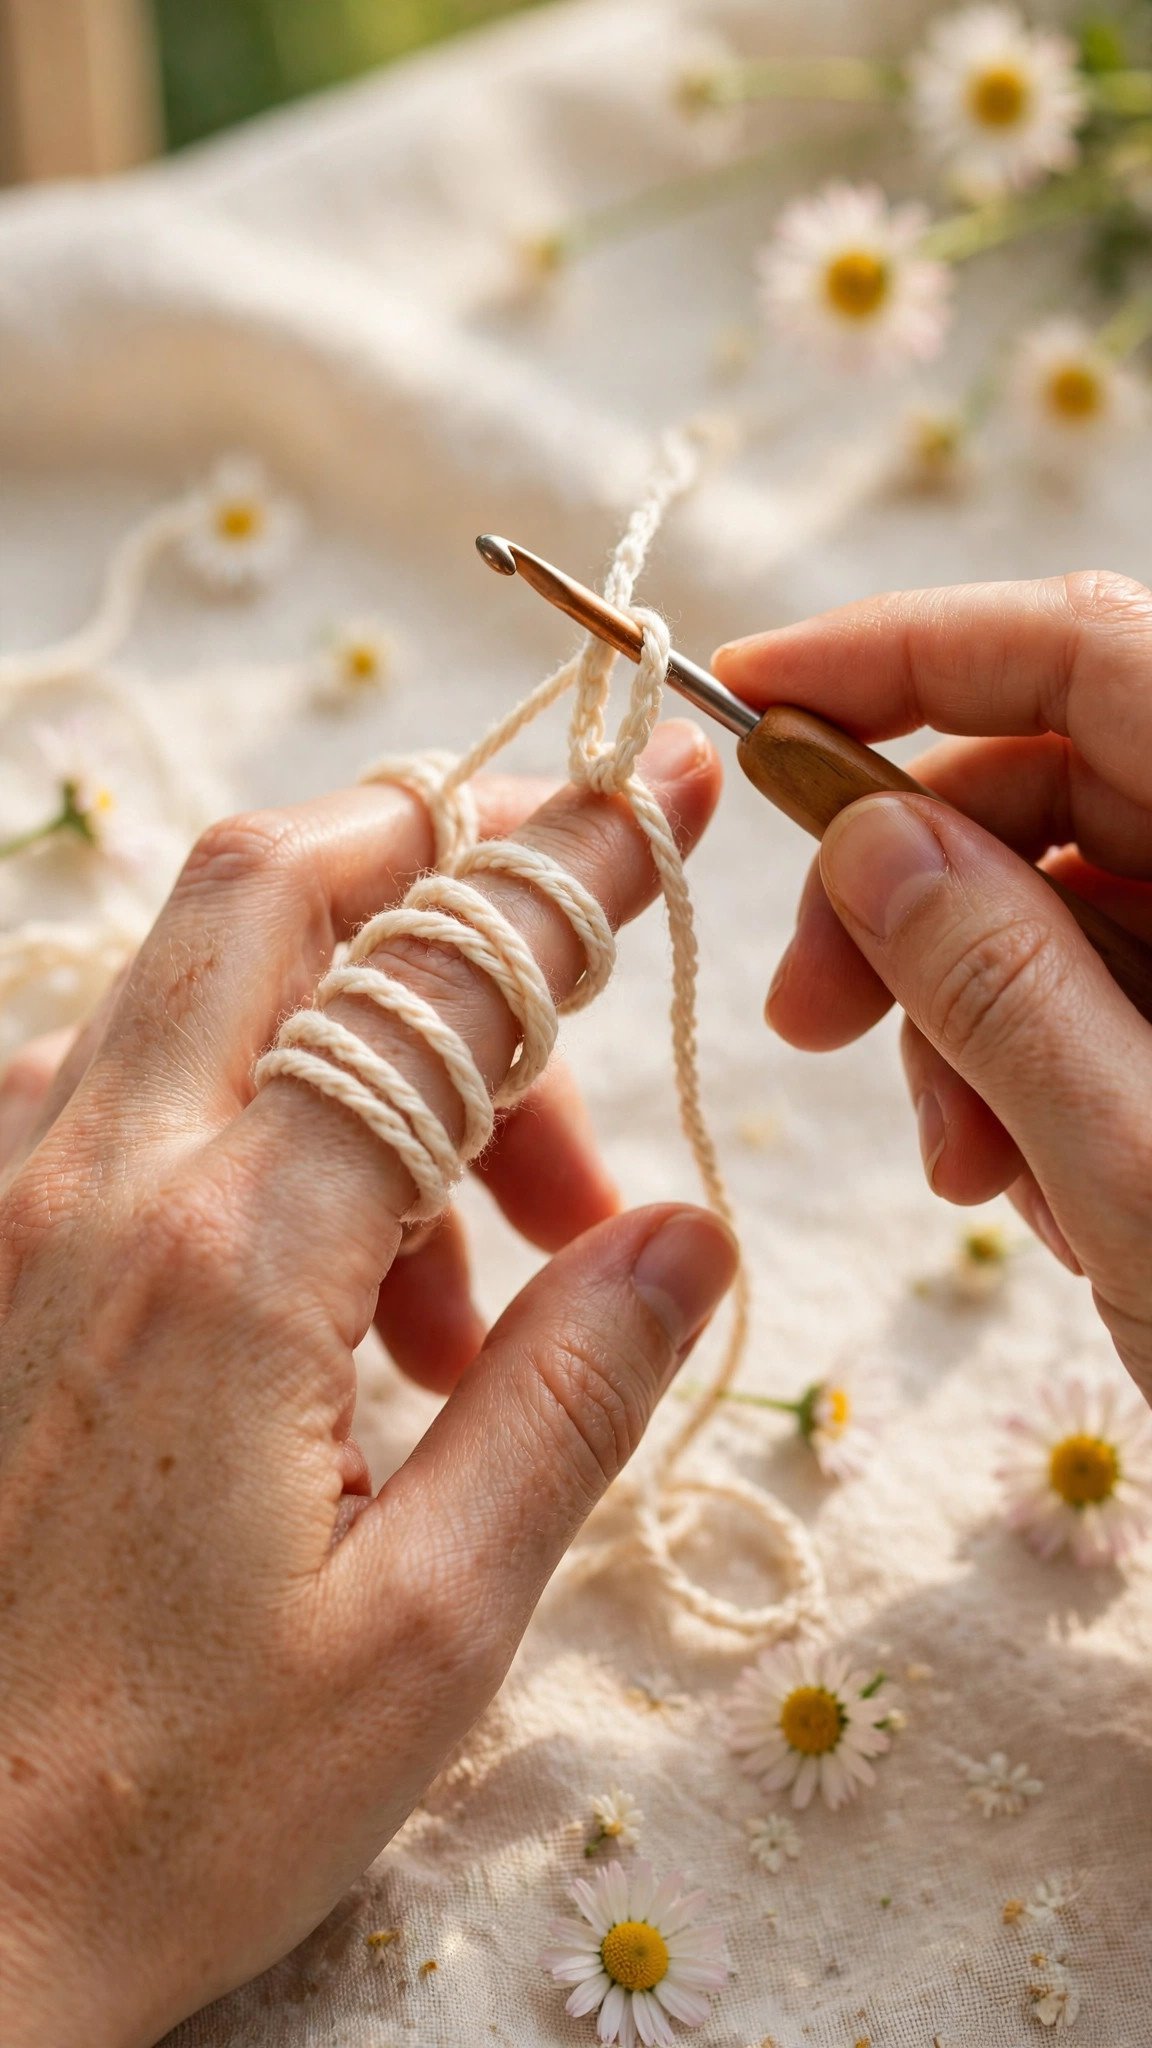
The magic ring is the number one beginner frustration in amigurumi, and also completely learnable in five minutes. Here is my plain-English method:
- Hold the yarn tail in your left hand and wrap the working yarn twice around your index finger. You should see two loops.
- Slide your hook under both loops and pull up a loop of working yarn.
- Yarn over and pull through to make a chain 1. This locks the ring.
- Now single crochet your first round, usually 6 stitches, directly into the big finger loop, working over both strands of the ring.
- Pull the short tail firmly. The ring cinches closed like a drawstring bag. Done.
Two tips from my own early disasters: work your first round loosely, because tight stitches on a magic ring are a wrestling match, and weave the tail in securely afterward. A magic ring that is not anchored can loosen over time, and nobody wants their plush slowly developing a hole in its head. If the ring still defeats you after three tries, use the chain-2 start instead: chain 2, work 6 single crochet into the first chain. It leaves a tiny hole, but your plush will be just as cute.
Shaping: Increases and the Invisible Decrease
Shaping is just math with a hook. To widen a sphere you add increases evenly around the round: round 2 works 2 single crochet in every stitch (6 becomes 12), round 3 alternates (single crochet, increase) six times (12 becomes 18), round 4 does (2 single crochet, increase) six times (18 becomes 24), and so on. This predictable rhythm is why patterns always give you a stitch count in parentheses at the end of each round, like (24). Check it. Every time.
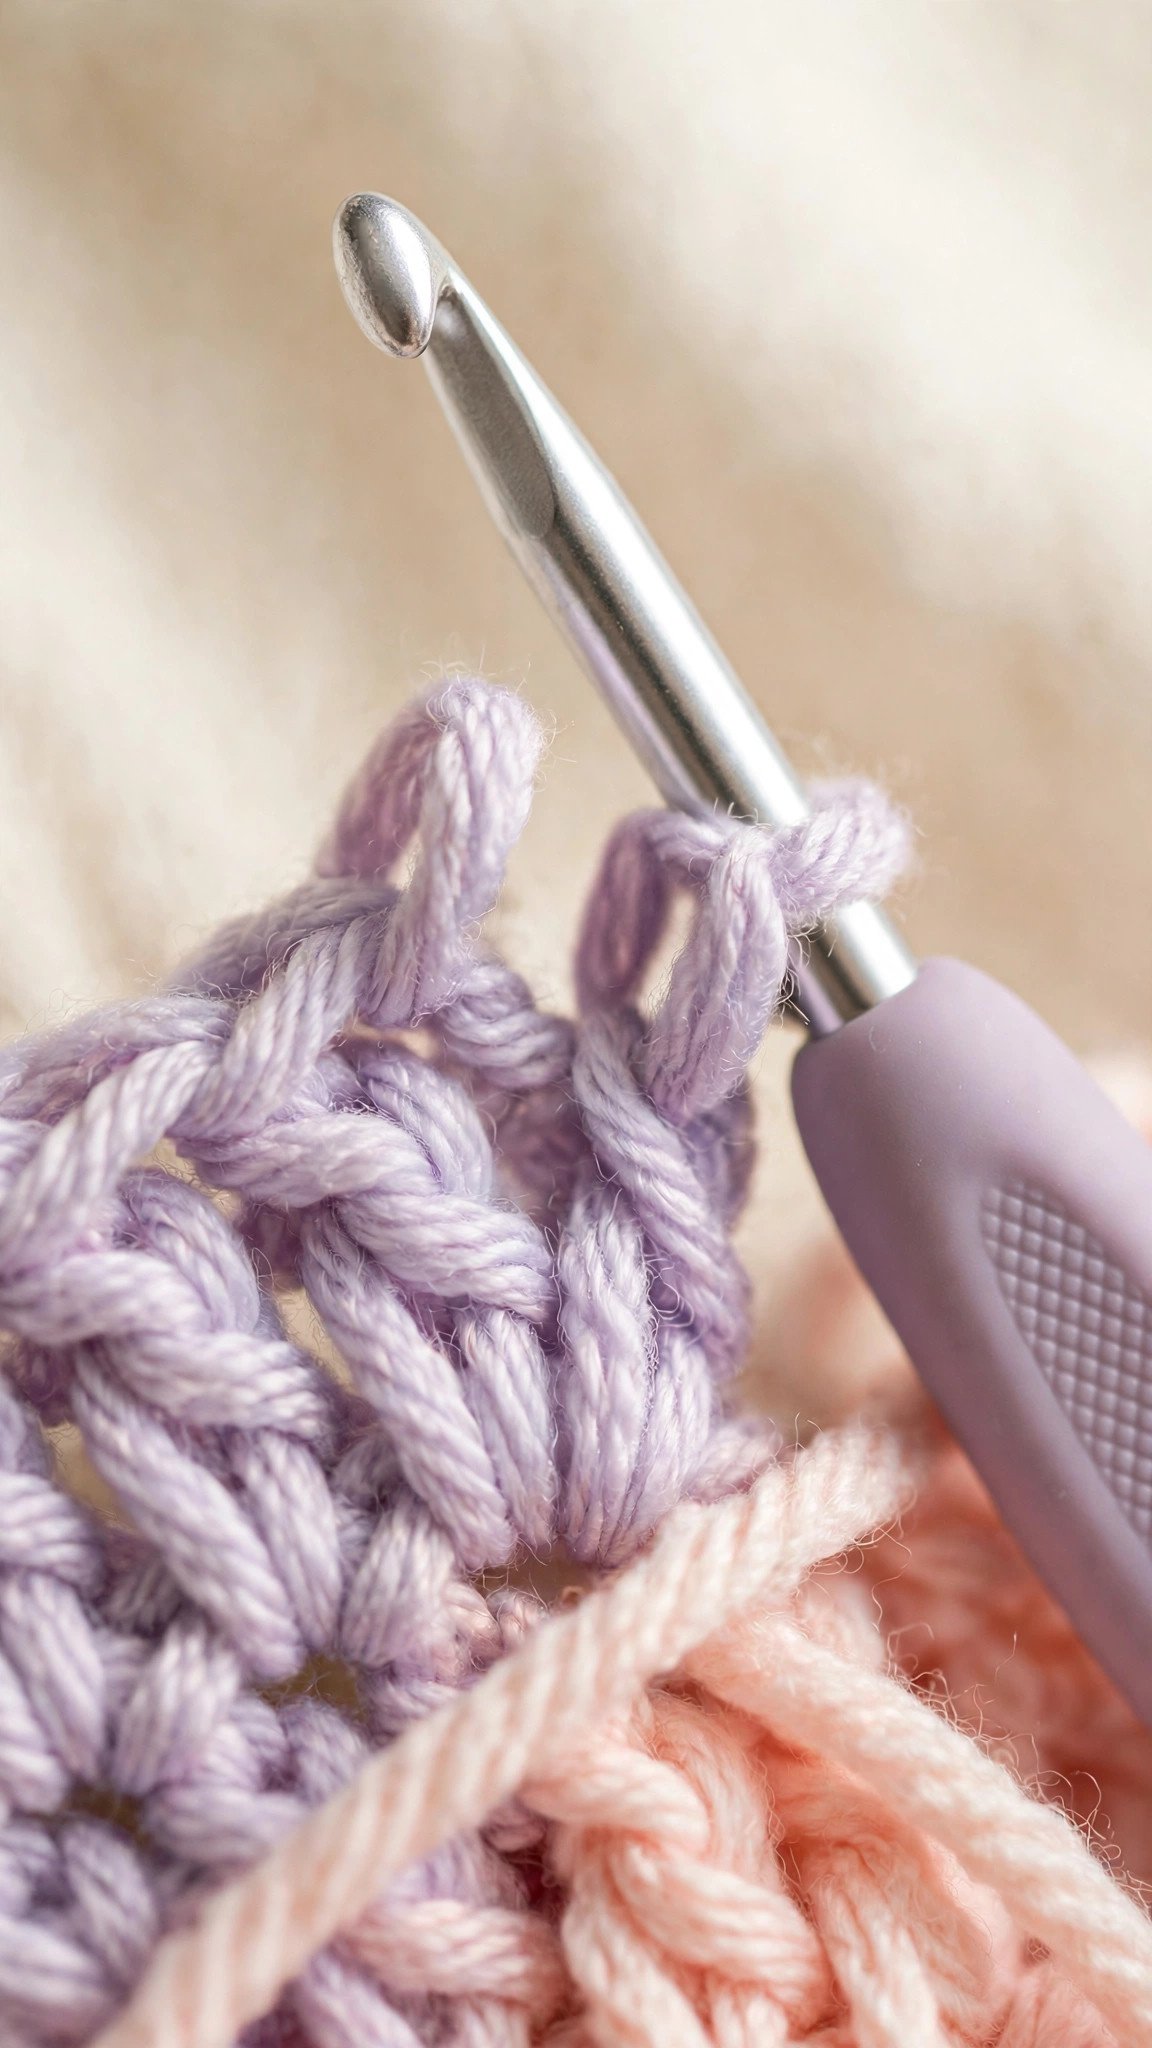
To narrow, you decrease. A regular decrease, written sc2tog, jams two stitches together through both loops and leaves a small bump and often a tiny gap. For amigurumi there is a better move: the invisible decrease. Insert your hook under the front loop only of the next stitch, then under the front loop only of the following stitch, yarn over, pull through both front loops, yarn over, pull through the two loops on your hook. Because you skipped the back loops, the stitch lies almost flat, with no bump and no gap for stuffing to escape through. Use it on every visible surface, like faces and the tops of heads. Save the regular decrease for flat pieces worked in rows, like ears or wings, where both sides show.
Stuffing: Firm, Even, and Hole-Free
Stuffing is where beginner plushies go from lumpy to lovely. Three rules:
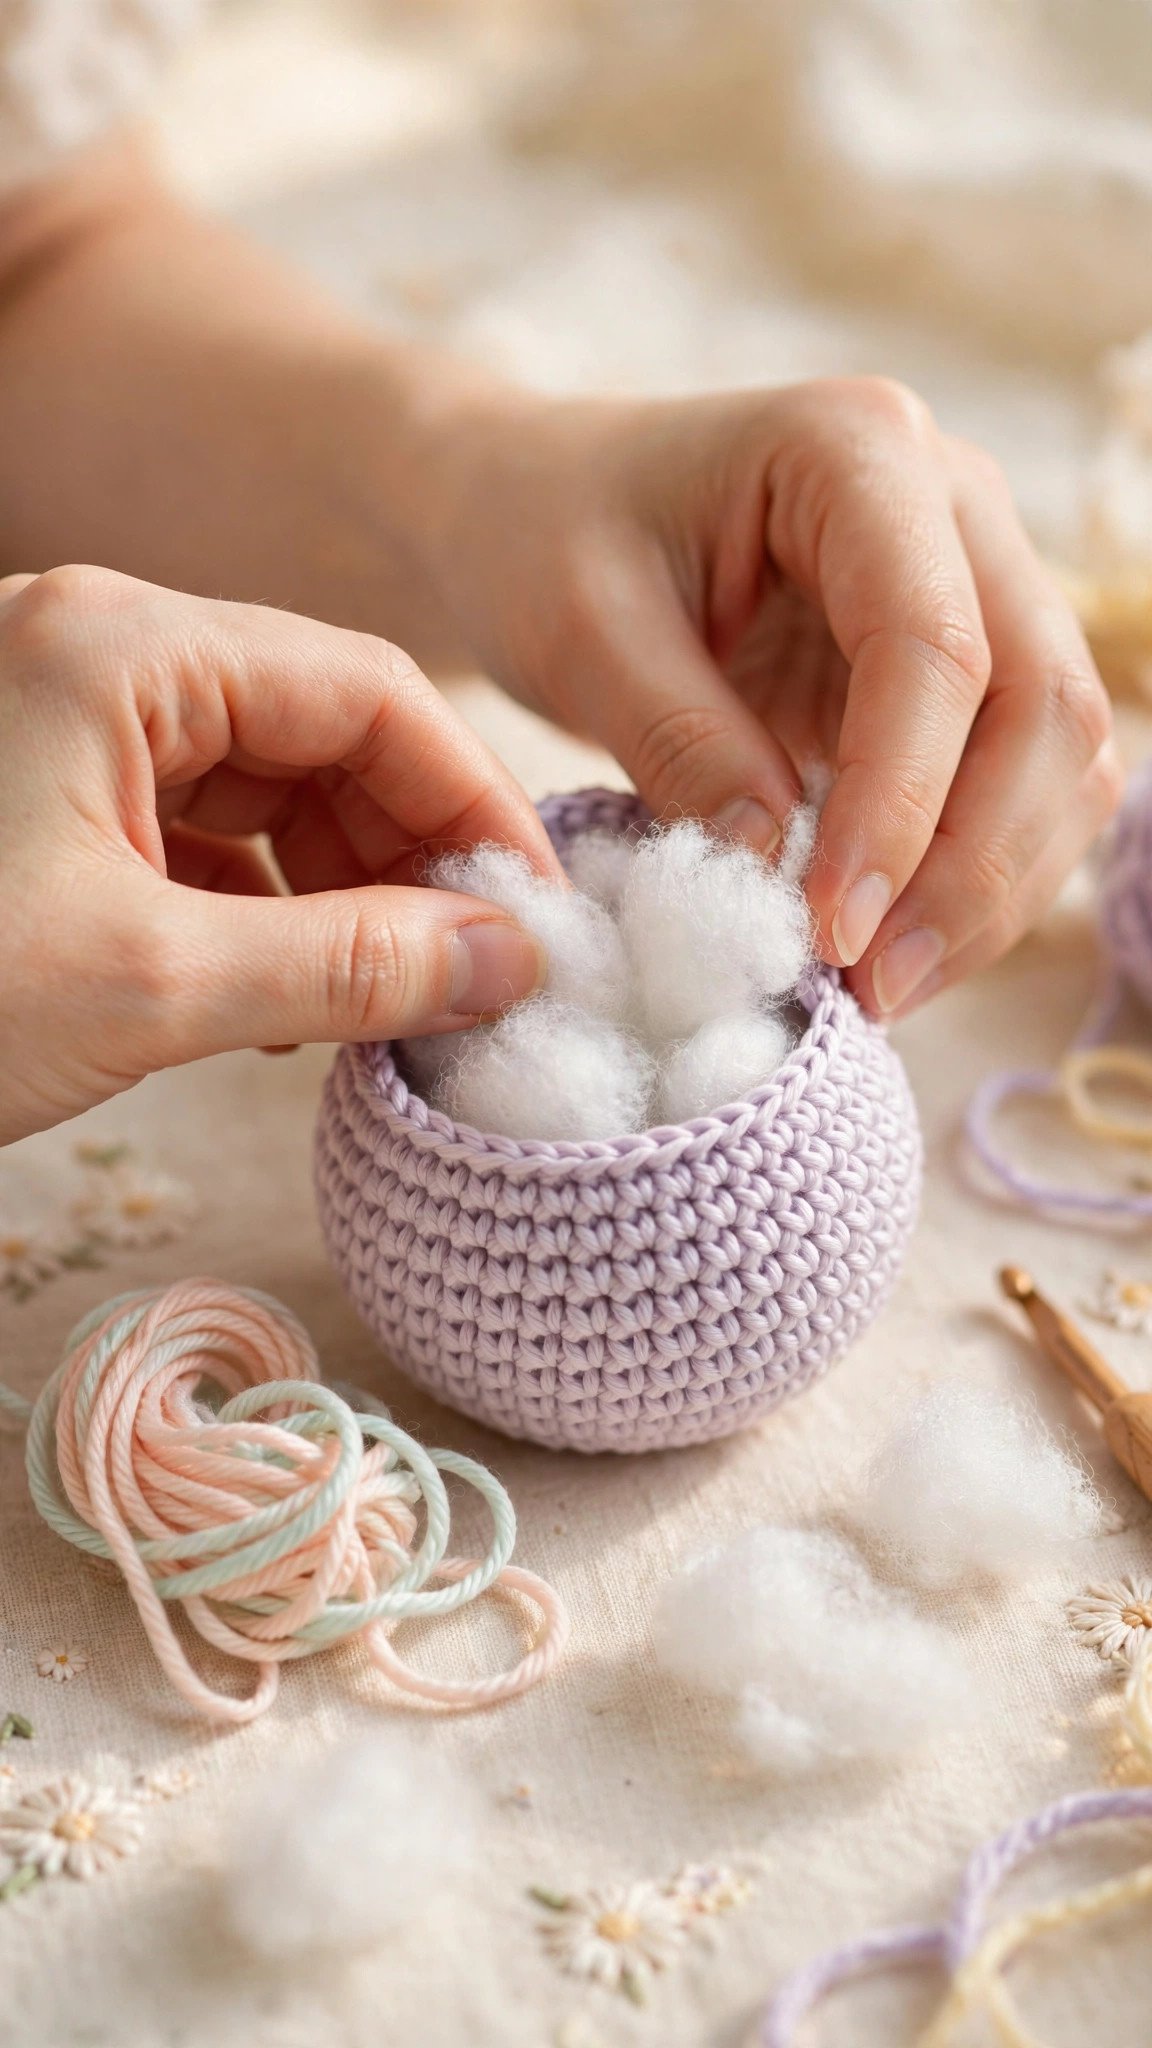
- Stuff as you go. Start adding fiberfill when the opening is still wide, about two-thirds of the way through the piece. Trying to cram stuffing through a tiny final hole gives you lumps every time.
- Use small handfuls, not one big wad. Tease the fiberfill apart, tuck in a little at a time, and push it into the edges with the blunt end of your hook. Build the shape gradually.
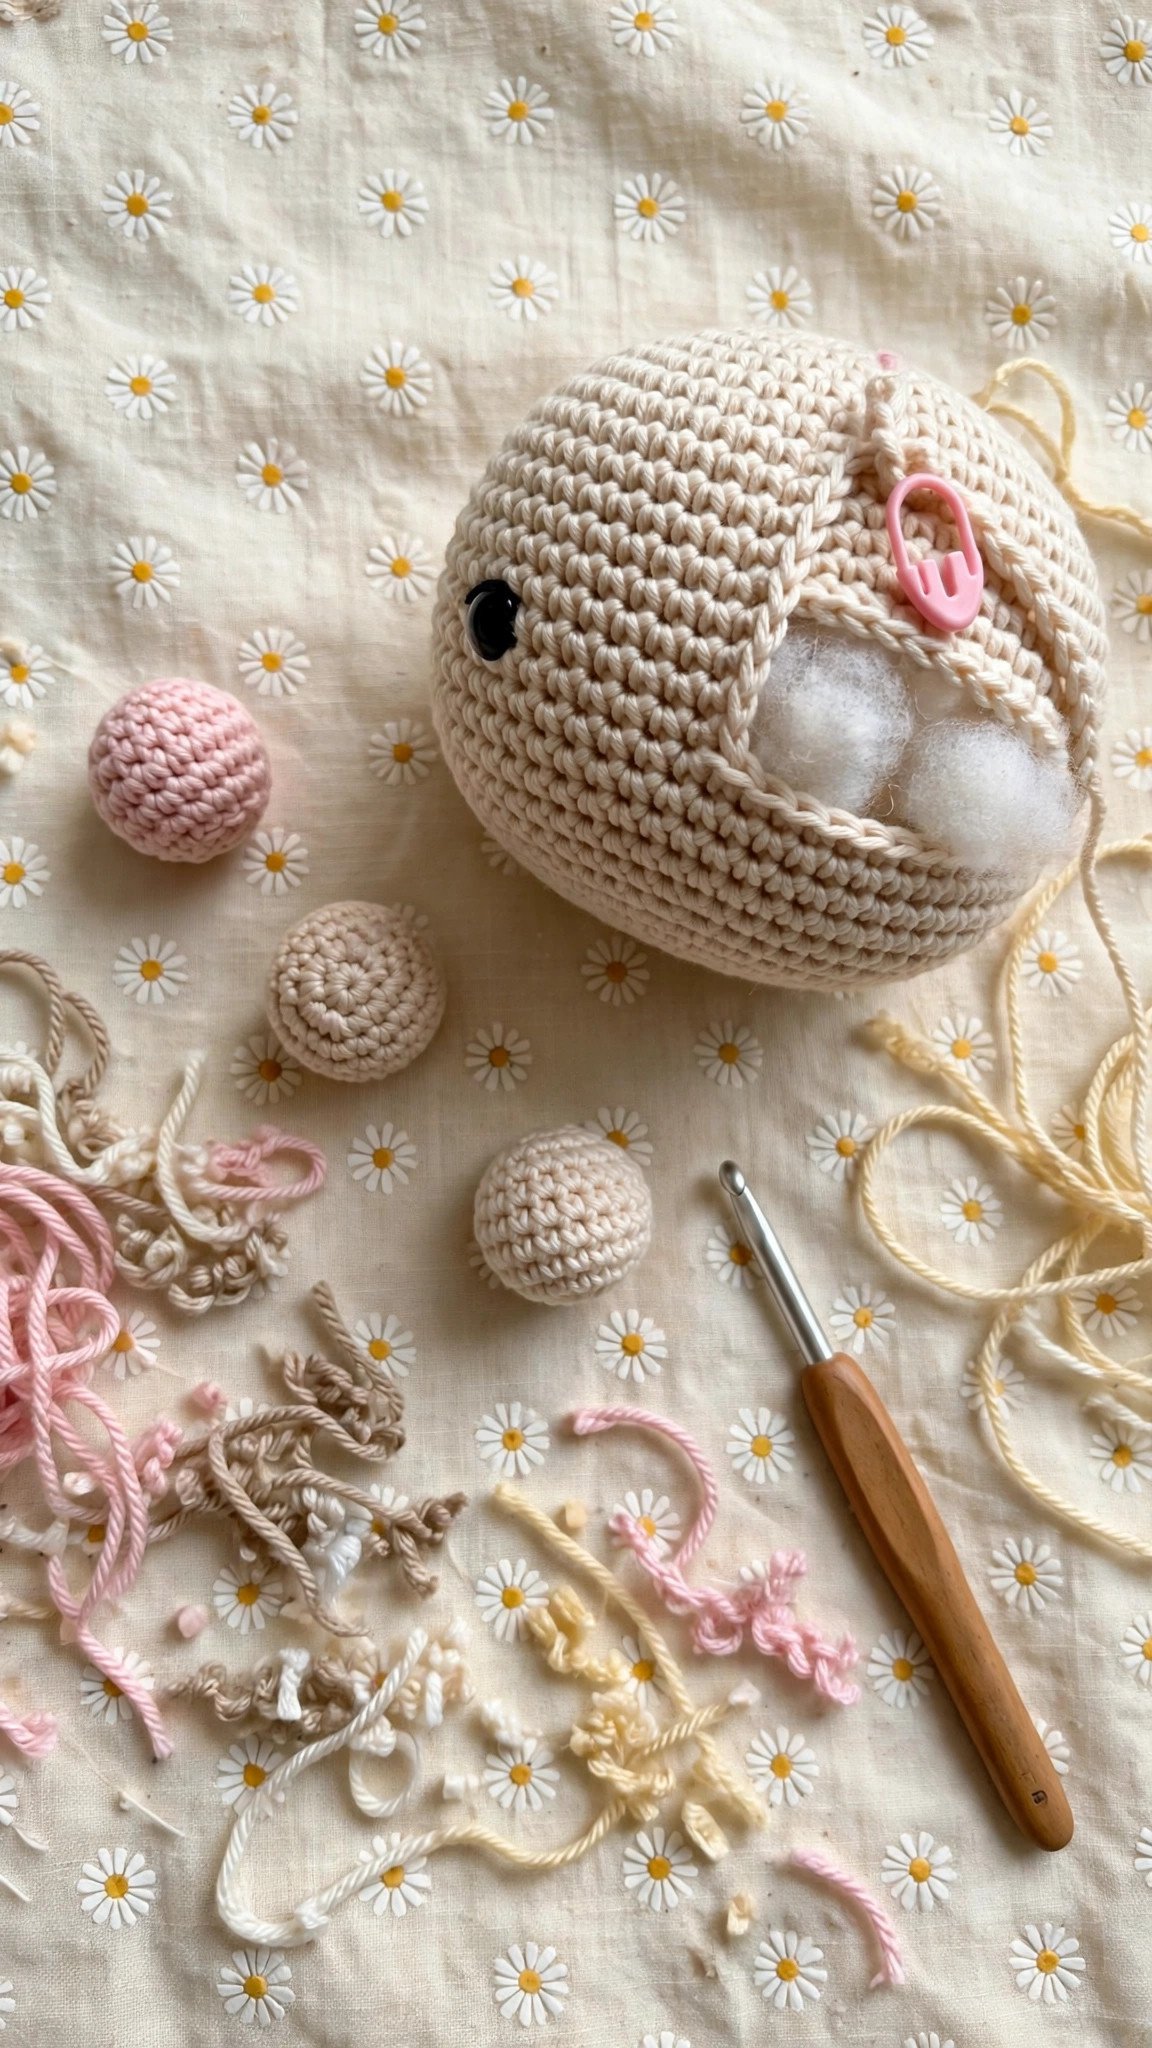
- Firm, but not bursting. The piece should feel plump and hold its shape when you set it down, but the stitches should not stretch open. If you can see white peeking through between stitches, you overstuffed: pull a little out. Understuffed plushies flop; overstuffed ones look strained. Aim for a ripe peach.
When the piece is nearly closed, finish stuffing, then close the top. The cleanest finish: cut the yarn leaving a long tail, thread it on your tapestry needle, and weave it through the front loop only of each remaining stitch. Pull tight like a drawstring, poke the needle through to the inside, and bury the tail in the stuffing. No visible seam, no knot on the surface.
Faces: Safety Eyes or Embroidery?
A face is what turns a ball of yarn into a character, and you have two good options.
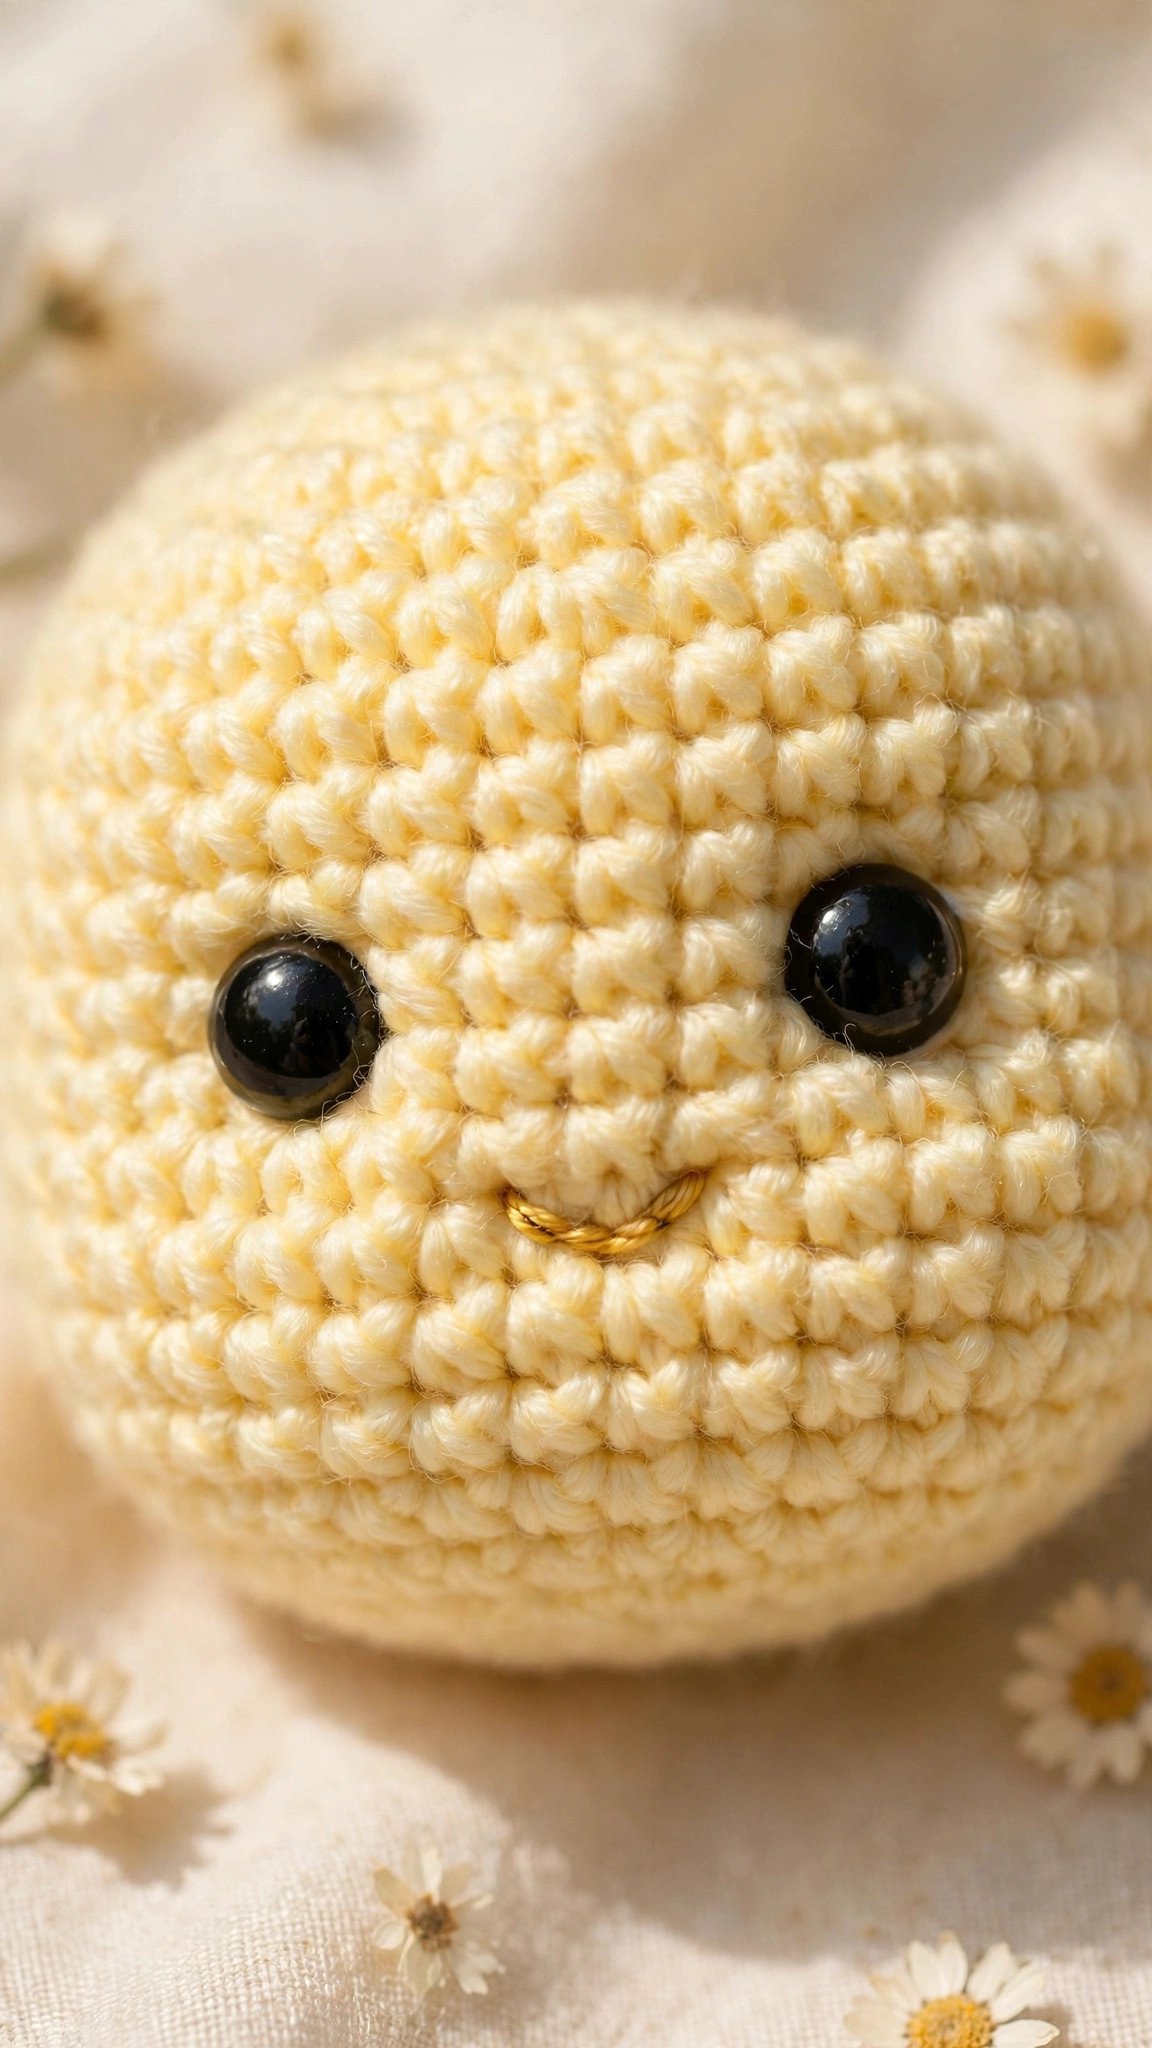
Safety eyes give that classic wide-eyed kawaii look. They come in two parts: the eye and a washer back that clicks on inside the piece. Install them BEFORE you stuff and close: push the post through the stitches where you want the face, usually between rounds 5 and 7 on a small head, then press the washer on firmly from the inside. Once that washer clicks, it does not come off, so place the eyes, hold the piece at arm’s length, and check the spacing before you commit. For anything that will be loved by a child under three, skip safety eyes entirely.
Embroidered faces are the baby-safe choice and honestly my favorite for beginners. Use black or dark brown yarn or embroidery floss on your tapestry needle. Simple vertical stitches make sleepy eyes, French knots make round eyes, and a tiny V or straight line makes a mouth. Embroider after stuffing but before closing, while you can still reach inside to anchor your knots. A wonky hand-embroidered face has more charm than a perfect plastic one, I promise.
Your First Project: A Simple Amigurumi Ball
Here is your graduation piece: a soft little ball that uses every technique above and takes about an hour. Grab your worsted yarn and 3.5 mm hook.
Round 1: 6 single crochet in a magic ring. (6)
Round 2: Increase in each stitch around. (12)
Round 3: (Single crochet, increase) 6 times. (18)
Round 4: (2 single crochet, increase) 6 times. (24)
Round 5: (3 single crochet, increase) 6 times. (30)
Rounds 6 to 11: Single crochet in each stitch around. (30) Place your stitch marker at the start of round 6 and move it up each round.
Round 12: (3 single crochet, invisible decrease) 6 times. (24)
Round 13: (2 single crochet, invisible decrease) 6 times. (18) Start stuffing now, firmly and evenly.
Round 14: (Single crochet, invisible decrease) 6 times. (12) Add the last of the stuffing.
Round 15: Invisible decrease 6 times. (6)
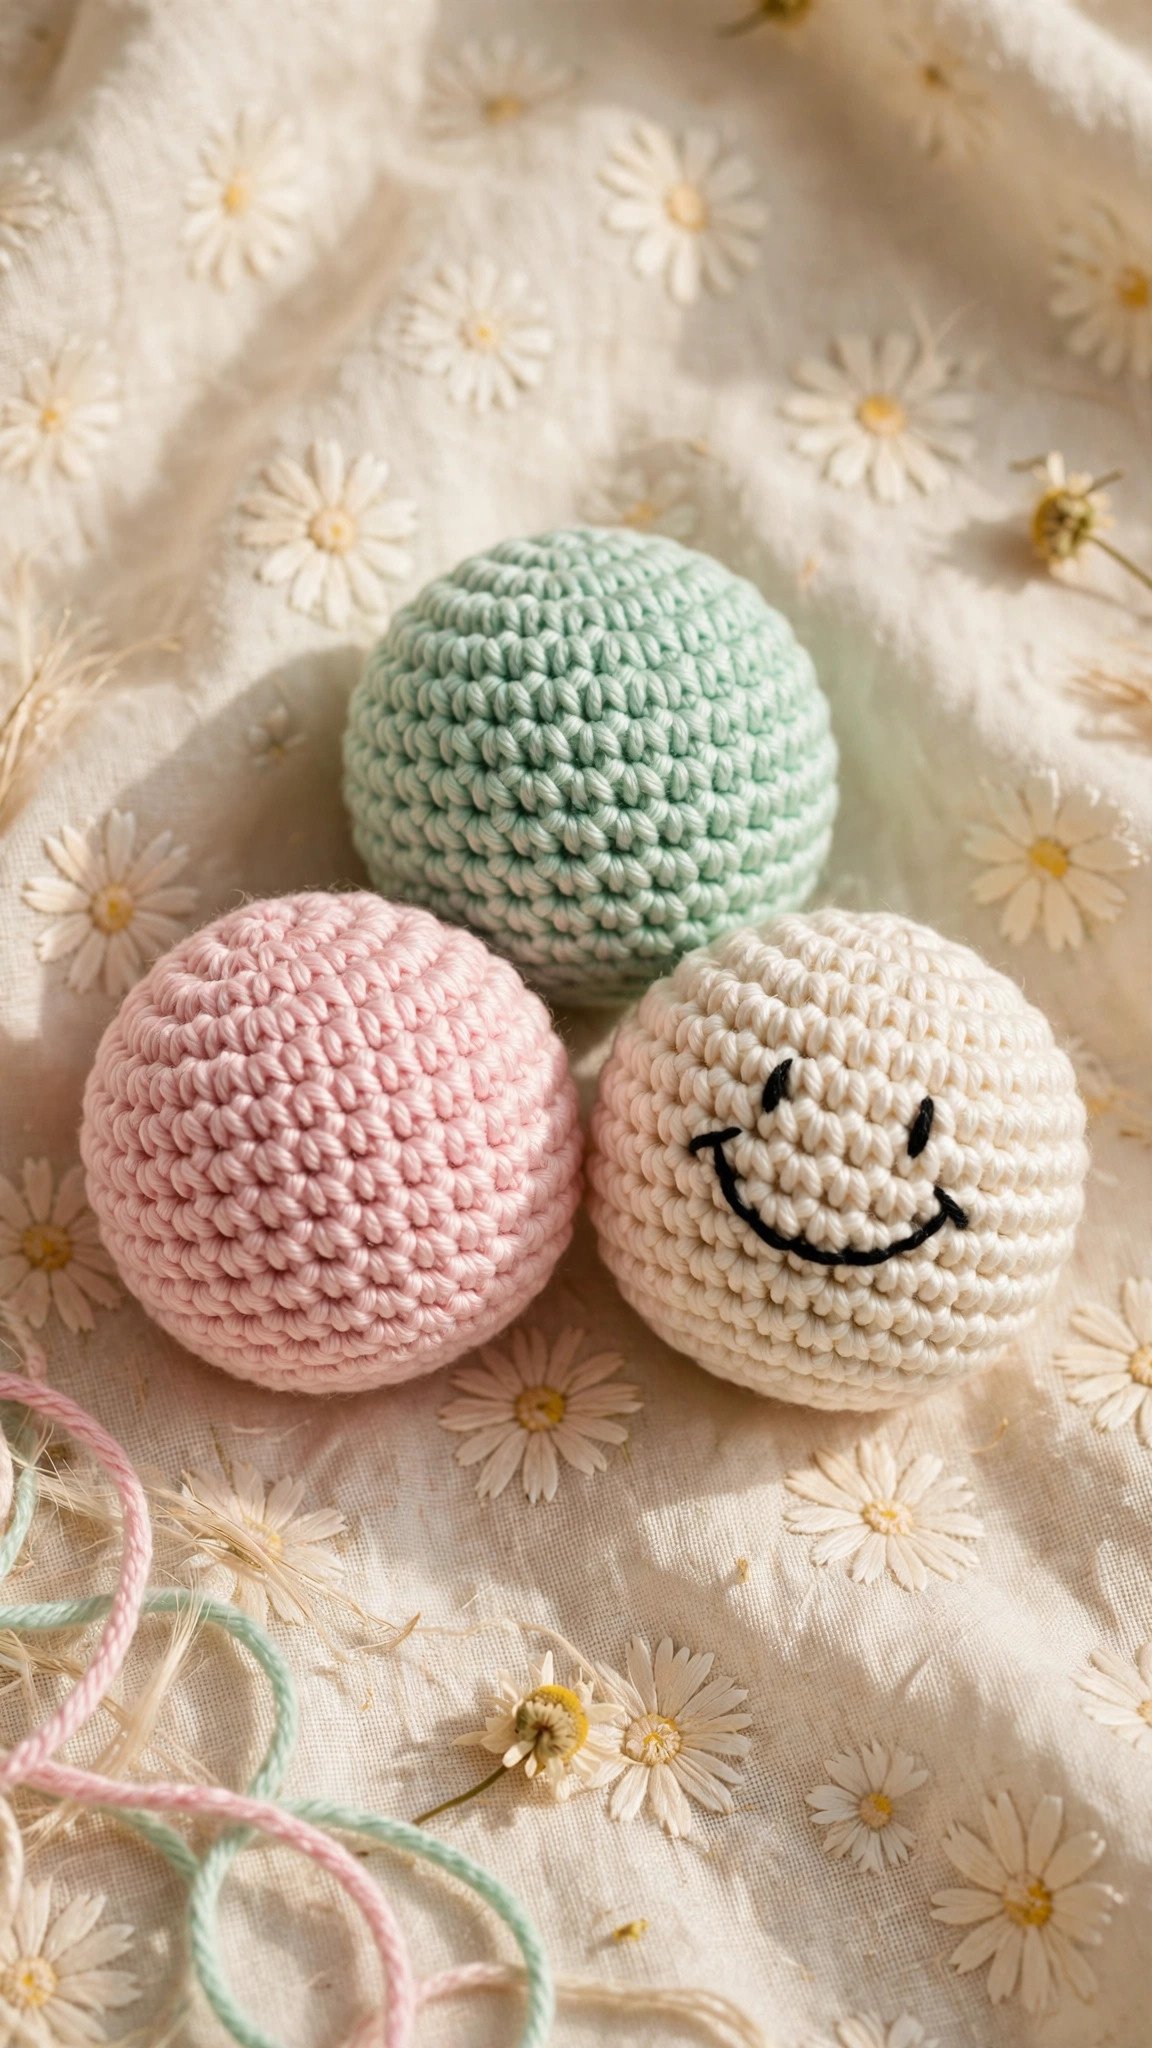
Cut the yarn with a long tail, thread your tapestry needle, weave through the front loops of the final 6 stitches, pull closed, and bury the tail inside. You just made amigurumi. Add embroidered eyes and it is a tiny planet with a face. Make three in different colors and you have a desk set. Make ten and you have a baby mobile.
7 Beginner Mistakes and Their Quick Fixes
1. Stuffing shows through the stitches. Your hook is too big or your tension is too loose. Size down to 3.5 mm or even 3.25 mm and keep stitches snug. This is the most common amigurumi problem and the easiest to fix.
2. You lost count of your rounds. Use the stitch marker from round one, and count stitches at the end of every round against the number in parentheses. Missing one increase in round 3 throws off every round after it.
3. Your piece is inside out. In spiral rounds, the “right side” faces you as you work. If the bumpy tails of your stitches face outward, flip the piece. Check early, because flipping a stuffed piece is annoying.
4. The magic ring came undone. You did not anchor the tail. Weave it through nearby stitches in two directions before trimming. For washable toys, the chain-2 start is honestly safer.
5. Lopsided shaping. Uneven stuffing, not uneven stitches. Pull out the fiberfill and re-stuff in small handfuls, pushing it into the thin spots with your hook handle.
6. The head wobbles on the body. On multi-piece plushies, sew pieces together with the tapestry needle using small whip stitches, going around the join twice. A second pass of sewing fixes nearly every wobbly head.
7. You picked dark fuzzy yarn for your first project. We have all done it. Put it aside, grab a smooth light-colored worsted, and come back to the fancy yarn for project three. Your stitch-counting sanity will thank you.
You now know everything in this guide’s title and more. Your next stop is our Amigurumi and Toys section, where the no-sew octopus, the easy bee, and the invisible decrease deep dive are waiting. Happy plushing.
Written by Wren
I am Wren, and I believe crochet should be fun from the very first loop. I test every tutorial and pattern here myself before it lands on Loop & Lark.