
The first hat I ever crocheted had a crown shaped like a traffic cone. The pattern wanted me to increase in a perfect circle, and my circle had opinions. Then a friend showed me the rectangle trick: crochet a ribbed rectangle, seam one short edge, cinch the other end closed, and the crown shapes itself. No increase math, no counting to 72, no cone heads. This is that pattern, written down properly with real stitch counts and a size chart that runs from baby to adult.
You need exactly one stitch for this beanie: the half double crochet, worked in the back loop only. That single trick creates the stretchy knit-look ribbing. If you have never crocheted anything wearable, read the complete beginner guide first. Everyone else, grab your hook. This hat works up in an evening.
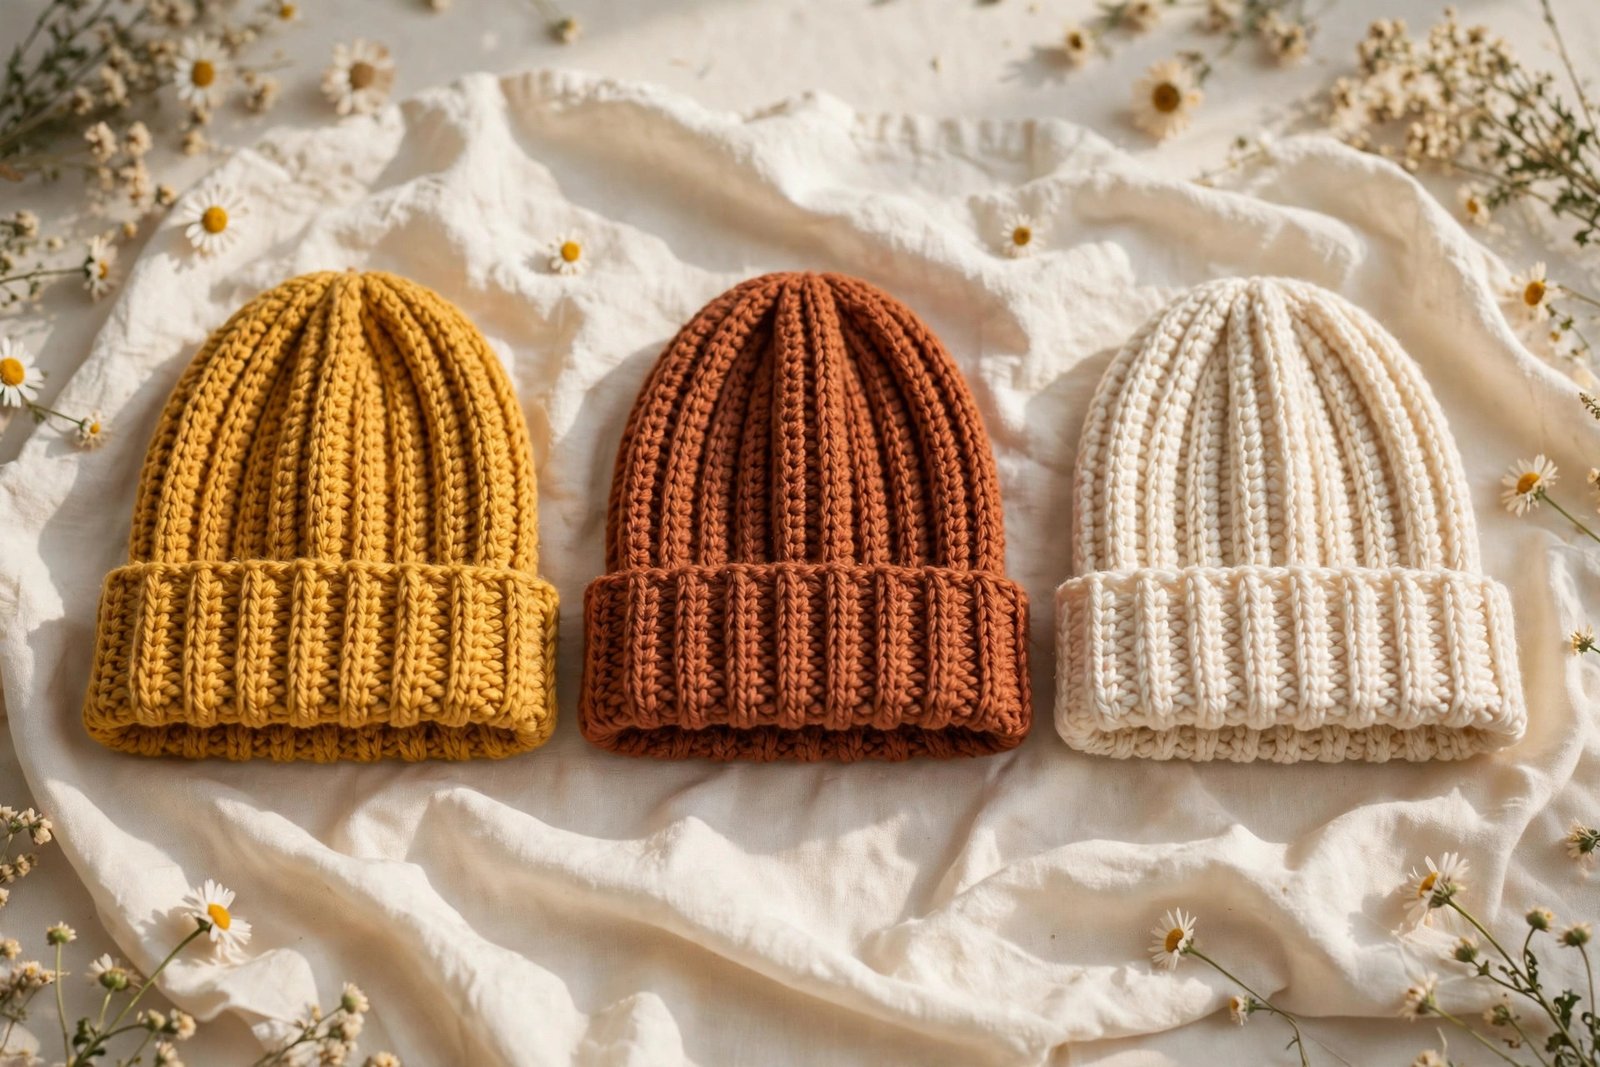
Why the Rectangle Method Beats Crown Shaping
Traditional beanie patterns start at the crown and grow outward in rounds. That means a magic ring, increase rounds with exact stitch counts, and the constant fear that your circle is secretly becoming a hexagon. It is a lot of ways to go wrong on your first hat.
The rectangle method sidesteps all of it. You crochet back and forth in rows, which is the thing beginners already know how to do. When the rectangle is the right size, you fold it in half and join the short ends into a tube. Then you run a drawstring through one long edge, pull it tight, and that gathered edge becomes the crown. The ribbing stretches, so the fit is forgiving even if your measurements are a little off. One stitch, straight rows, zero circle geometry.
What You Will Need
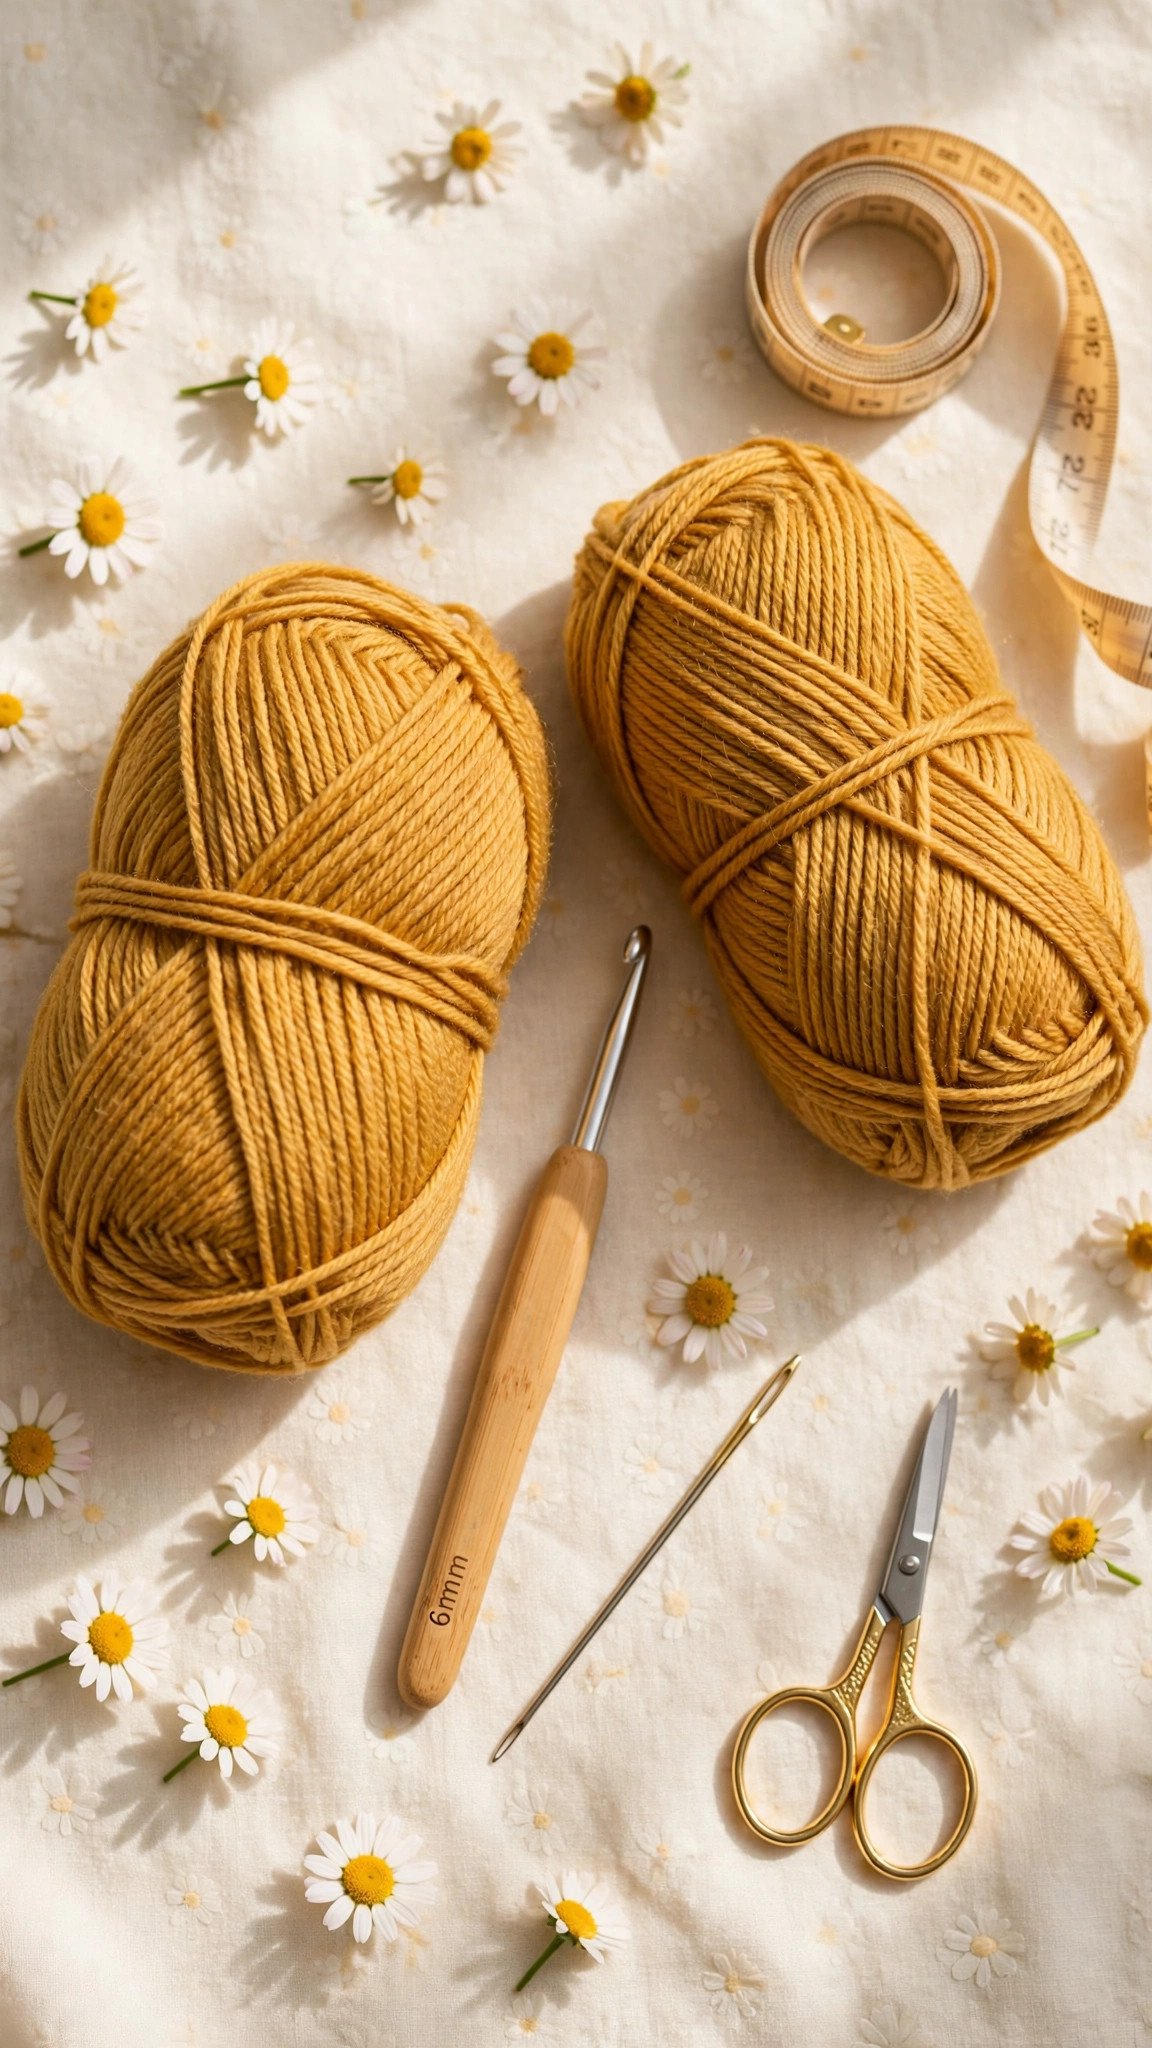
- Yarn: worsted weight (#4) acrylic or a wool blend. Acrylic is perfect here because it is springy, washable, and holds the ribbing’s stretch. Reach for familiar workhorses like Lion Brand Heartland, Red Heart Super Saver, or Caron Simply Soft. One skein is plenty for an adult beanie: you need roughly 120 to 150 yards, and most worsted skeins hold more than that.
- Hook: 6.0 mm (US J-10). A slightly larger hook than you might expect, on purpose: it keeps the ribbing soft and stretchy instead of stiff. If you crochet very loosely, drop to 5.5 mm. Choosing between hook styles? The beginner hook guide compares them honestly.
- Yarn needle with a large eye, for cinching the crown and weaving in ends.
- Scissors, a tape measure, and one locking stitch marker to mark the right side of your work.
- Optional: a pom pom, yarn or faux fur, to sew on top at the end.
Yarn color matters more than you think for a first beanie. Pick a light or medium solid color so you can actually see the back loops you are working into. Save the dark navy and the variegated cakes for beanie number two.
Pick Your Size (Measure Your Head)
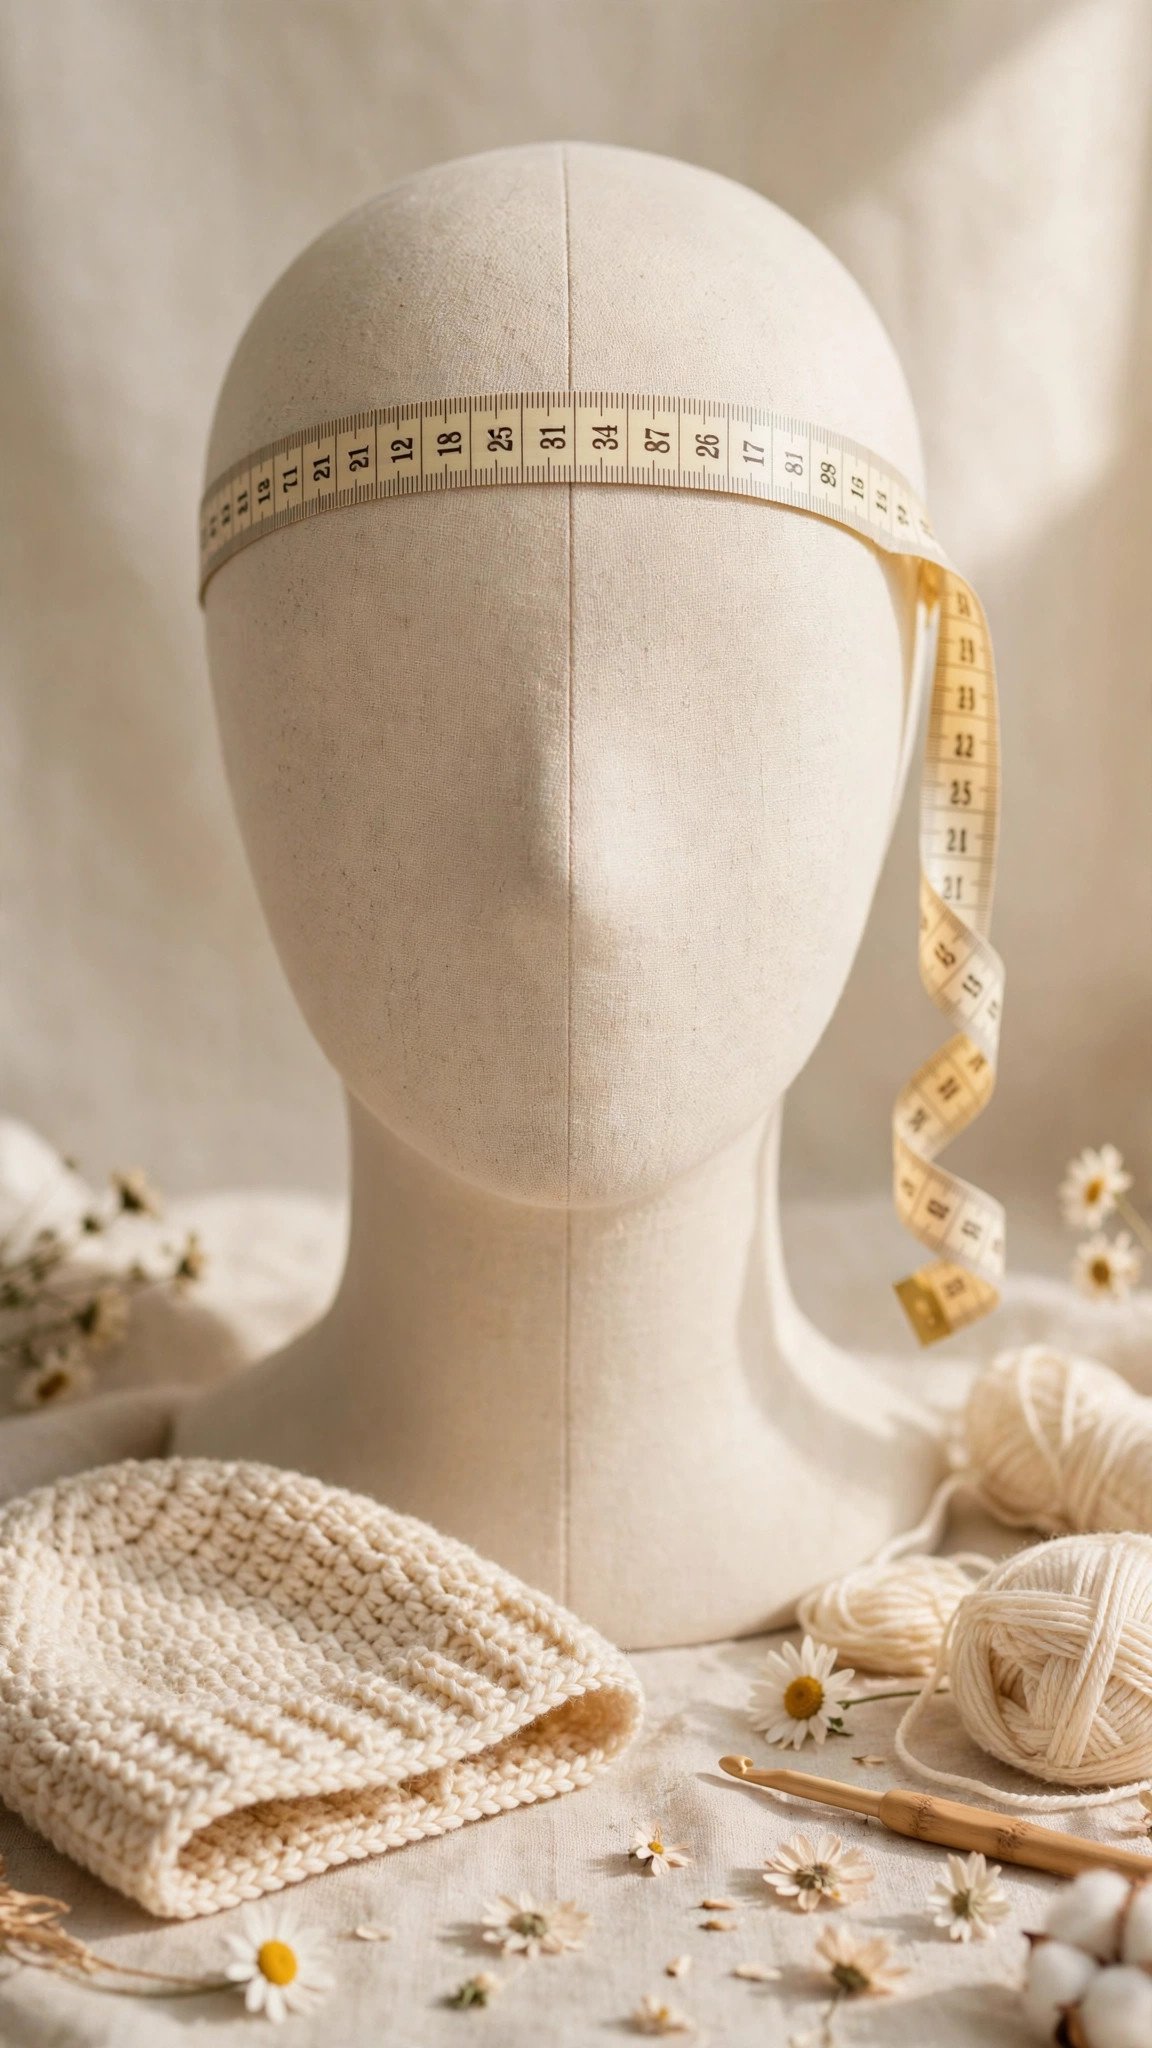
Hats need negative ease, which is a fancy way of saying the hat should measure 1 to 2 inches smaller than the head it goes on. The ribbing stretches to fit and then hugs instead of sliding. Measure around the forehead at the widest point, keeping the tape level, then subtract 2 inches. That is your rectangle width.
The rectangle height decides whether your beanie has a folded brim. The chart below includes a fold: about 2.5 to 3 inches of the height gets folded up at the end for that classic cuffed look. If you want a fitted skull-cap style with no fold, subtract 3 inches from the height, which means chaining about 10 fewer stitches.
| Size | Head circumference | Rectangle height (chains) | Rectangle width (rows) |
|---|---|---|---|
| Baby (0 to 6 mo) | 16 in | 7.5 in (26 ch) | 14 in (32 rows) |
| Toddler | 18 in | 8 in (28 ch) | 16 in (36 rows) |
| Child | 20 in | 9 in (31 ch) | 18 in (40 rows) |
| Teen / Adult small | 22 in | 10 in (35 ch) | 20 in (45 rows) |
| Adult large | 24 in | 10.5 in (36 ch) | 22 in (50 rows) |
Between sizes? Size down. A slightly snug ribbed beanie relaxes with wear, while a loose one just slides over your eyes all winter. And if your gauge differs from mine, here is the formula: chains = (height / 4 x 13) + 2, rows = (width / 4 x 9). My gauge is 13 half double crochet stitches and 9 rows per 4 inches in back-loop ribbing with a 6.0 mm hook. Swatch for ten minutes and the hat will fit the first time.
The One Stitch That Makes the Ribbing
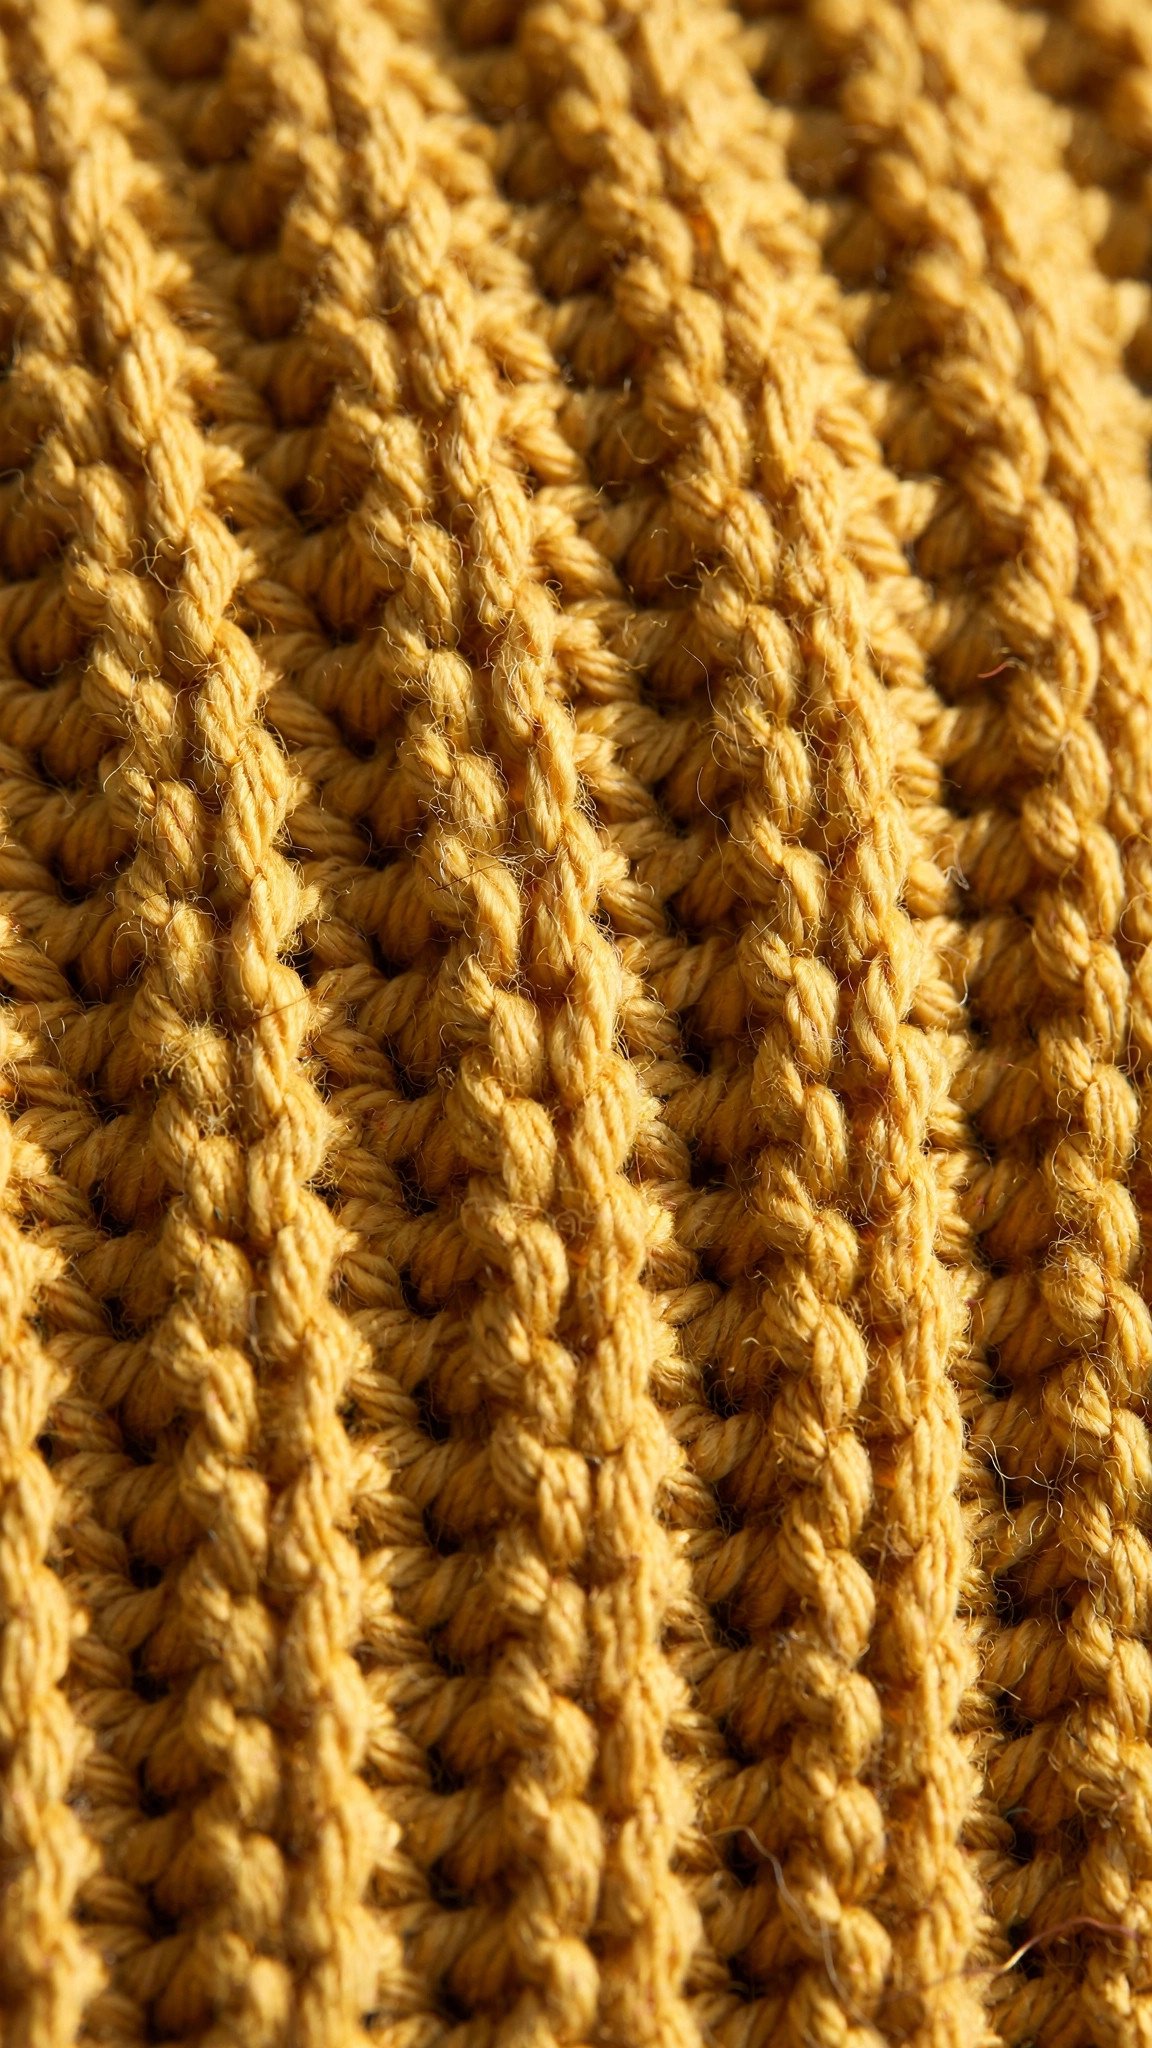
Look at the top of any crochet stitch and you will see a little V. The loop closer to you is the front loop, the one farther away is the back loop. Normally you work under both. For this beanie, you work under the back loop only, every single stitch, every single row. The unworked front loops stack up into ridges, and those ridges are the ribbing. Same yarn, same stitch, completely different fabric.
The stitch itself is the half double crochet: yarn over, insert the hook under the back loop, yarn over and pull up a loop (3 loops on hook), yarn over and pull through all 3. It is taller than a single crochet and shorter than a double, which makes it the Goldilocks stitch for hats: dense enough to be warm, short enough to work up fast.
Practice on a swatch first. Work 15 chains, half double crochet back across in the back loops only, and do 6 rows. You should see ridges forming by row 3. If your fabric looks flat, you are accidentally going under both loops. Slow down, find the back loop, and try again. This is the only technique in the whole pattern, so it is worth five minutes of practice.
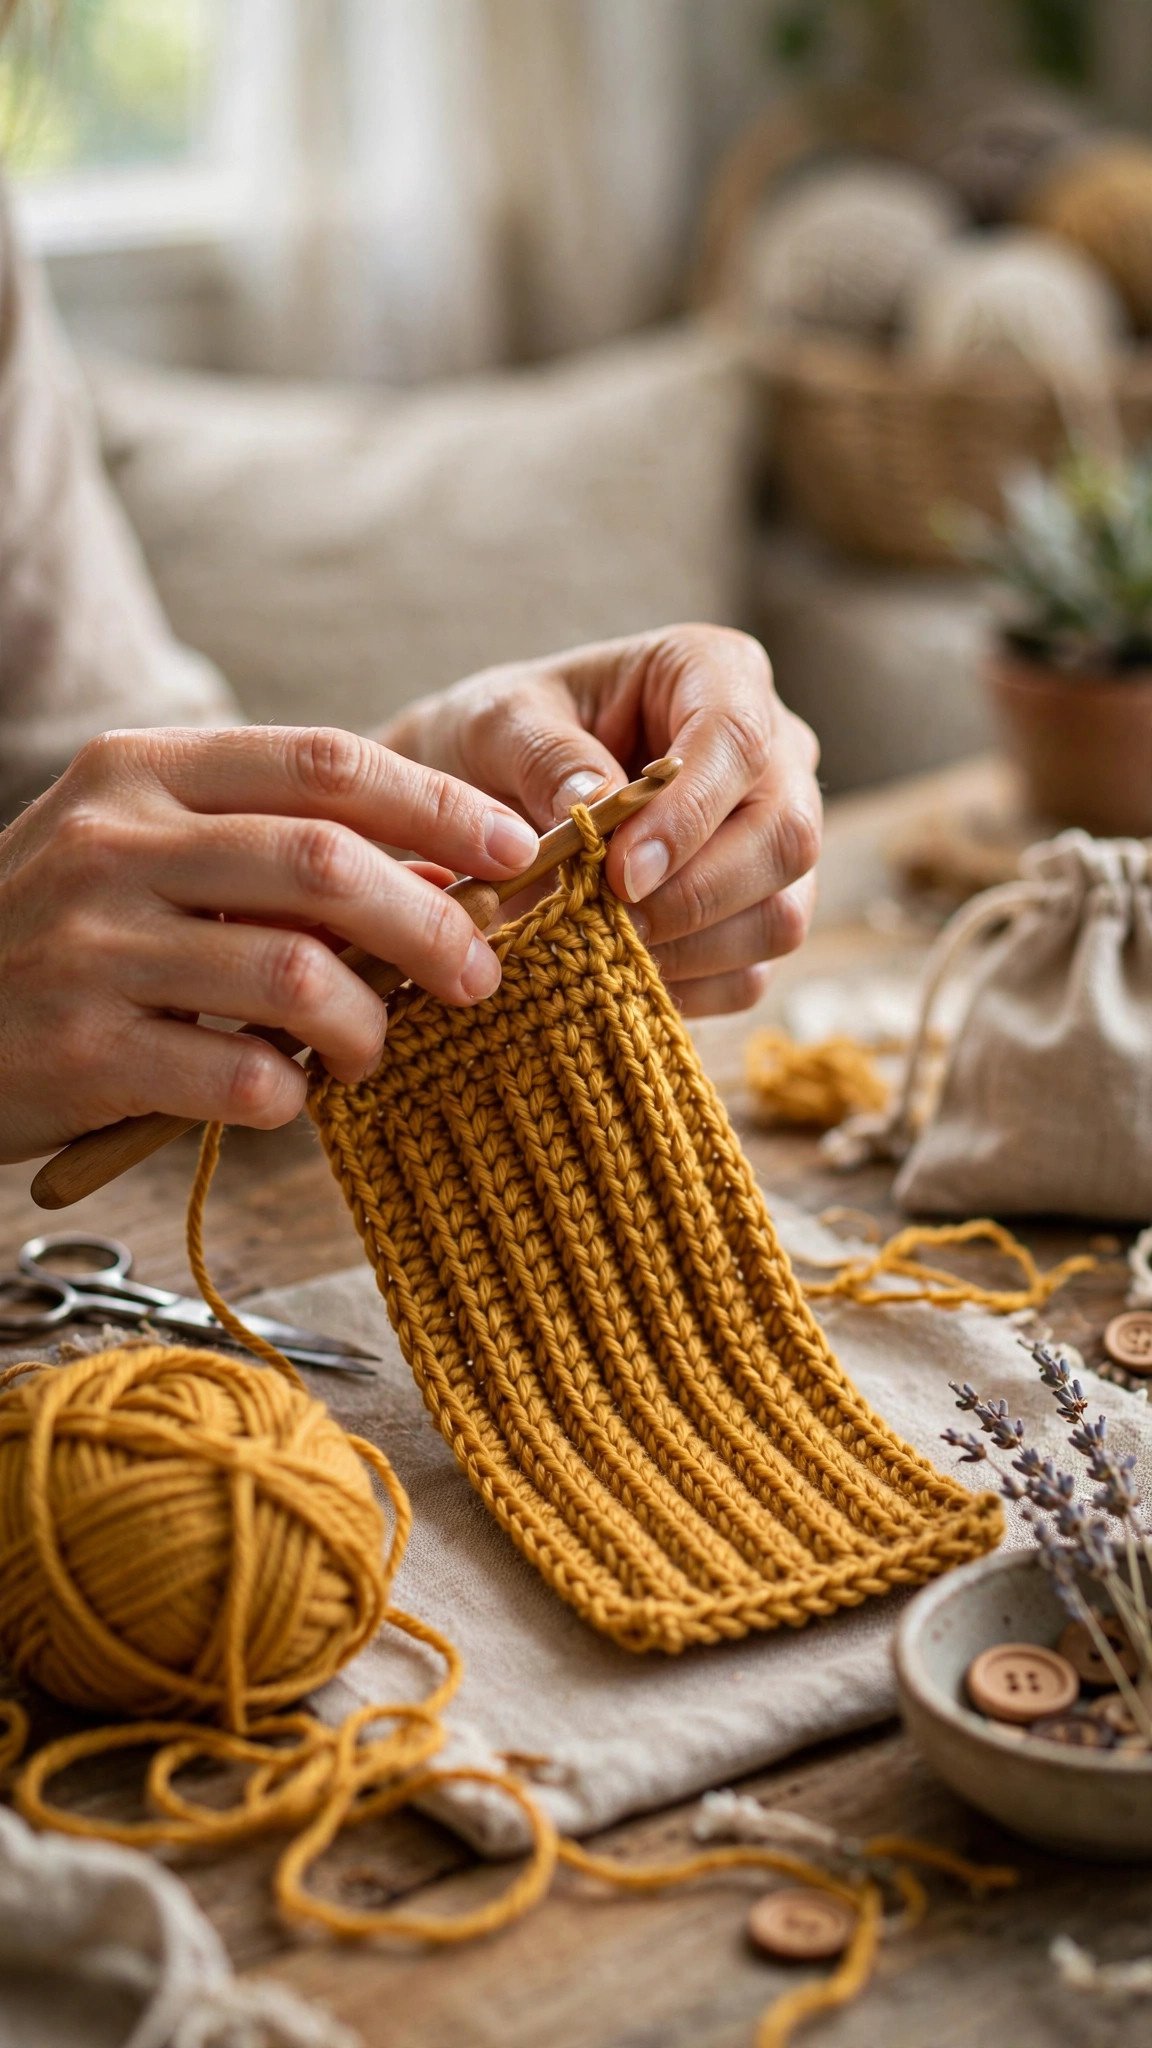
Crochet the Rectangle
The instructions below are for teen / adult small. For other sizes, swap in your chain and row counts from the chart.
Foundation: Chain 35 loosely. If your foundation chain runs tight, and it does for most beginners, chain with a 6.5 mm hook and switch back to your 6.0 mm for row 1.
Row 1: Half double crochet in the 3rd chain from the hook and in each chain across. Chain 2, turn. (33 half double crochet)
Row 2: Working in the back loop only, half double crochet in each stitch across. Chain 2, turn. (33 half double crochet)
Rows 3 to 45: Repeat row 2. When the piece measures 20 inches wide, stop. Do not stretch it to measure. Lay it flat, let it relax, then check.
Two things keep this rectangle honest. First, count your stitches every 5 rows. The chain 2 at the start of each row does not count as a stitch in this pattern, so every row should have exactly 33. Second, put your stitch marker on the right side of the fabric after row 2. Both sides look similar in ribbing, and the marker saves you from seaming it inside out later. Fasten off, leaving a tail about 12 inches long for seaming.
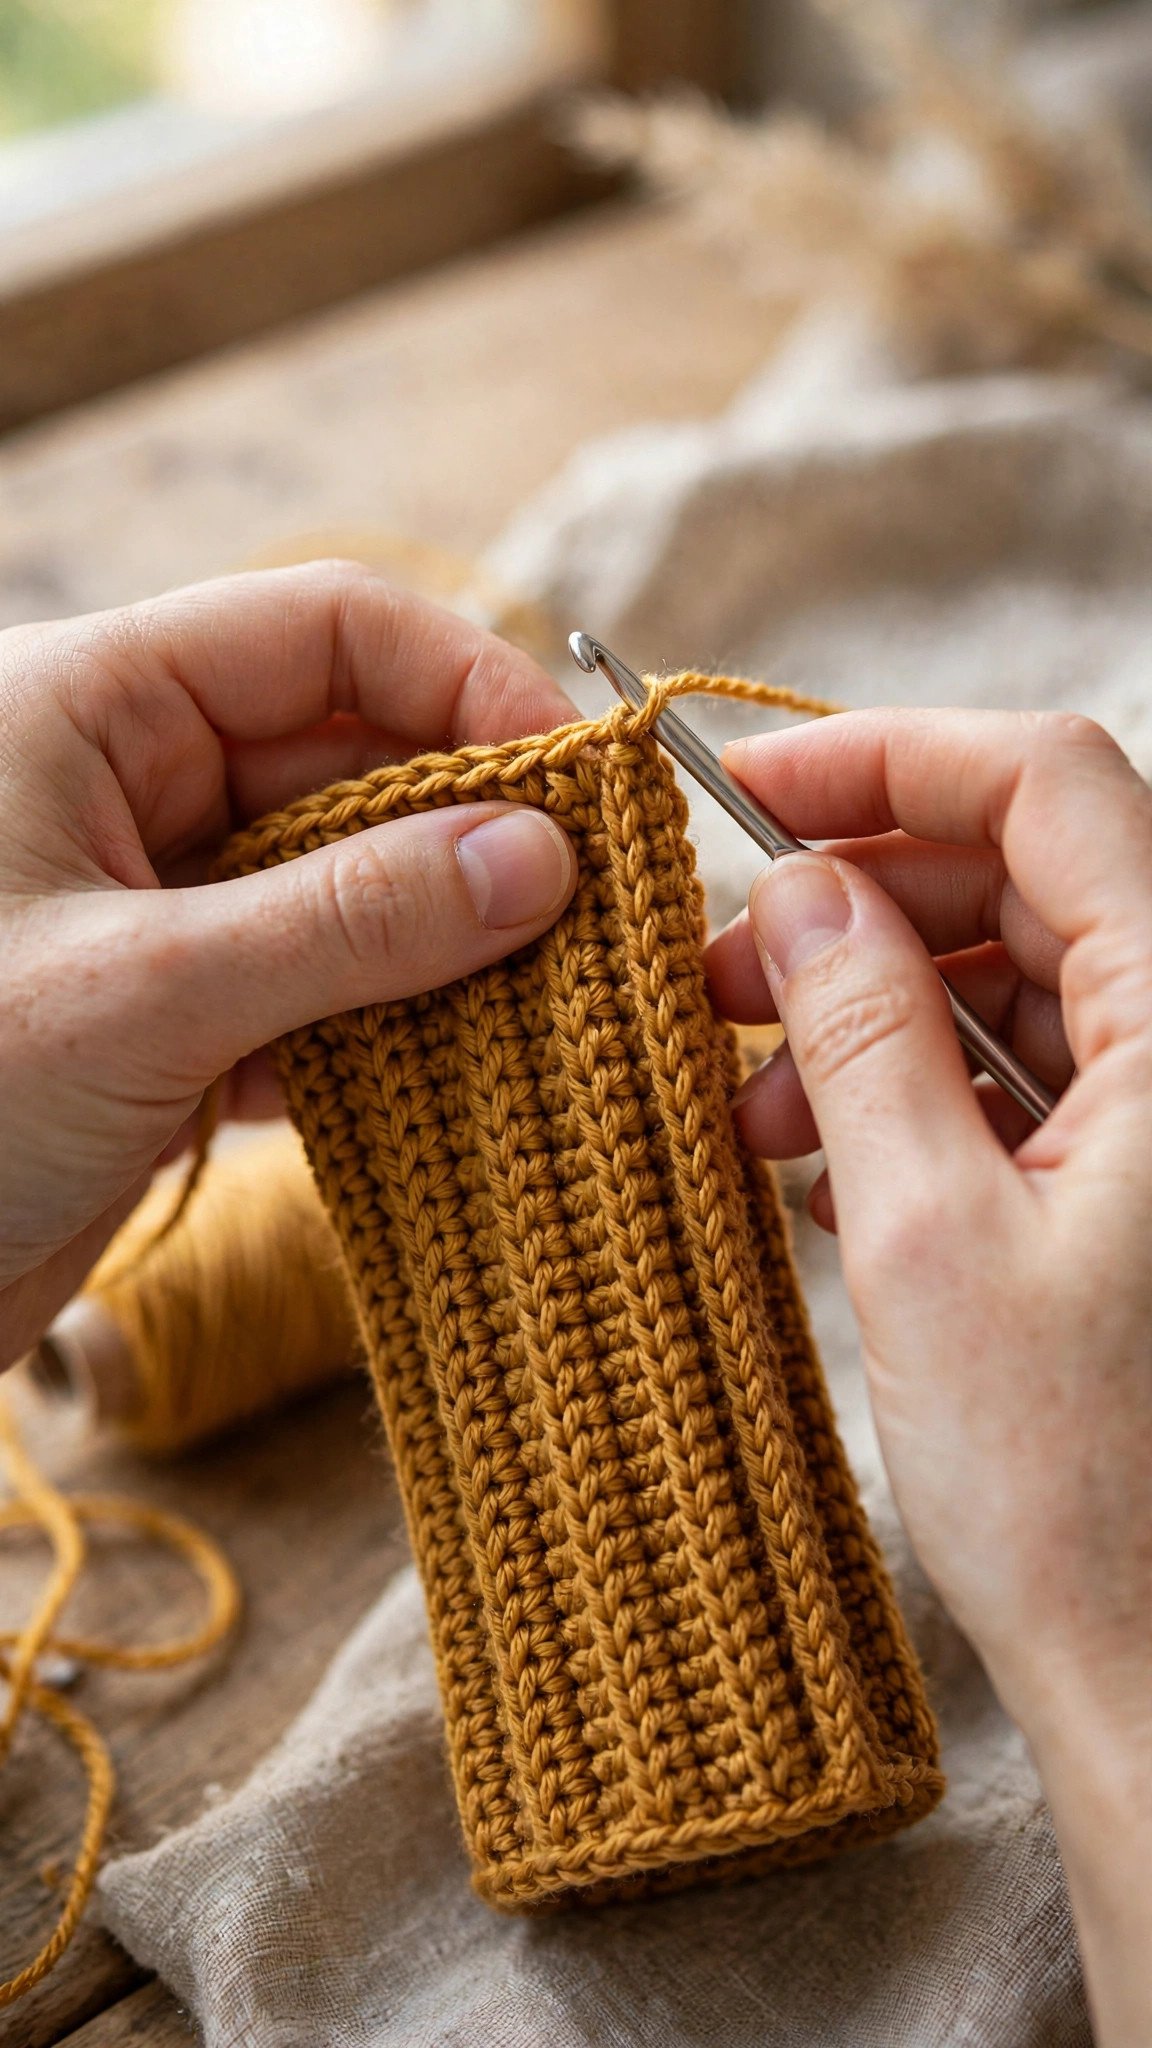
Seam the Short Ends
Fold the rectangle in half so the two short ends meet, with the wrong side facing out. You now have a tube with the seam at the back. Join yarn at one corner of the short edge and slip stitch through both layers all the way across, one slip stitch per row end. Keep your tension even but not tight: a puckered seam will not stretch with the rest of the hat.
Fasten off and turn the tube right side out. The seam sits at the back of the hat, and because it is a slip stitch seam worked on the wrong side, it lies nearly flat. Try the tube on your head right now. It should feel snug, like it wants to spring back when you pull it. That spring is the negative ease doing its job.
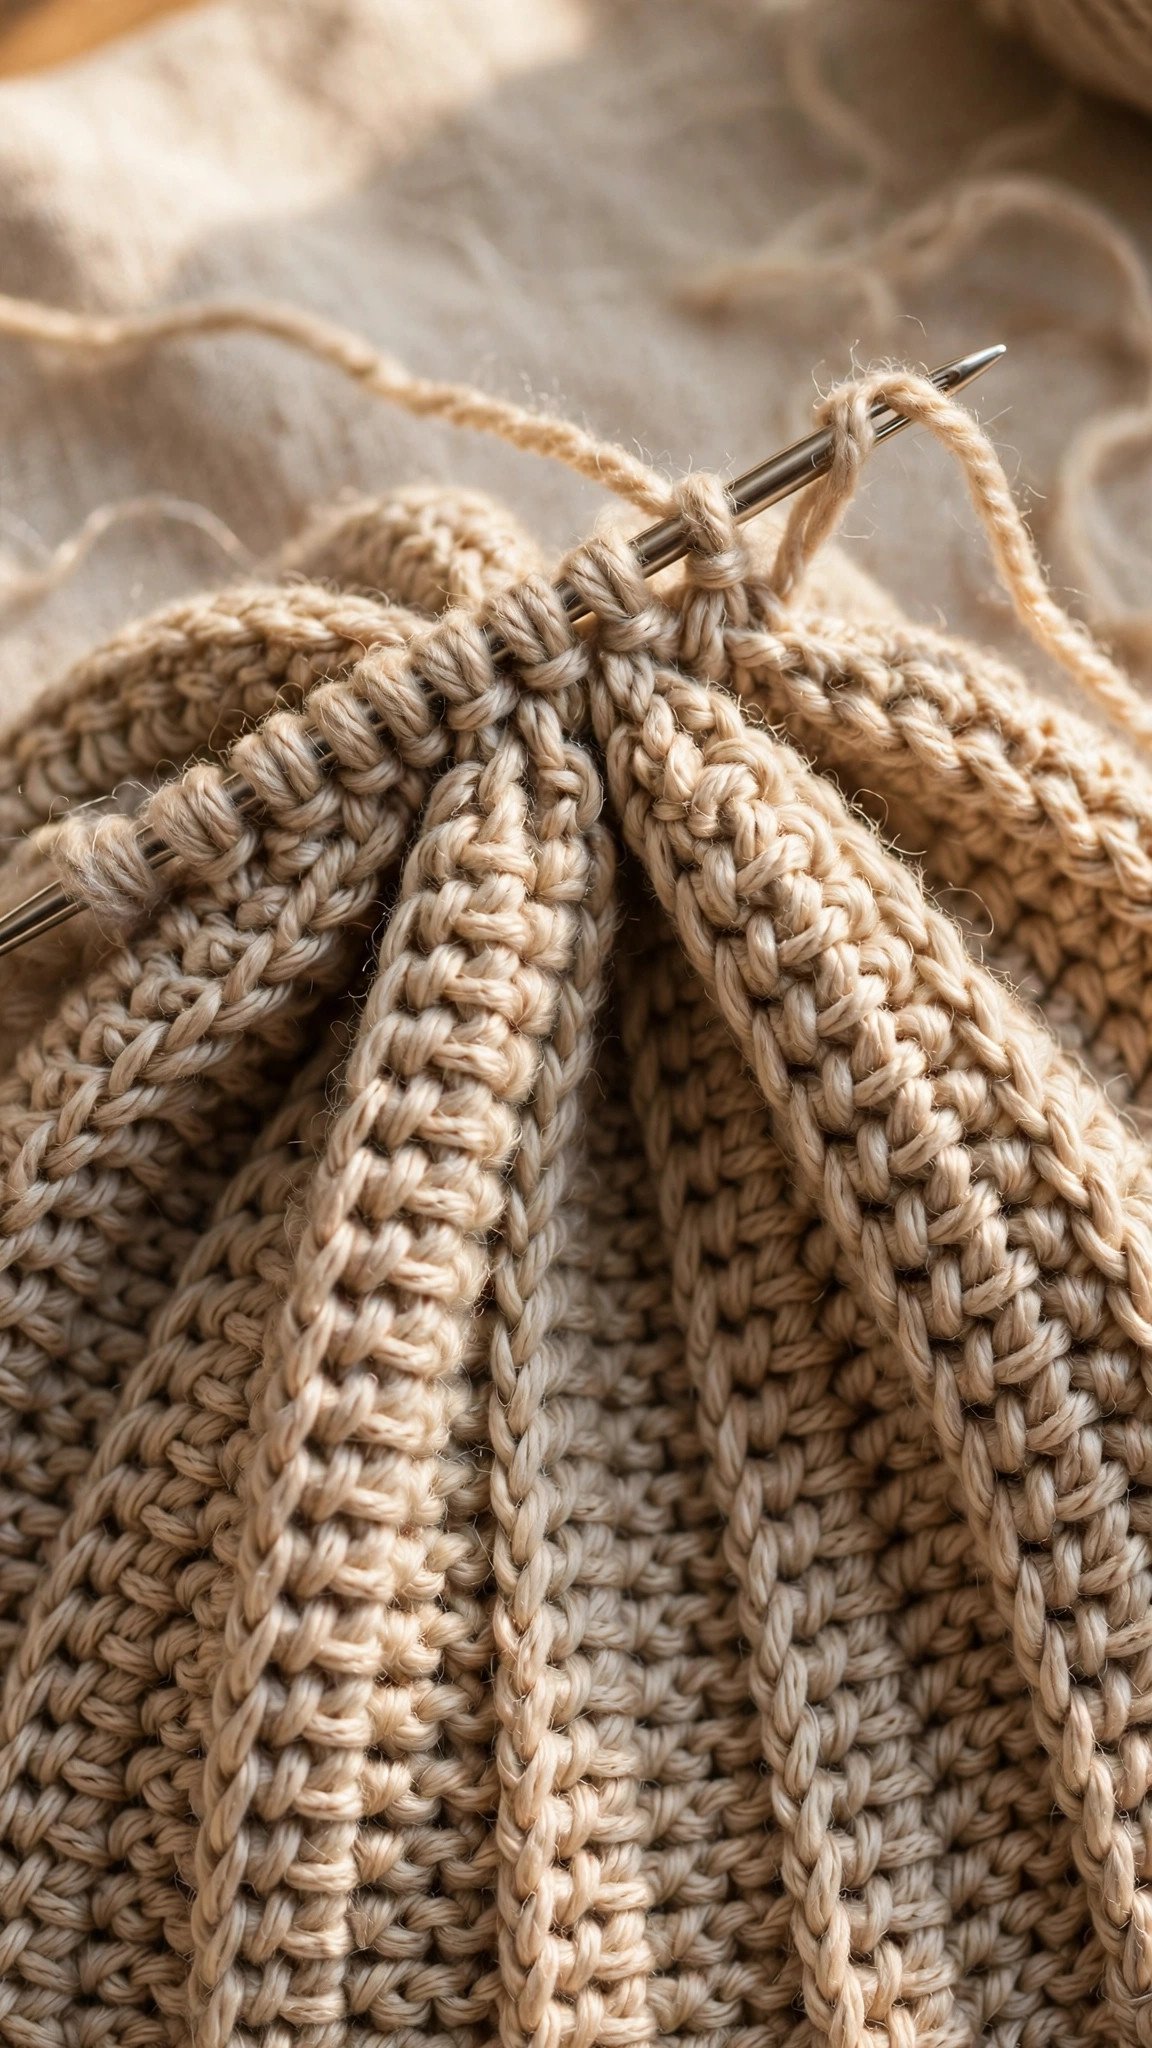
Cinch the Crown and Fold the Brim
Thread a long tail, about 24 inches, onto your yarn needle. Weave it in and out through the ends of the rows along one long edge of the tube, going under one ridge and over the next, all the way around. Pull the tail tight like a drawstring. The edge gathers into a neat little rosette, which is your crown. Knot it firmly, then weave the tail through the gathered stitches once more and knot again so it can never work loose. Trim, weave in the end.
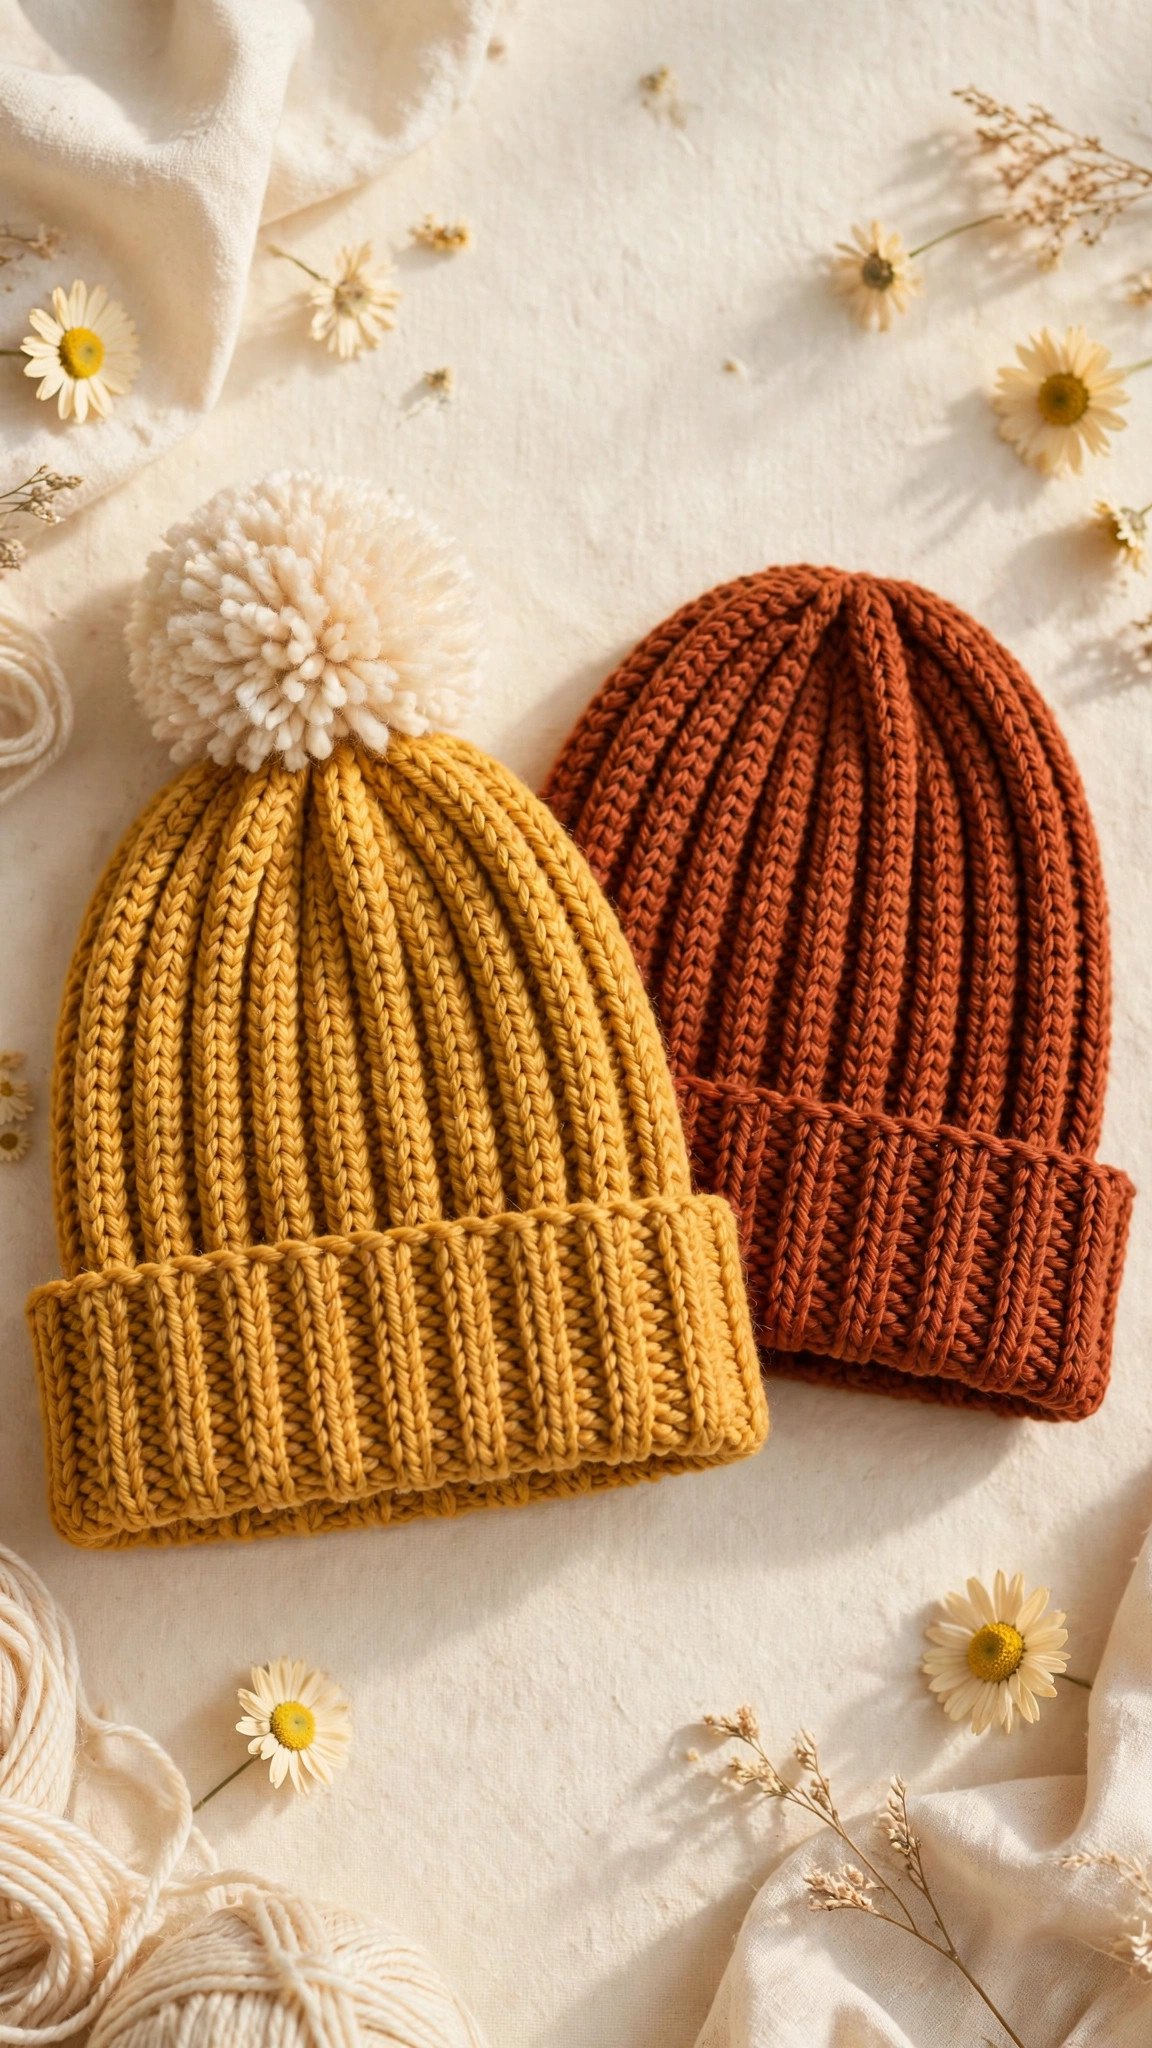
Now fold the bottom edge up 2.5 to 3 inches for the brim. That is the whole hat. If you want a pom pom, sew it firmly to the crown with several passes of yarn through its base, knotting on the inside of the hat. A wobbly pom pom is a lost pom pom, so do not be shy with the stitches.
Troubleshooting and Styling
The beanie is too tight to be comfortable. Add rows. Each row adds about half an inch of circumference, so 4 extra rows buys you 2 inches. Remember the hat should be snug, not headache-inducing.
It is too loose and slouches over my eyes. You need fewer rows, or less stretch in your ribbing. Check that you are working back loop only: both-loops fabric barely stretches, which ironically makes people crochet it looser to compensate.
The ribbing does not look ribbed. You are working under both loops. Frog back to where the ridges stop and redo those rows in the back loop only. It happens to everyone exactly once.
There is a little hole at the very top. Your cinching needs a second pass. Thread the needle again, weave through the gathered edge a second time, and pull tighter before knotting.
My edges are wavy. Inconsistent turning chains. Make every chain 2 the same height, and work the first stitch of each row into the same place. Count every 5 rows until it becomes automatic.
For styling, this beanie is a blank canvas. Fold the brim once for a classic cuff, twice for a fisherman look, or leave it unfolded for a slouchy fit. Make one in every color you own, because at one evening per hat, you absolutely can. And when you are ready to learn a brand-new skill, the granny square tutorial is the perfect next step. For more quick wins, browse everything in Crochet Accessories.
Written by Ashley
I am Ashley, and I believe crochet should be fun from the very first loop. I test every tutorial and pattern here myself before it lands on Loop & Lark.