
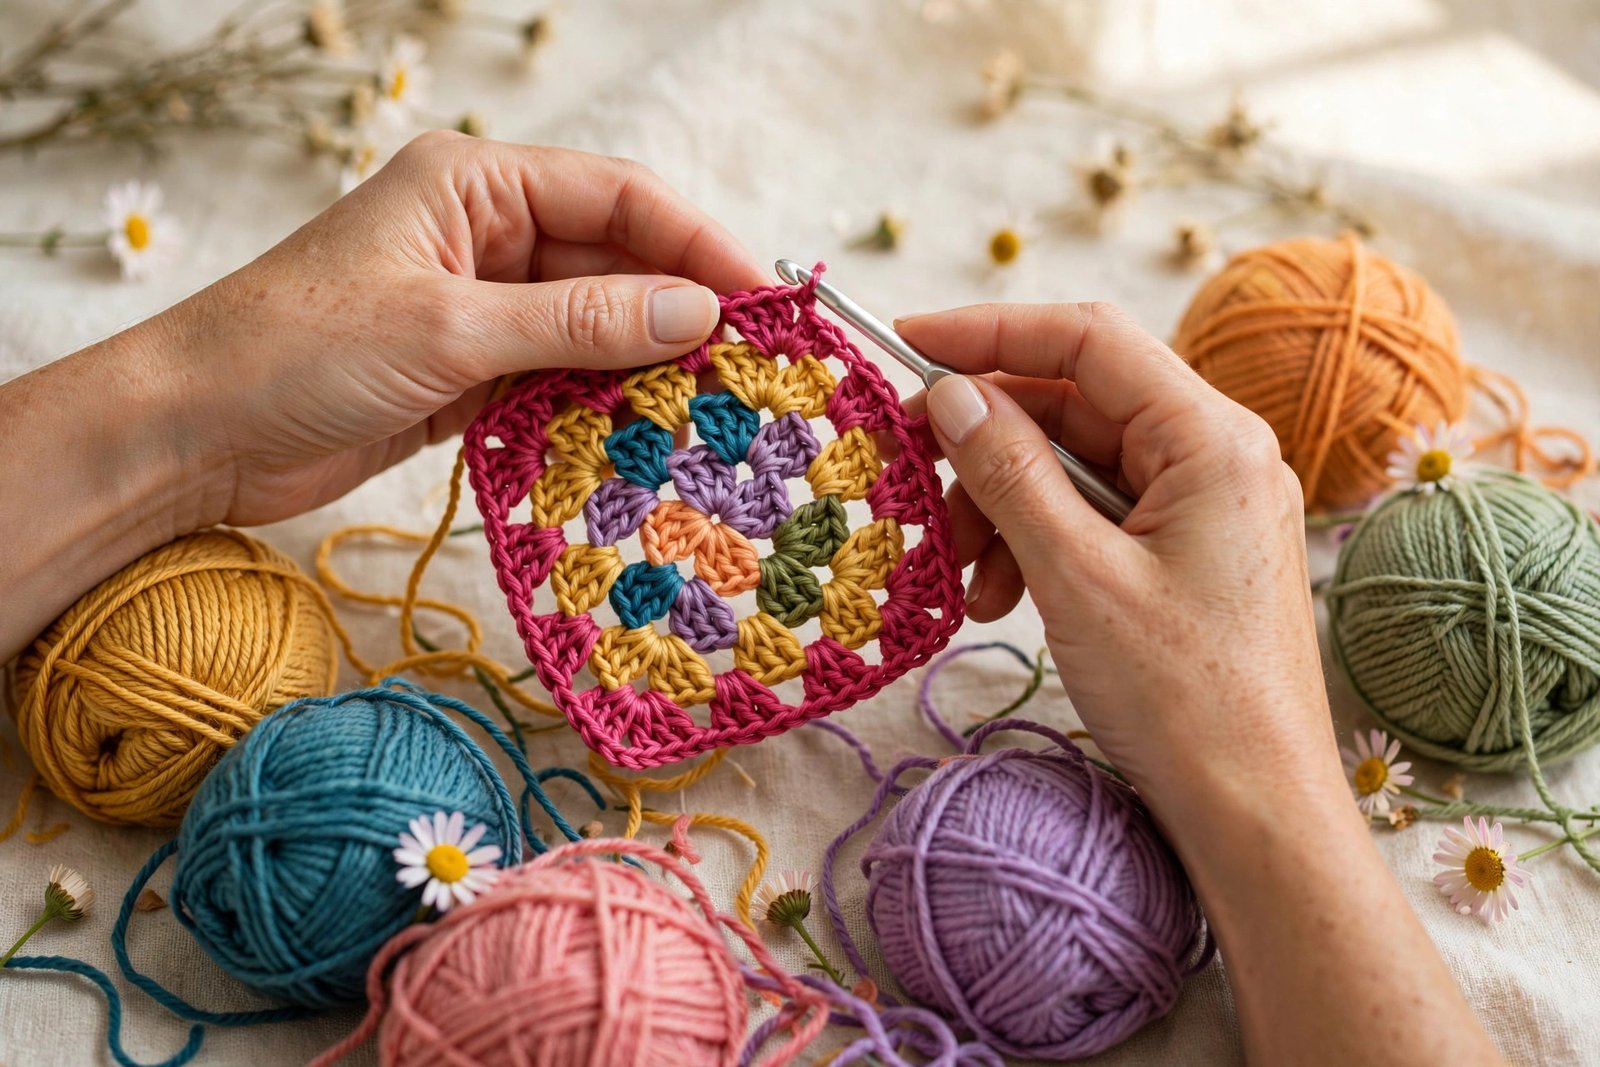
If you only ever learn one crochet motif, make it this one. The granny square is the little black dress of the crochet world: timeless, endlessly remixable, and secretly easy. In this tutorial I will walk you through how to crochet a granny square from the very first loop to a tidy, finished square, including my favorite clean method for changing colors. Grab a hook and come sit with me.
What You Need for Your First Granny Square
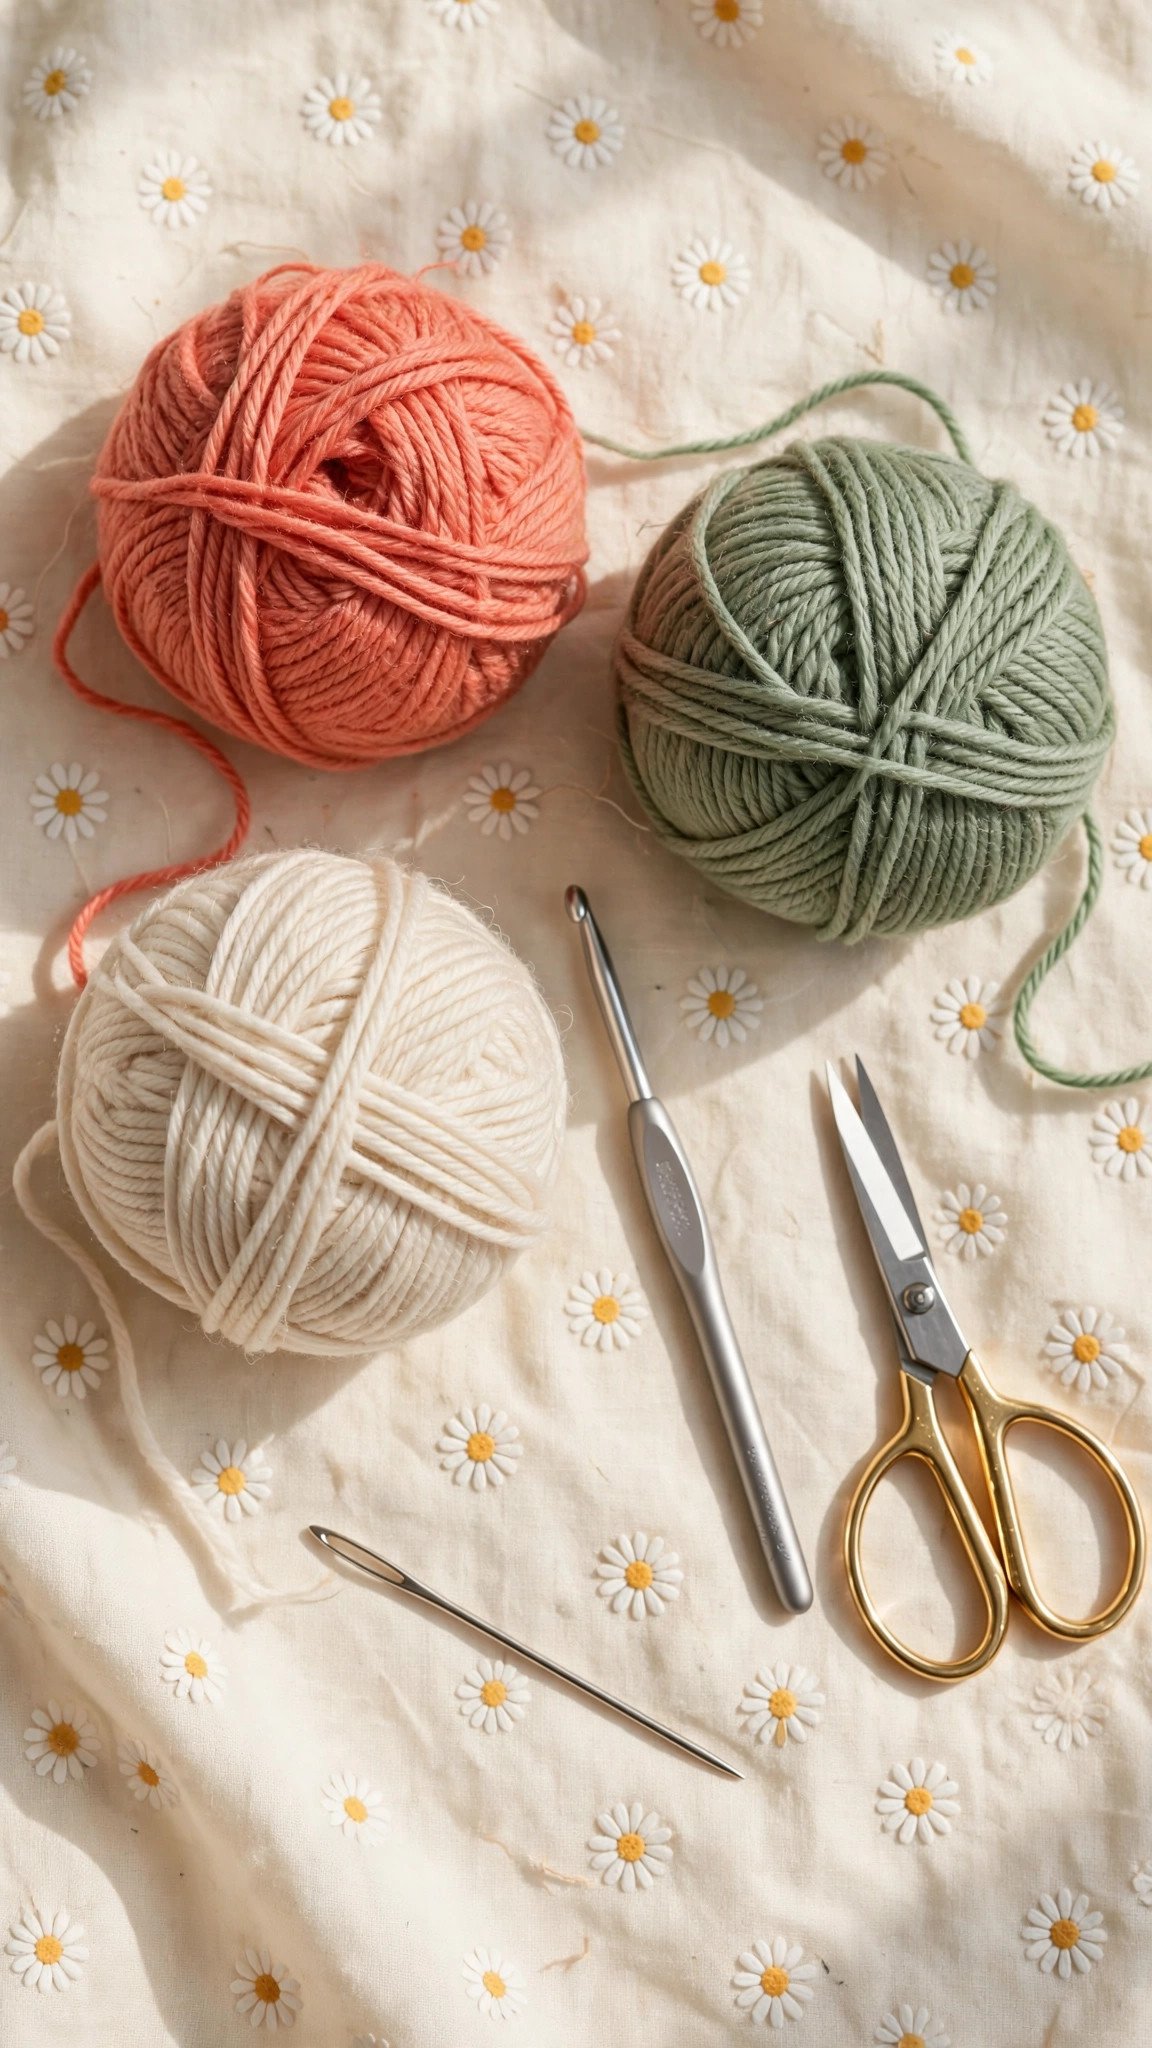
Granny squares are wonderfully forgiving about supplies. Here is exactly what I reach for:
- Worsted weight yarn (number 4). Pick two or three colors you love. Red Heart Super Saver is my go-to practice yarn because it glides and forgives, and Lily Sugar’n Cream cotton gives a crisp, rustic square if you prefer cotton. Avoid dark colors and fuzzy novelty yarns for your first square, because you need to see your stitches.
- A 5.0 mm (US H-8) hook. A 5.5 mm (US I-9) works too and makes the work a little looser. If you are still choosing a hook, my guide to the best crochet hooks for beginners breaks down the options.
- Scissors and a tapestry needle. The blunt yarn needle is for weaving in ends, which matters a lot more on granny squares than on most projects, since every color change leaves a tail.
That is the whole kit, and these basic granny square supplies will carry you through dozens of squares. If you have never held a hook before, start with my complete beginner lesson first, then come back here. Otherwise, let’s make a square.
How a Granny Square Actually Works
Before we touch a hook, let’s peek under the hood, because granny squares feel like magic until you see the simple machine inside. A classic granny square is just three ingredients repeated:
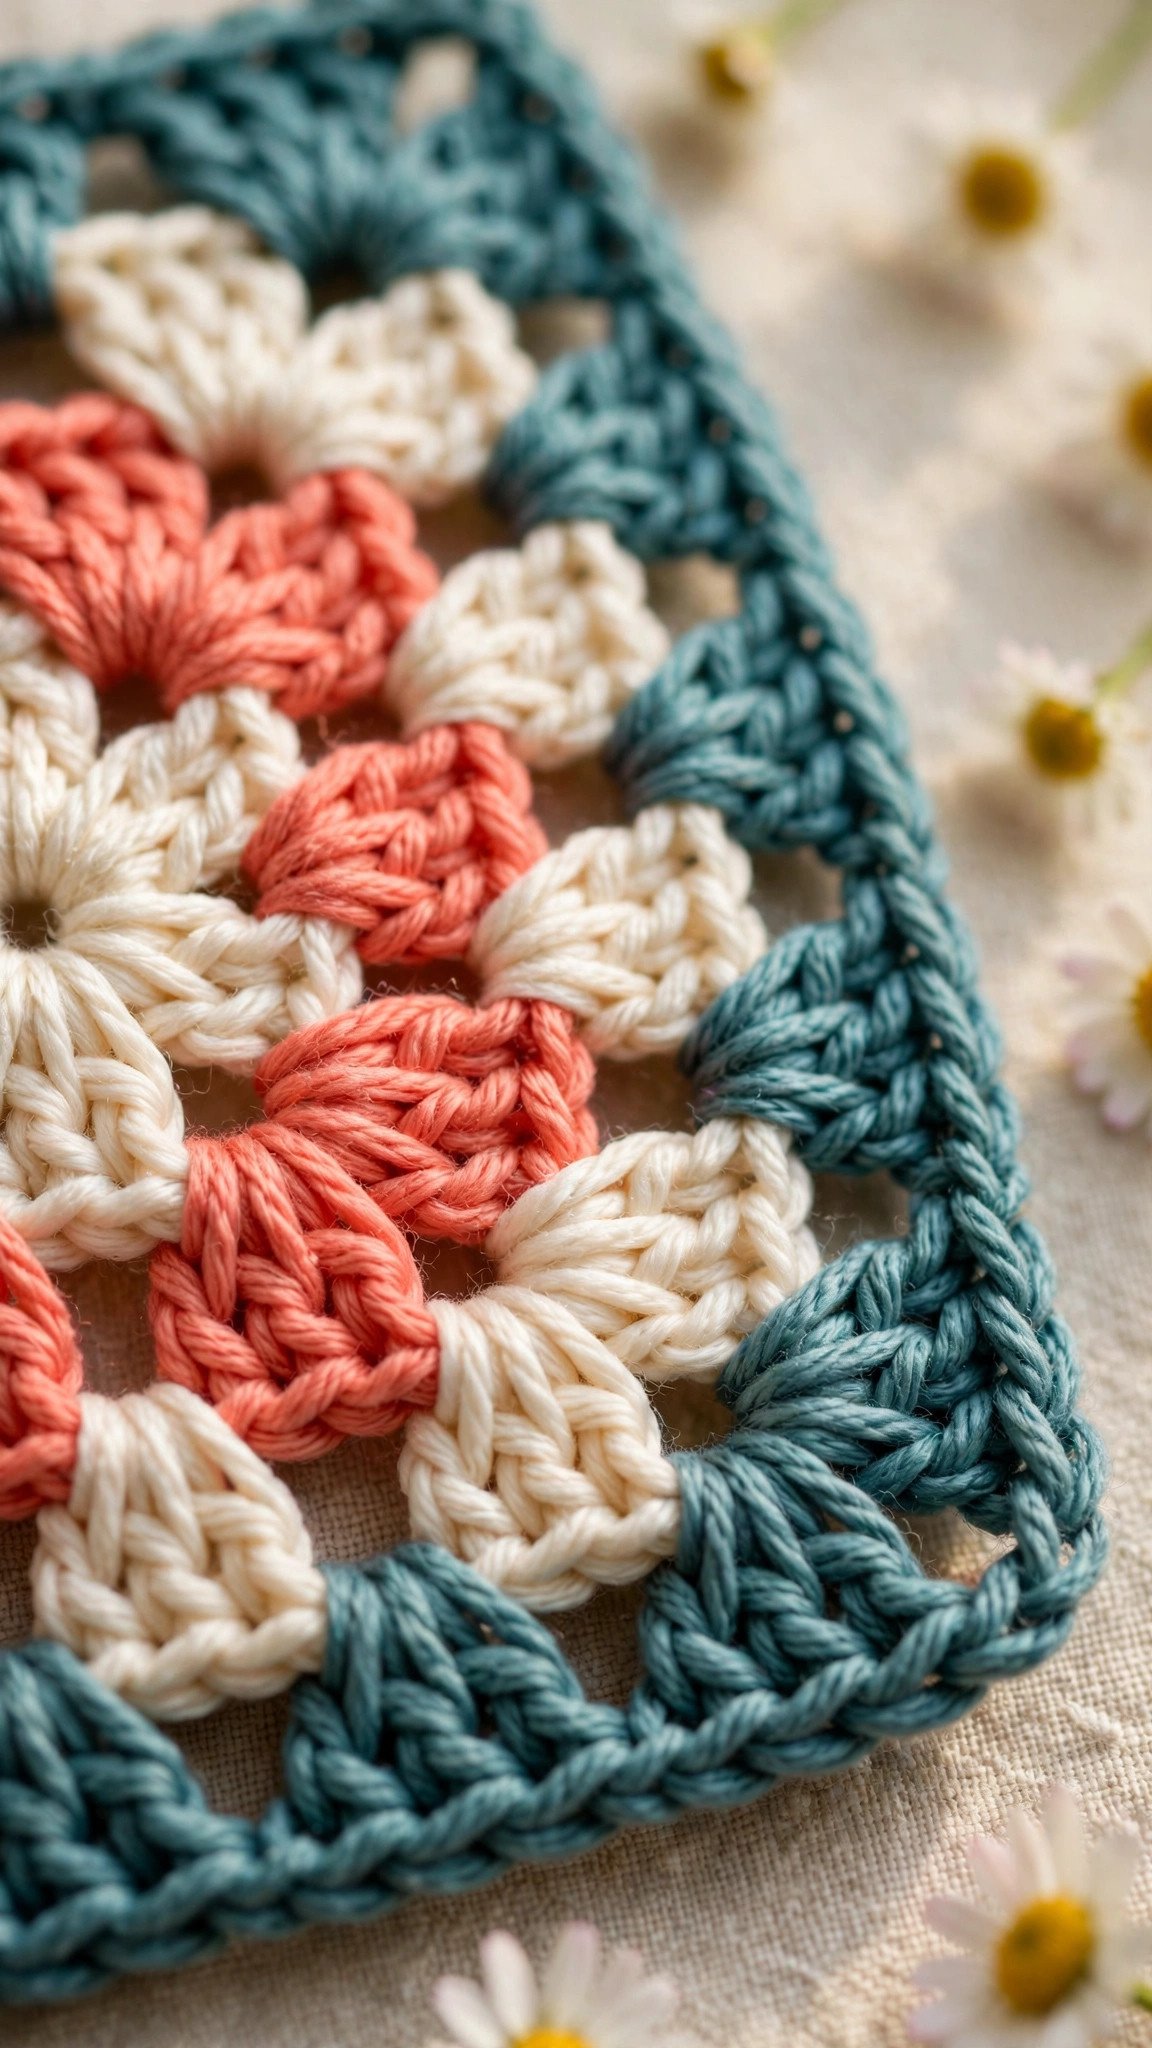
- Clusters: groups of 3 double crochet stitches worked into the same space, also called double crochet clusters. These are the bricks of the square.
- Corners: each corner is a cluster, chain 2, and another cluster, all worked into the same corner space. The chain-2 space is what lets the square turn the corner.
- Side spaces: on the straight sides you work one cluster per chain-1 space, with a chain 1 between clusters.
You start in the middle and grow outward in rounds, and every round follows the same growth rule: corners get the corner treatment, side spaces get one cluster each. Once you have made two rounds, you can practically crochet the rest with your eyes closed. The pattern I am giving you uses US crochet terms. Chain 3 at the start of a round counts as your first double crochet.
Round by Round: The Classic Granny Square Pattern
Time to crochet. Keep your tension relaxed; strangled stitches are the number one reason beginner squares curl.
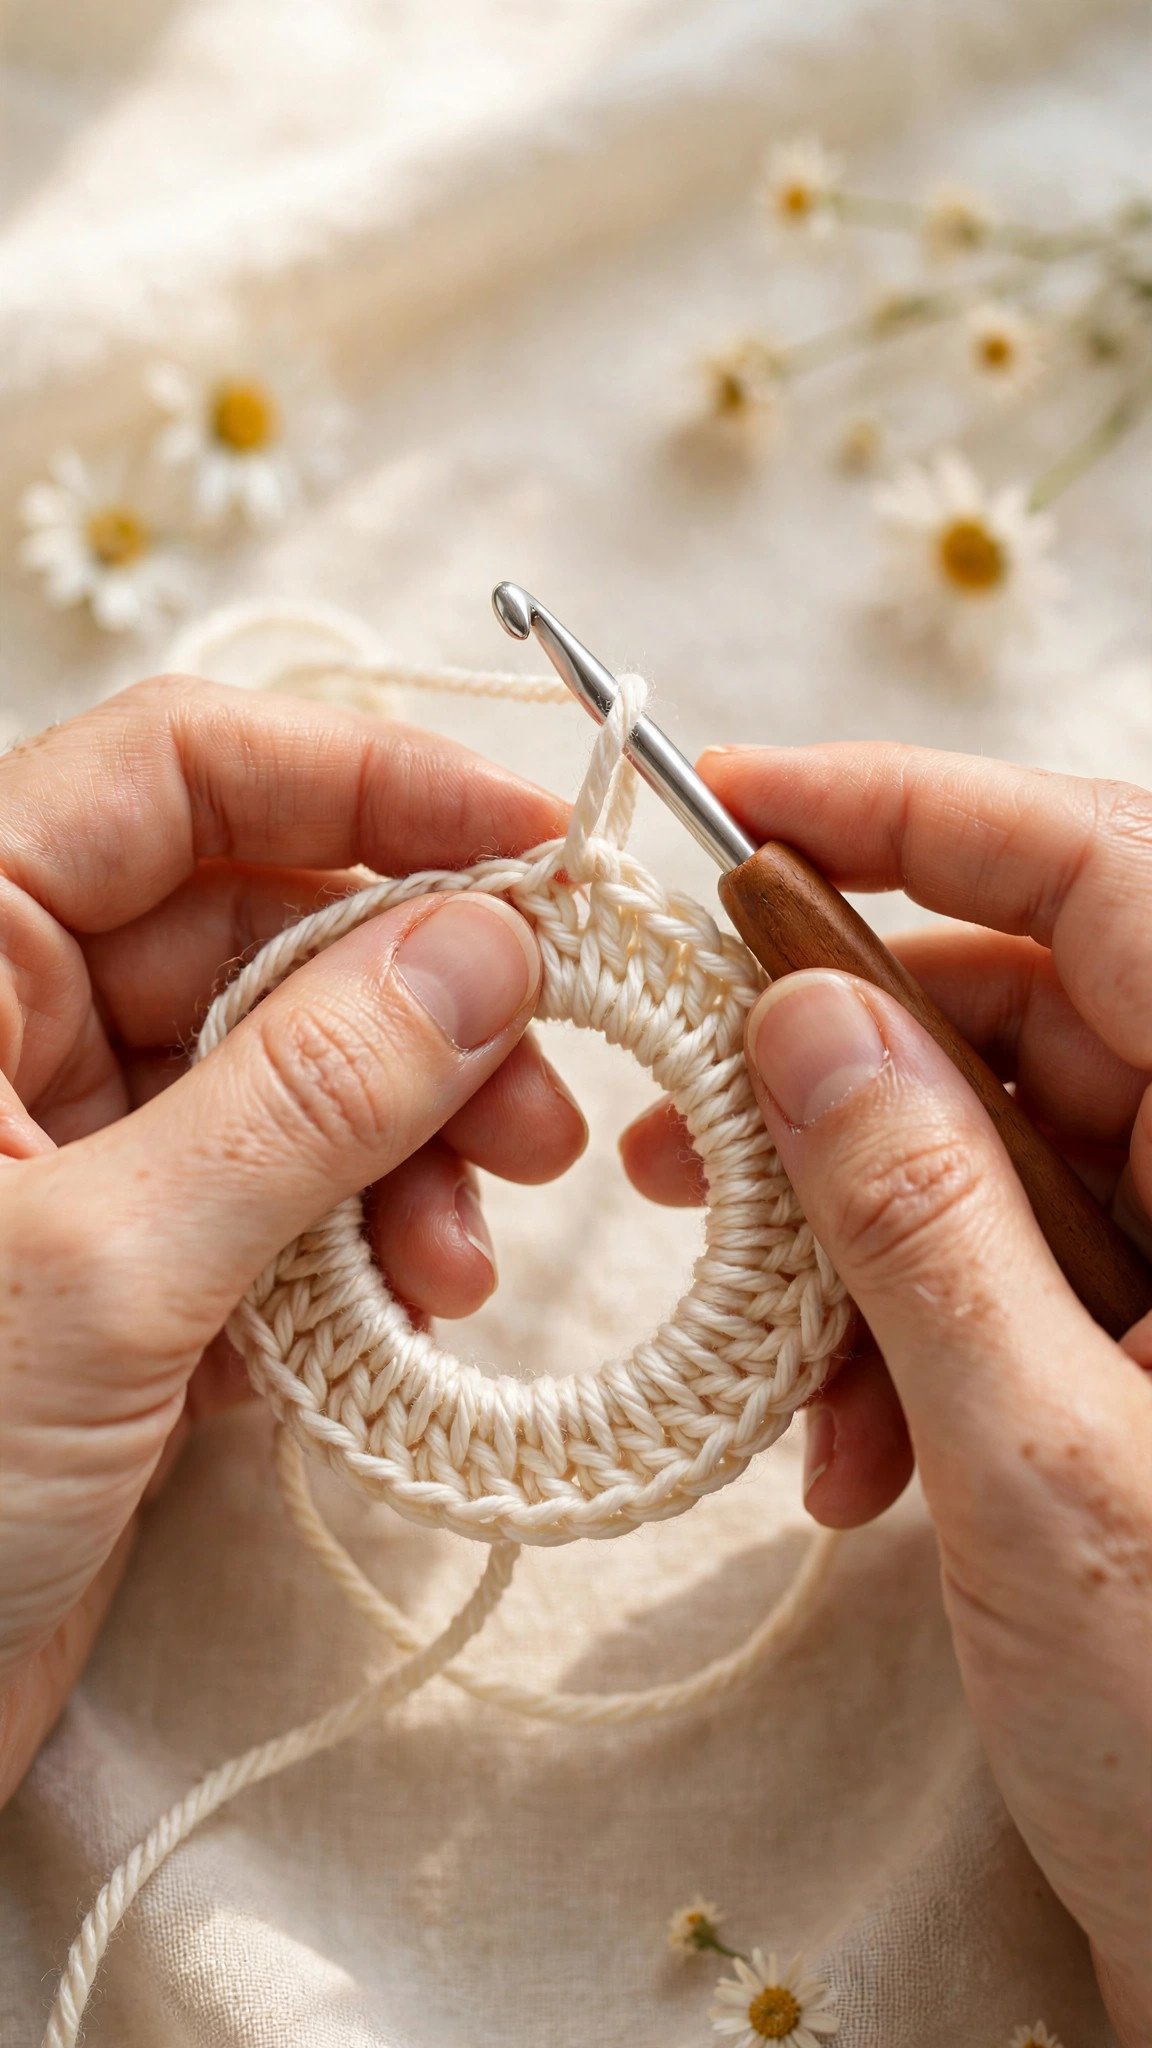
Round 1: Make a center ring (see the two methods in the next section). Chain 3, which counts as your first double crochet. Work 2 double crochet into the ring. Chain 2, then work (3 double crochet into the ring, chain 2) three more times. Slip stitch into the top of the beginning chain 3 to join. You now have 4 clusters and 4 corner spaces, which is 12 double crochet stitches total if you count the starting chain.
Round 2: Slip stitch into the next corner chain-2 space. Chain 3, 2 double crochet in the same space, chain 2, 3 double crochet in the same space. That is your first corner. Chain 1, then in the next corner space work (3 double crochet, chain 2, 3 double crochet). Chain 1. Repeat for the remaining two corners. Slip stitch to the top of the beginning chain 3 to join.
Round 3: Slip stitch into the next corner space. Chain 3, 2 double crochet, chain 2, 3 double crochet, all in the same corner space. Chain 1. Now you have your first side space: work 3 double crochet into the chain-1 space, chain 1. Work the next corner as (3 double crochet, chain 2, 3 double crochet), chain 1, then 3 double crochet in the next side space, chain 1. Continue this way around, and join with a slip stitch to the top of the chain 3.
Round 4: Same growth formula, just longer sides. Corner, chain 1, cluster in each side space with a chain 1 between them, corner, and so on around. Join with a slip stitch. Fasten off, leaving a 6-inch tail.
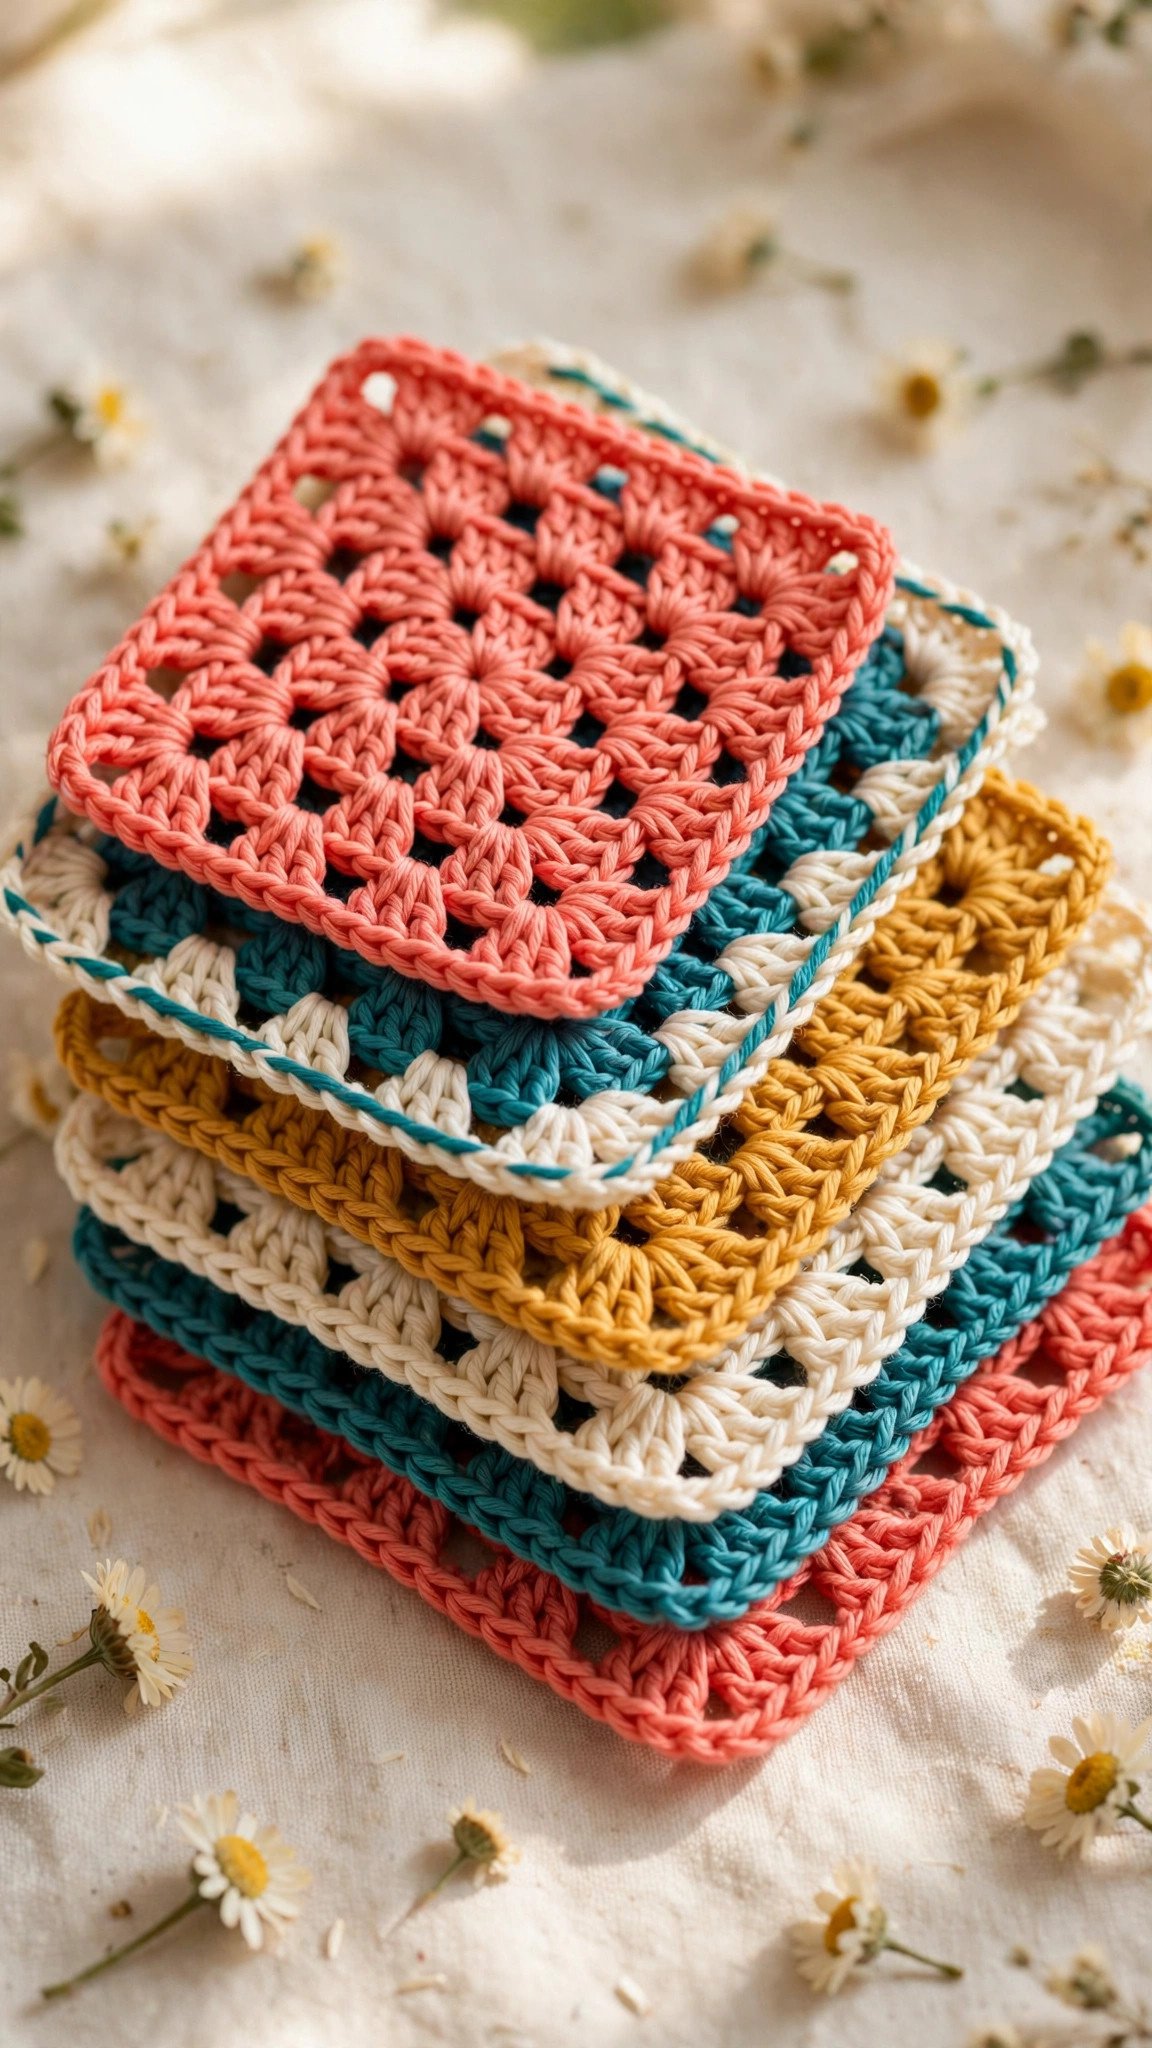
Congratulations, that is a granny square. From here, every extra round repeats Round 4’s logic: corners stay corners, side spaces each get one cluster. My finished 4-round square in worsted weight with a 5.0 mm hook measures about 4.5 inches across, which is a handy size for coasters and for practicing.
Starting the Center: Magic Ring or Chain Ring?
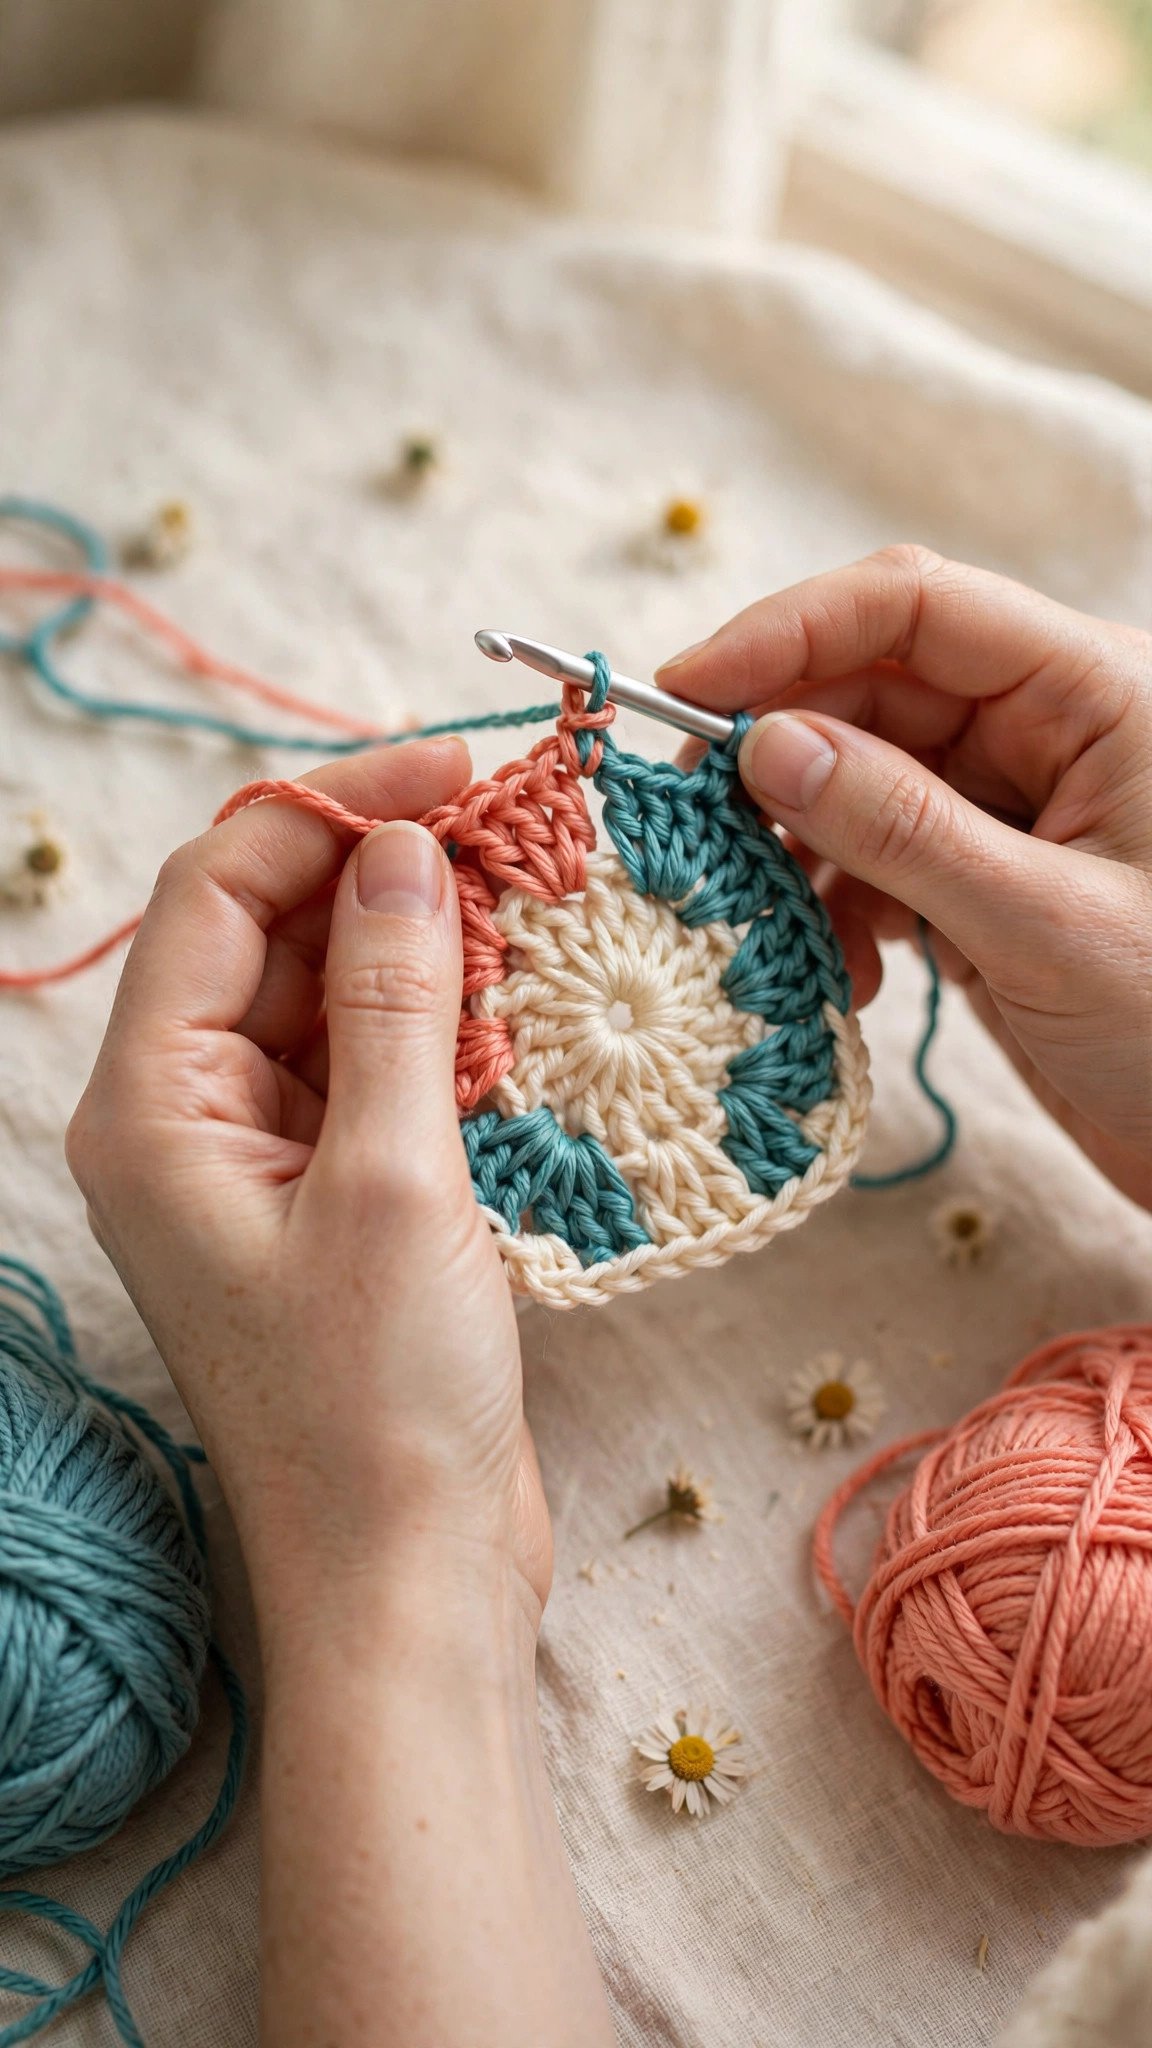
You have two ways to start, and both are fine for a granny square.
Method 1: the chain-4 ring. Chain 4, then slip stitch into the first chain to form a loop. Work Round 1 into the center of the loop. Simple, sturdy, and impossible to unravel. The only downside is a small hole in the middle.
Method 2: the magic ring. Wrap the yarn around your finger to make an adjustable loop, work Round 1 into it, then pull the tail to cinch the center nearly closed. This gives a tidier middle with barely any hole. The trade-off: if you do not weave the tail in well, a magic ring can work itself open over time. For anything that will be washed often, like a blanket, I use the chain ring or I weave the magic ring tail in twice, once in each direction.
Pick whichever feels friendlier today. You can always switch methods on your next square.
How to Change Colors Like a Pro
This is the part that turns a plain square into the rainbow classic, and the method matters. Here is the cleanest beginner-friendly way:
- Finish your current round and join with a slip stitch in the old color.
- Cut the old yarn, leaving a 4 to 6 inch tail, and pull it through the last loop to fasten off.
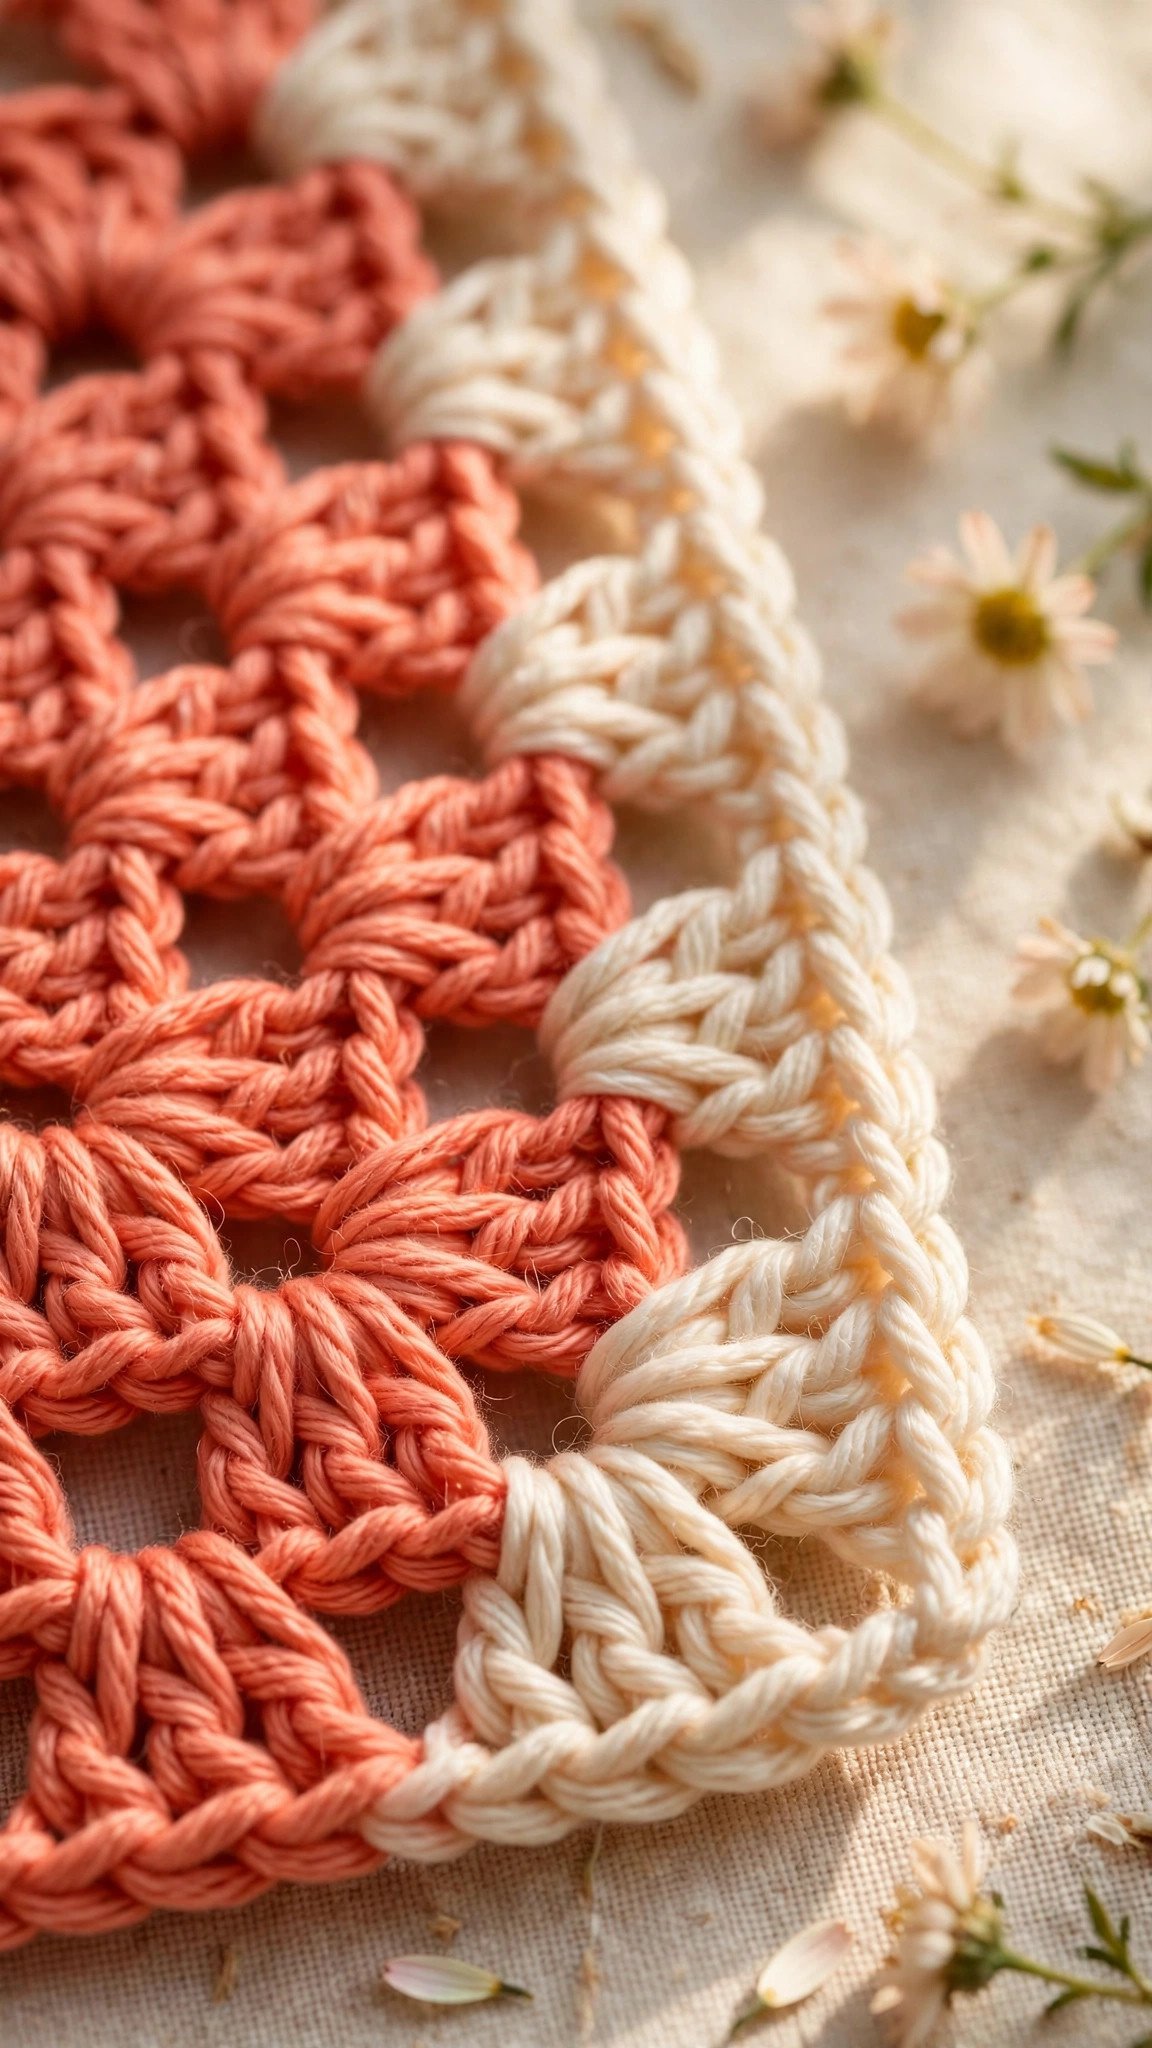
- Make a slip knot with the new color and place it on your hook. Join it with a slip stitch into any corner chain-2 space.
- Chain 3 and continue the pattern in the new color. Weave both tails in later with your tapestry needle.
Why start in a corner? The join point hides beautifully in the corner space, where the extra yarn disappears among the chain-2 stitches. Starting mid-side puts a visible bump right where the eye lands.
The advanced trick: when you are ready, try finishing the last stitch of a round with the new color. That means you work the final slip stitch or double crochet until two loops remain, yarn over with the new color, and pull it through. This makes the color transition razor sharp, with no old color peeking into the first stitch of the new round. But honestly, the fasten-off-and-rejoin method above gives perfectly pretty squares, so do not rush to learn this.
Three color-change mistakes to avoid: do not tie a knot on the front of the work, since it leaves a lump you can both see and feel; do not carry the old yarn loosely across the back, which creates floppy floats; and keep the first stitches of the new color at the same tension as the rest, because a loose join leaves a gap at the corner.
Finishing: Fastening Off and Weaving In Ends
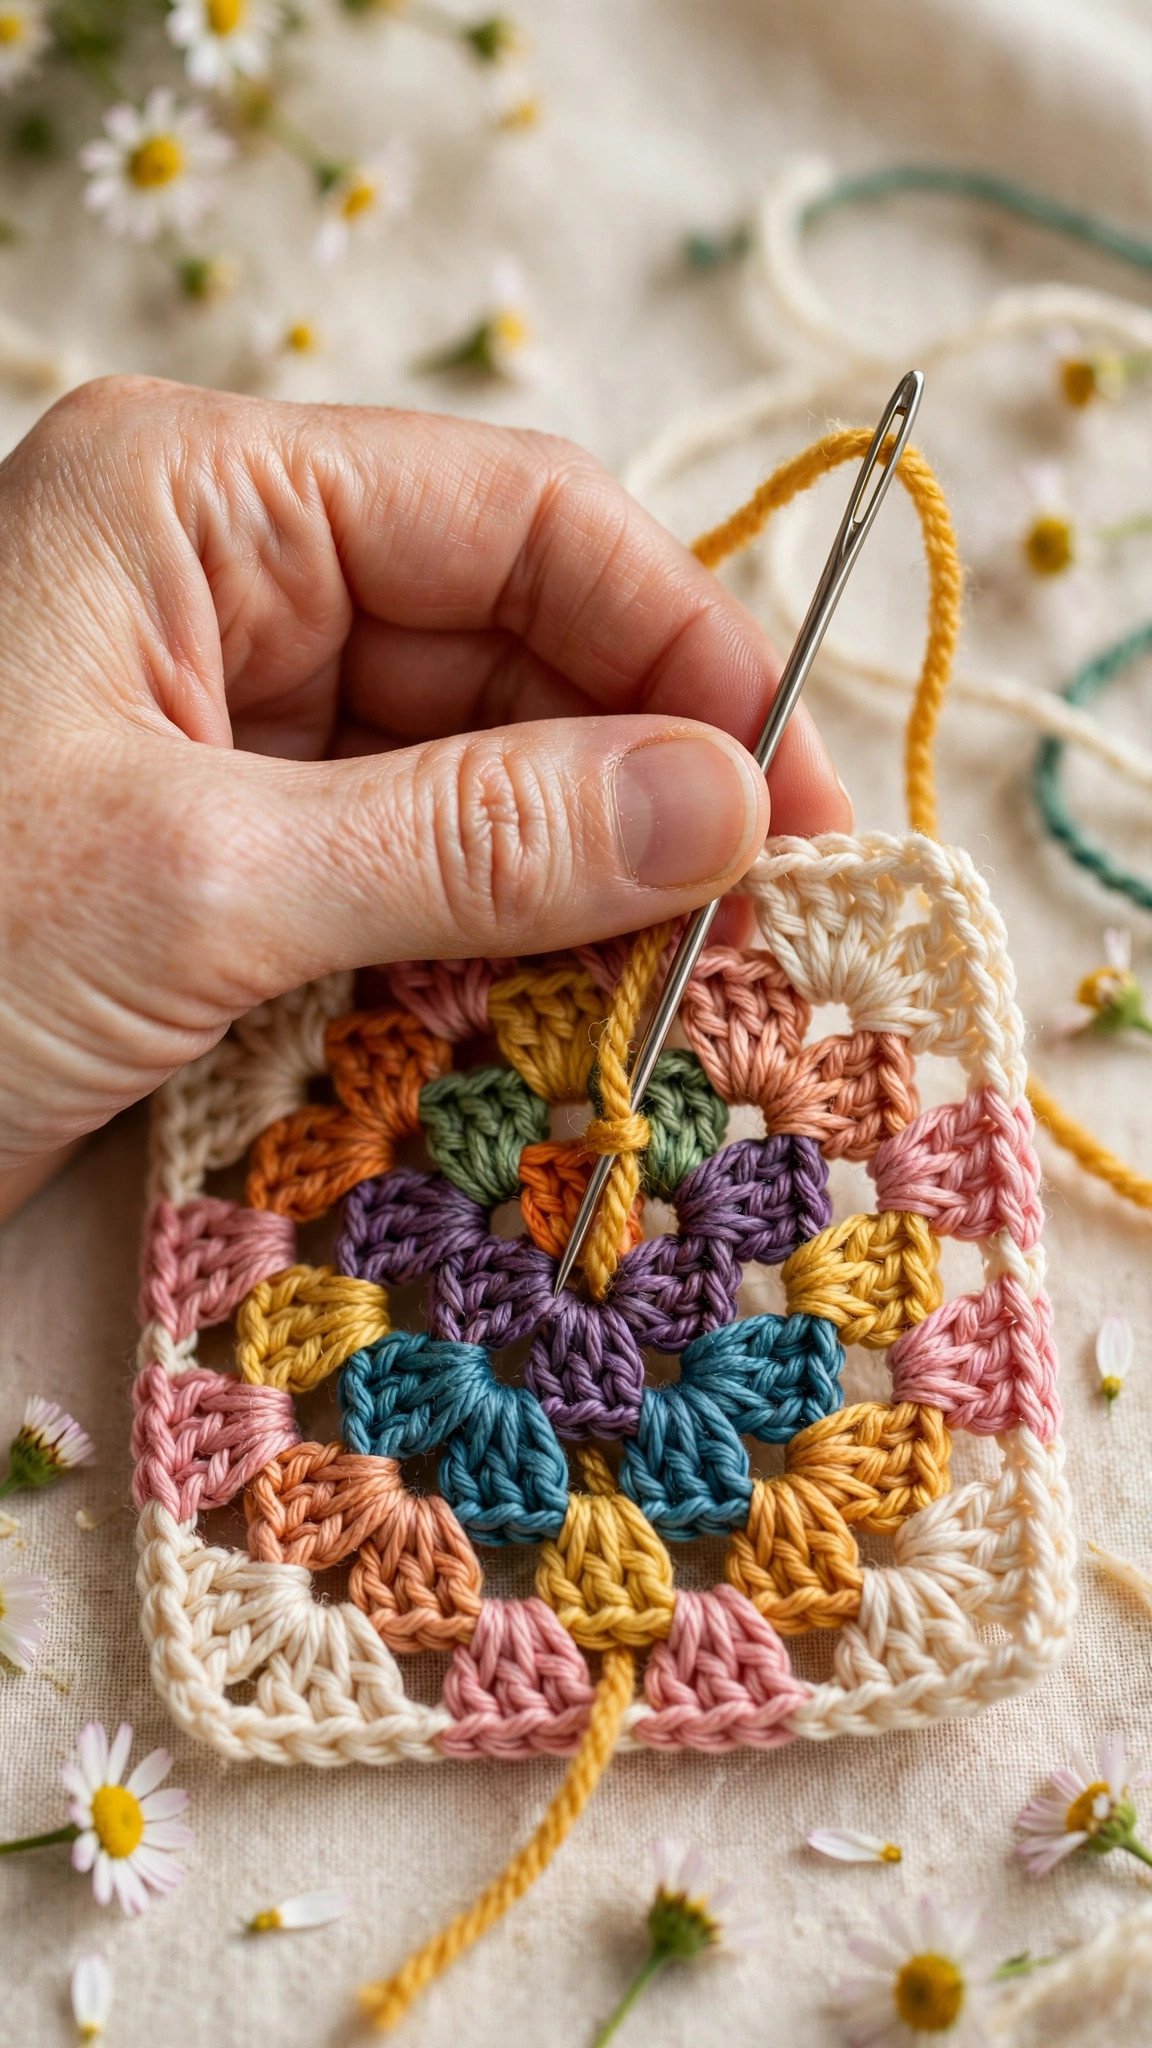
A granny square with a new color every round has a lot of tails, and weaving them in is the difference between handmade and homemade. Thread a tail onto your tapestry needle and weave it through the backs of the stitches on the wrong side of the square, going one direction for about two inches, then doubling back a half inch for security. Trim close to the work. Weave each tail through the same color it came from whenever possible, so nothing peeks through to the front.
Once you can weave in ends quickly, multi-color squares stop feeling like a chore.
Why Is My Granny Square Wonky? Three Quick Fixes
1. Wavy edges. This almost always means too many stitches. Count your clusters: each side should have one more cluster than the previous round, and every corner should be exactly (3 double crochet, chain 2, 3 double crochet). An accidental extra cluster in a side space makes that edge flare out like a ruffle.
2. Big holes and a floppy square. Your hook is probably too large for your yarn, or your tension is very loose. Drop down half a millimeter, say from a 5.5 mm to a 5.0 mm, and see how the fabric firms up. The square should have visible lacy spaces, but you should not be able to poke a finger through the gaps between stitches.
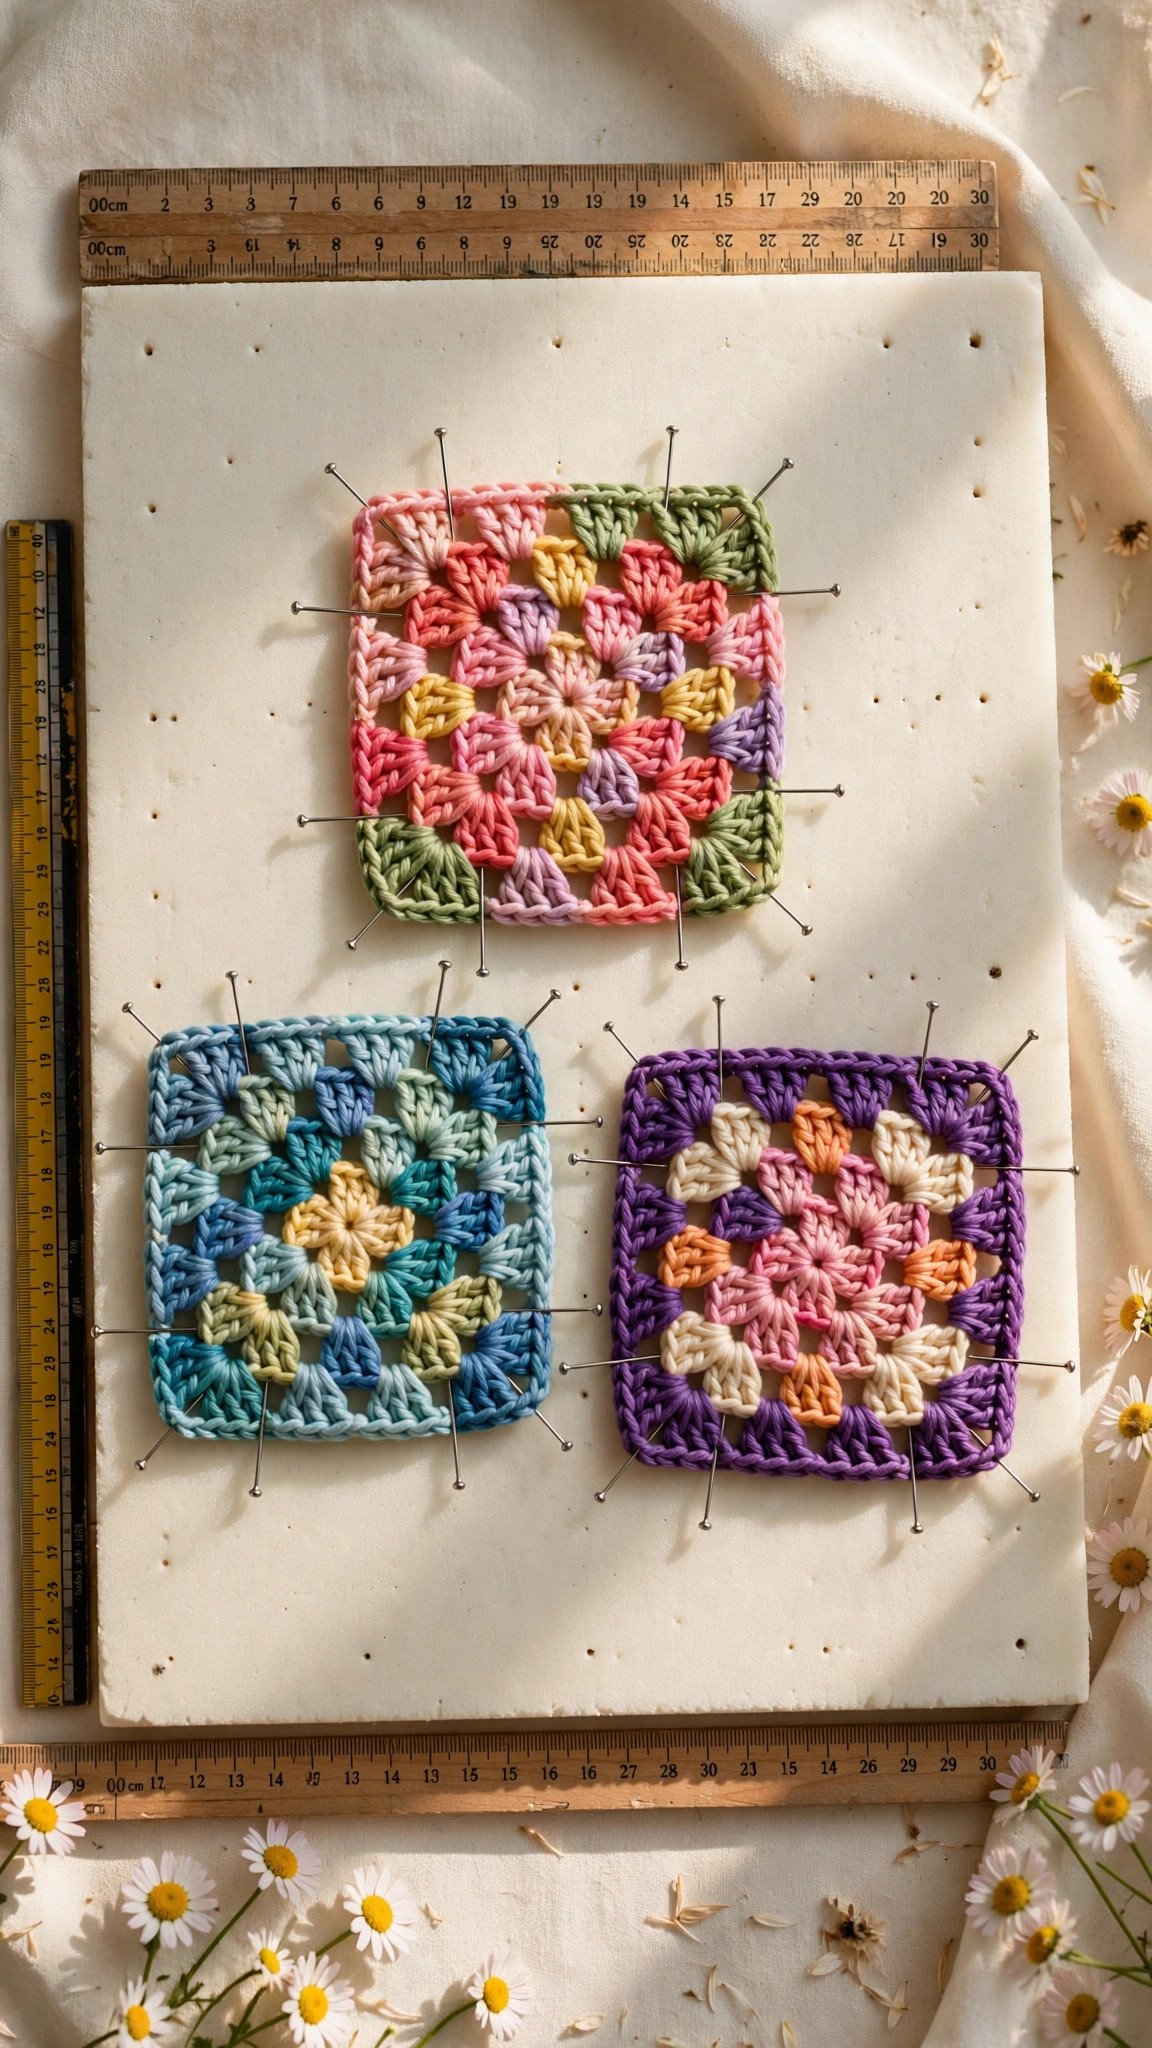
3. Why your square is curling like a bowl. This usually comes from Round 1: stitches worked too tightly into the center ring, or too few stitches in the ring. Frog back to the center, keep Round 1 relaxed, and make sure you have all four clusters. If only the corners curl slightly, a quick block will fix it: pin the damp square to a flat surface, corners square, and let it dry. Blocking also evens out the sizes when you join squares later. A final note: blocking granny squares takes ten minutes and makes joining so much easier.
What to Make With Granny Squares Next
One square is a coaster. A handful is a wall hanging. A pile is a granny square blanket, a granny square tote bag, or the granny square cardigan everyone keeps pinning. That is the joy of the granny square: it is a modular building block, so your very first practice squares can become real projects.
Your natural next steps live right here in our Granny Squares and Motifs section. Learn how to join squares invisibly, follow the daisy granny square that keeps going viral, try the granny square bag pattern, or map out exactly how many squares your dream blanket needs. Make one square today, and I promise you will wake up tomorrow wanting to make ten more.
Written by Ashley
I am Ashley, and I believe crochet should be fun from the very first loop. I test every tutorial and pattern here myself before it lands on Loop & Lark.