Hi, I’m Wren. If you have ever watched someone crochet and thought, “my hands could never do that,” I have good news: mine couldn’t either, until about an hour into my first lesson. Crochet looks like magic from the outside, but it is really just one loop pulled through another loop, repeated with confidence. In this guide, I will walk you through everything from your very first slip knot to your first finished row, and then we will turn those new skills into a washcloth you will actually use. Grab a hook, grab some yarn, and let’s make your hands do the thing.
What You Actually Need to Start (and What You Can Skip)
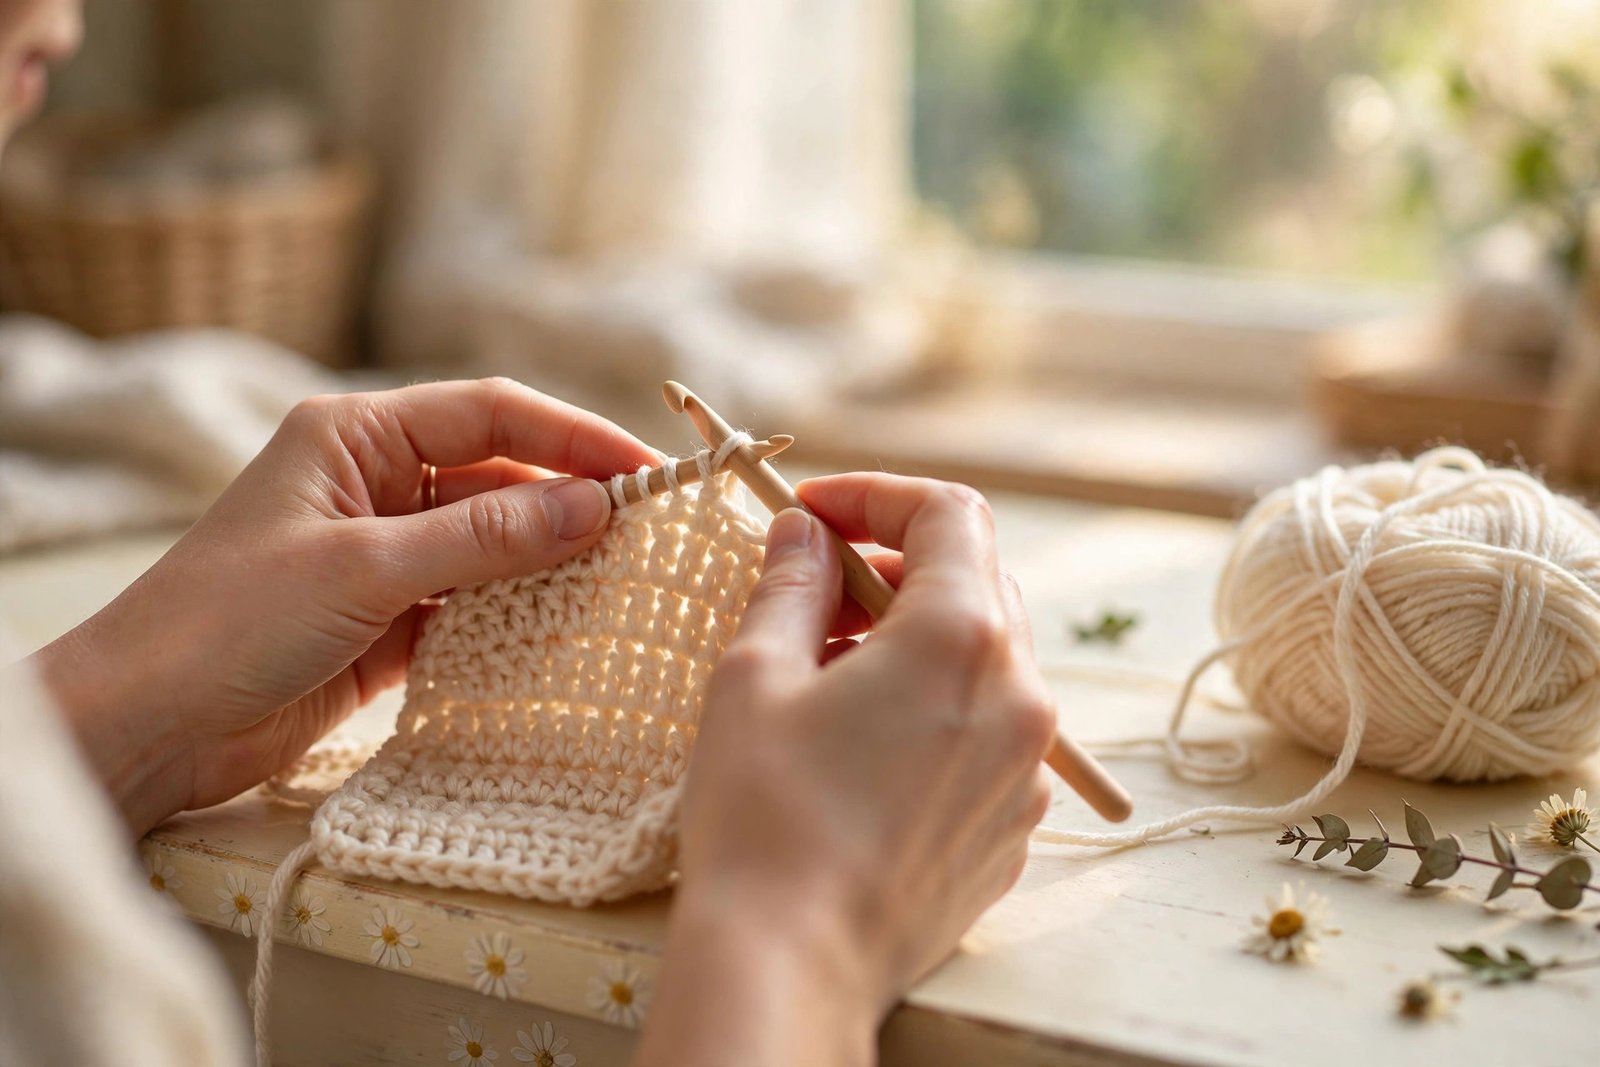
You need less than you think. For this whole guide, grab one crochet hook in size 5.5 mm (US I-9) or 5 mm (US H-8). If you are buying your very first hook, an ergonomic handle like the Clover Amour is kinder to new hands, but a plain aluminum hook from Boye or Susan Bates works perfectly too. I learned on a cheap aluminum hook and I still reach for it.
For yarn, choose a smooth worsted weight yarn, which is labeled medium or number 4, in a light color. Light yarn lets you actually see your stitches, and that matters more than anything when you are learning. Cotton yarn like Lily Sugar’n Cream is wonderful for the washcloth project at the end, and a basic acrylic is fine for practice rows. Skip dark colors, fuzzy yarn, and anything labeled novelty or eyelash until you can crochet in your sleep. Those yarns hide your stitches and will make you want to throw your hook across the room.
You will also want a pair of small scissors and a tapestry needle, sometimes called a yarn needle, for weaving in ends. Stitch markers are optional but lovely; two little locking markers clipped on your edge stitches will save you from the number one beginner heartbreak, which we will get to. If hooks are still a mystery, my guide to the best crochet hooks for beginners breaks down exactly which hook to buy and why.
How to Hold Your Hook (Pick a Grip, Any Grip)
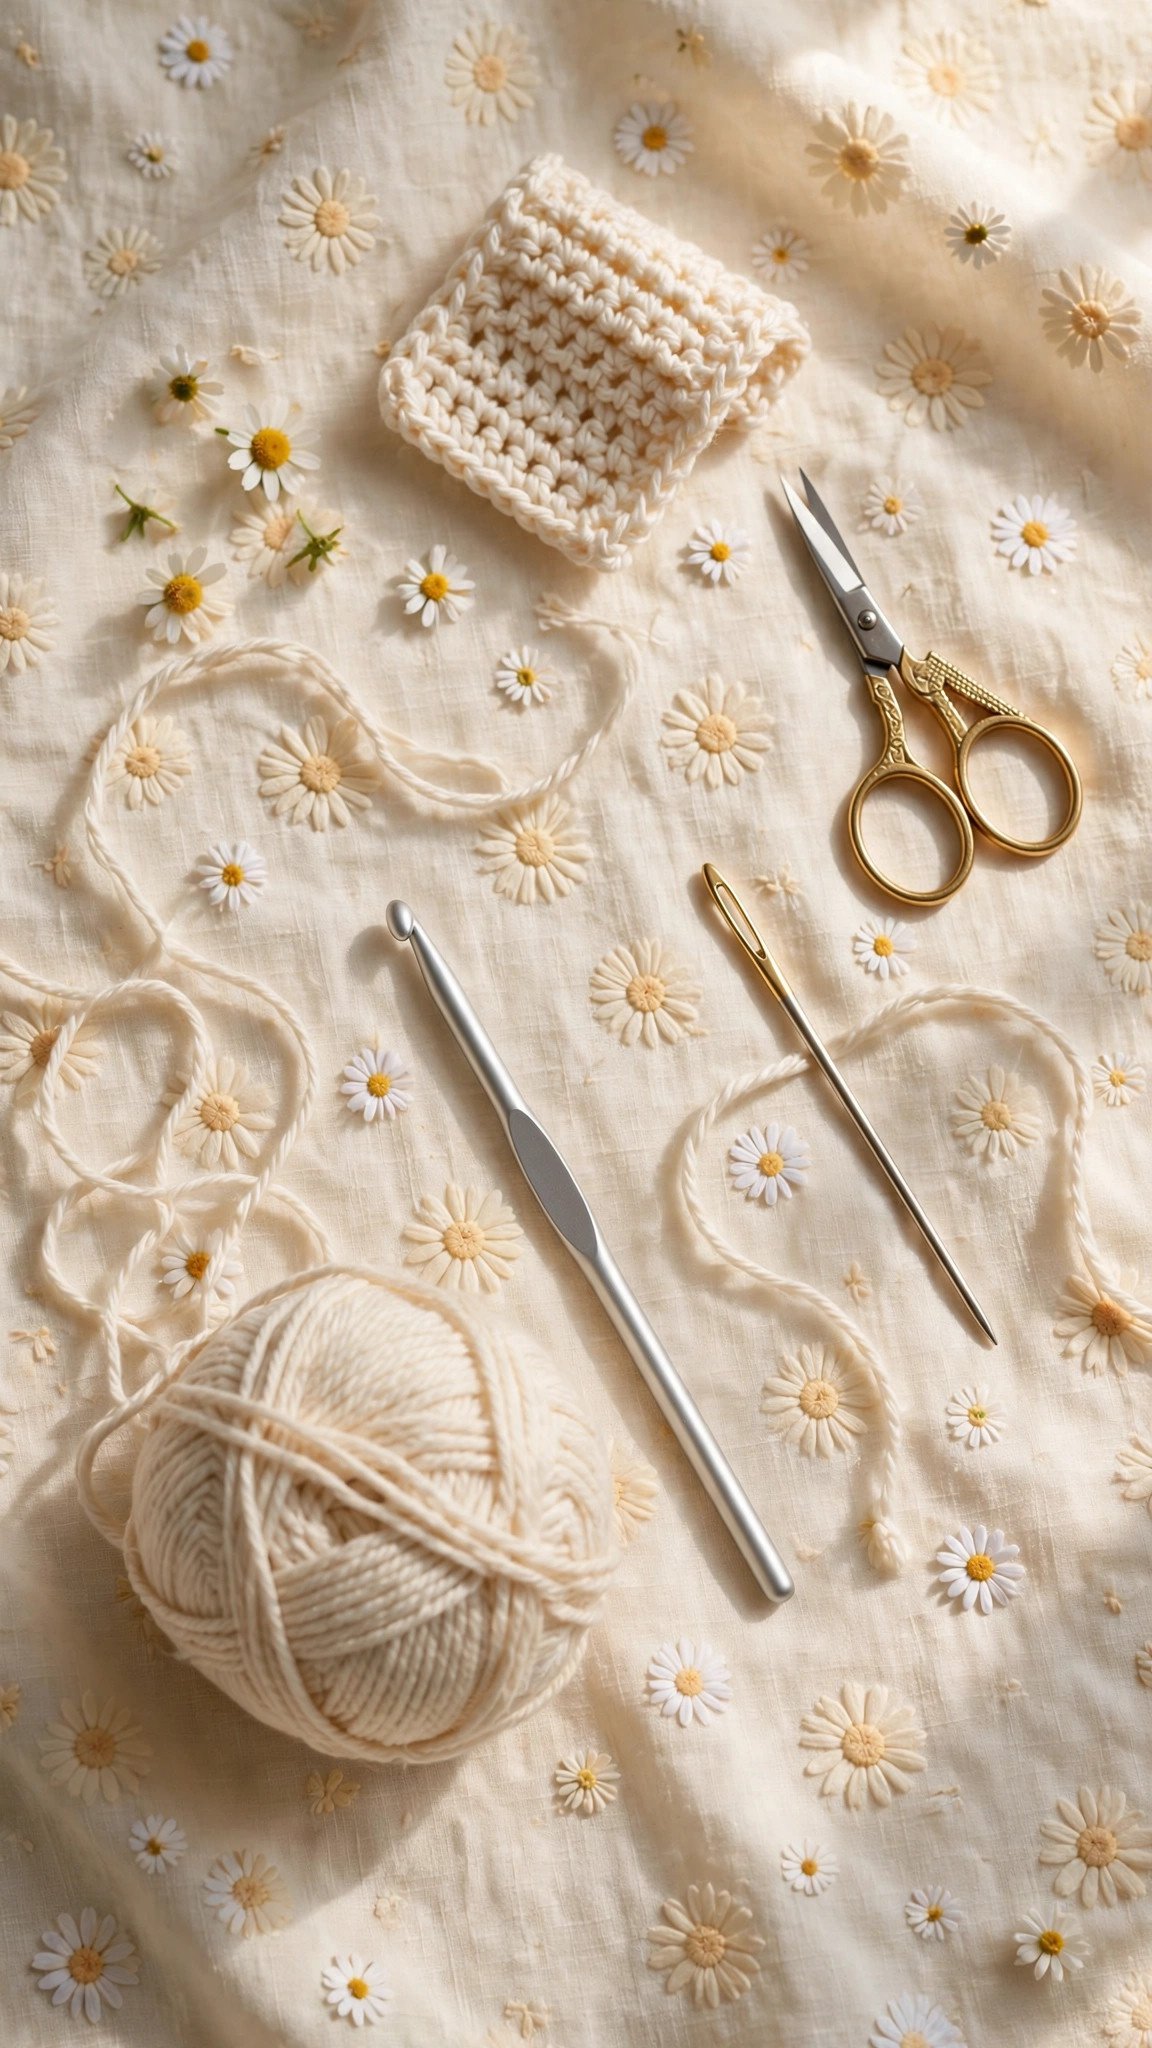
Hold the hook in your dominant hand. There are two classic grips, and neither is wrong, so try both and keep the one that feels like holding a familiar tool.
The pencil grip is exactly what it sounds like: hold the hook the way you hold a pencil, pinched between your thumb and index finger with the handle resting against your hand. The knife grip means holding the hook overhand, the way you hold a dinner knife you are about to cut with, with your index finger resting along the top. I am a pencil grip girl, but plenty of fast crocheters swear by the knife grip. Your non-dominant hand does the equally important job of holding the yarn and the work itself, feeding yarn with a steady, relaxed flow. If your shoulders creep up toward your ears, drop them. Crochet is not a wrestling match.
The Slip Knot: Your Starting Line
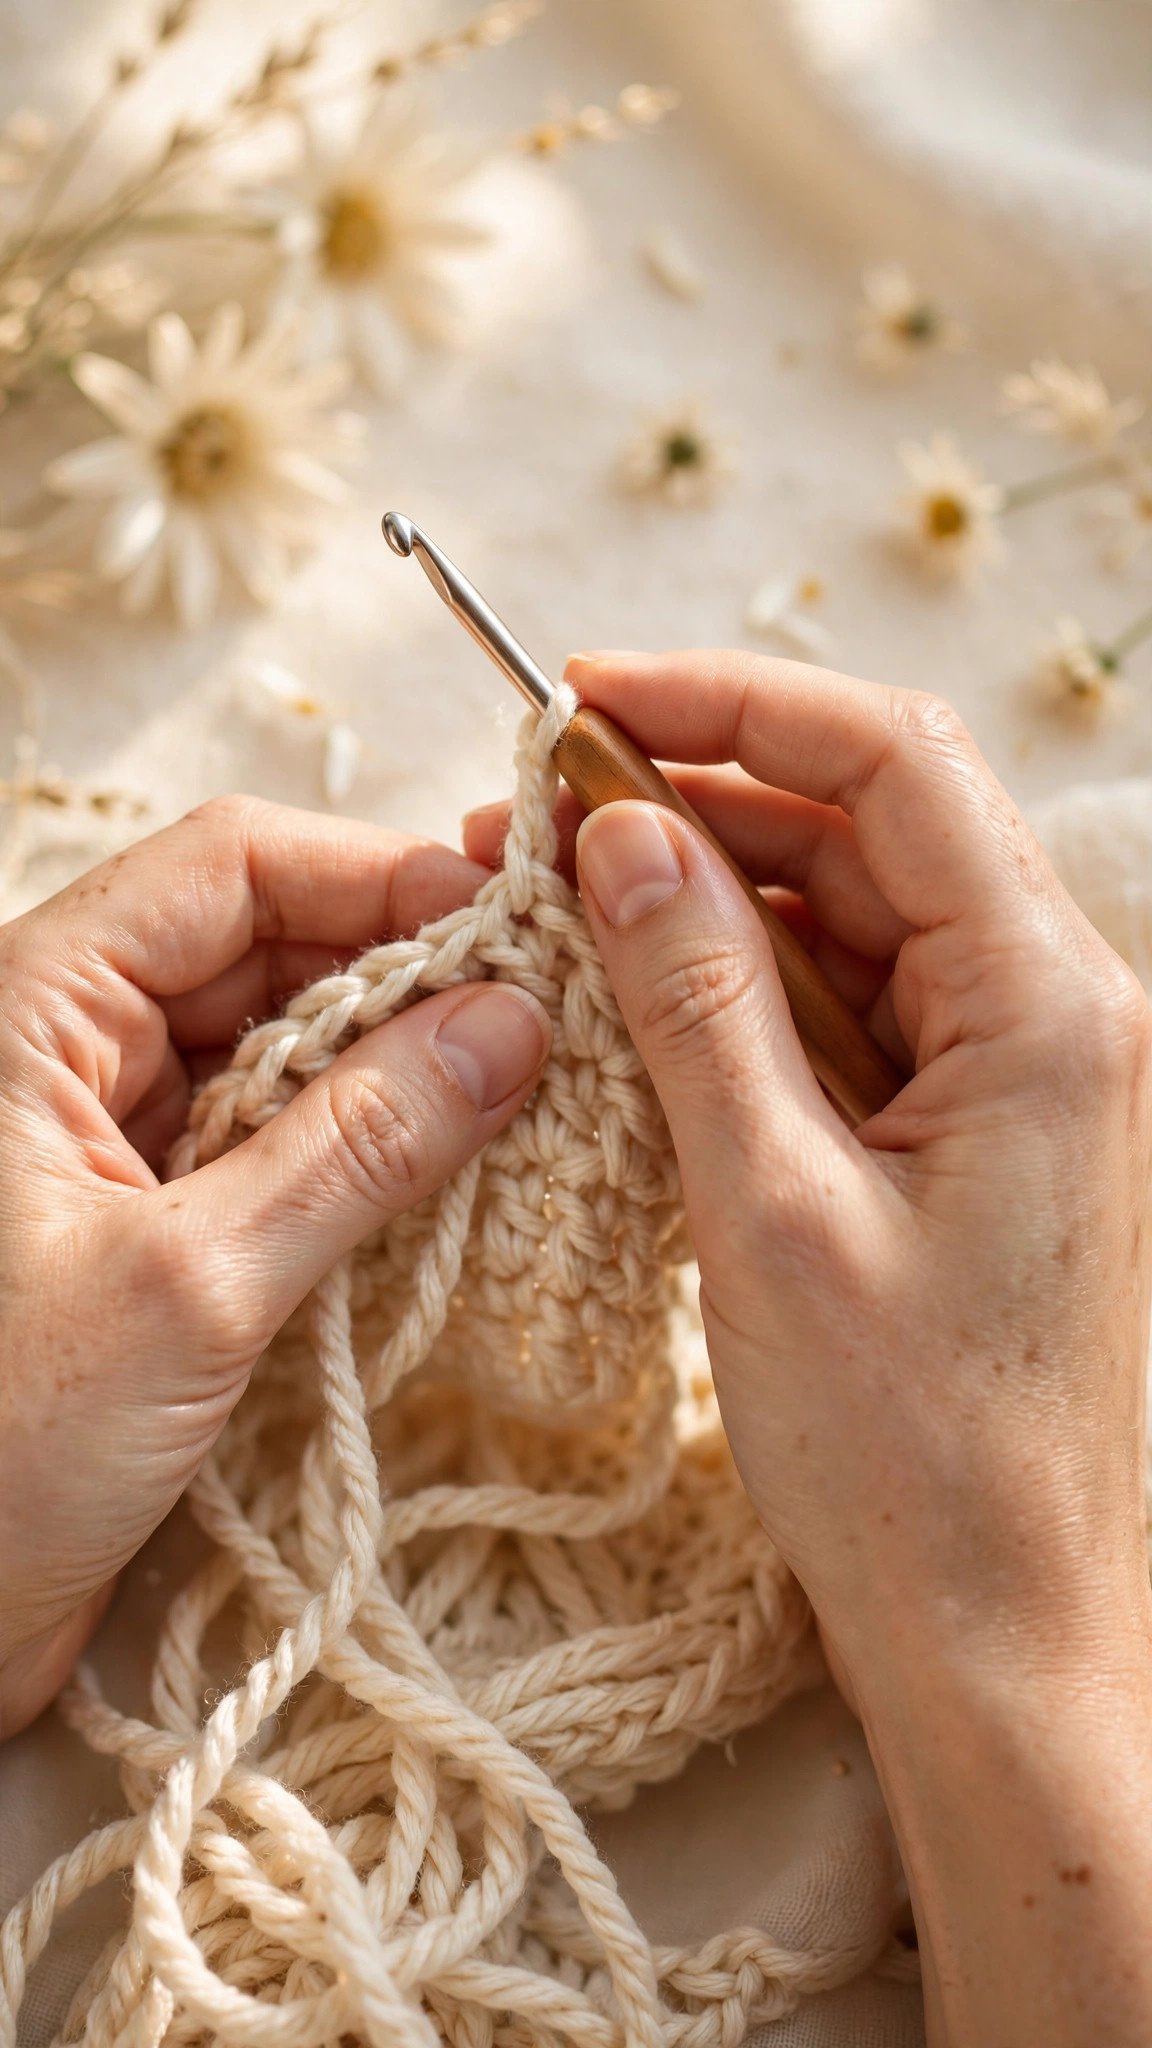
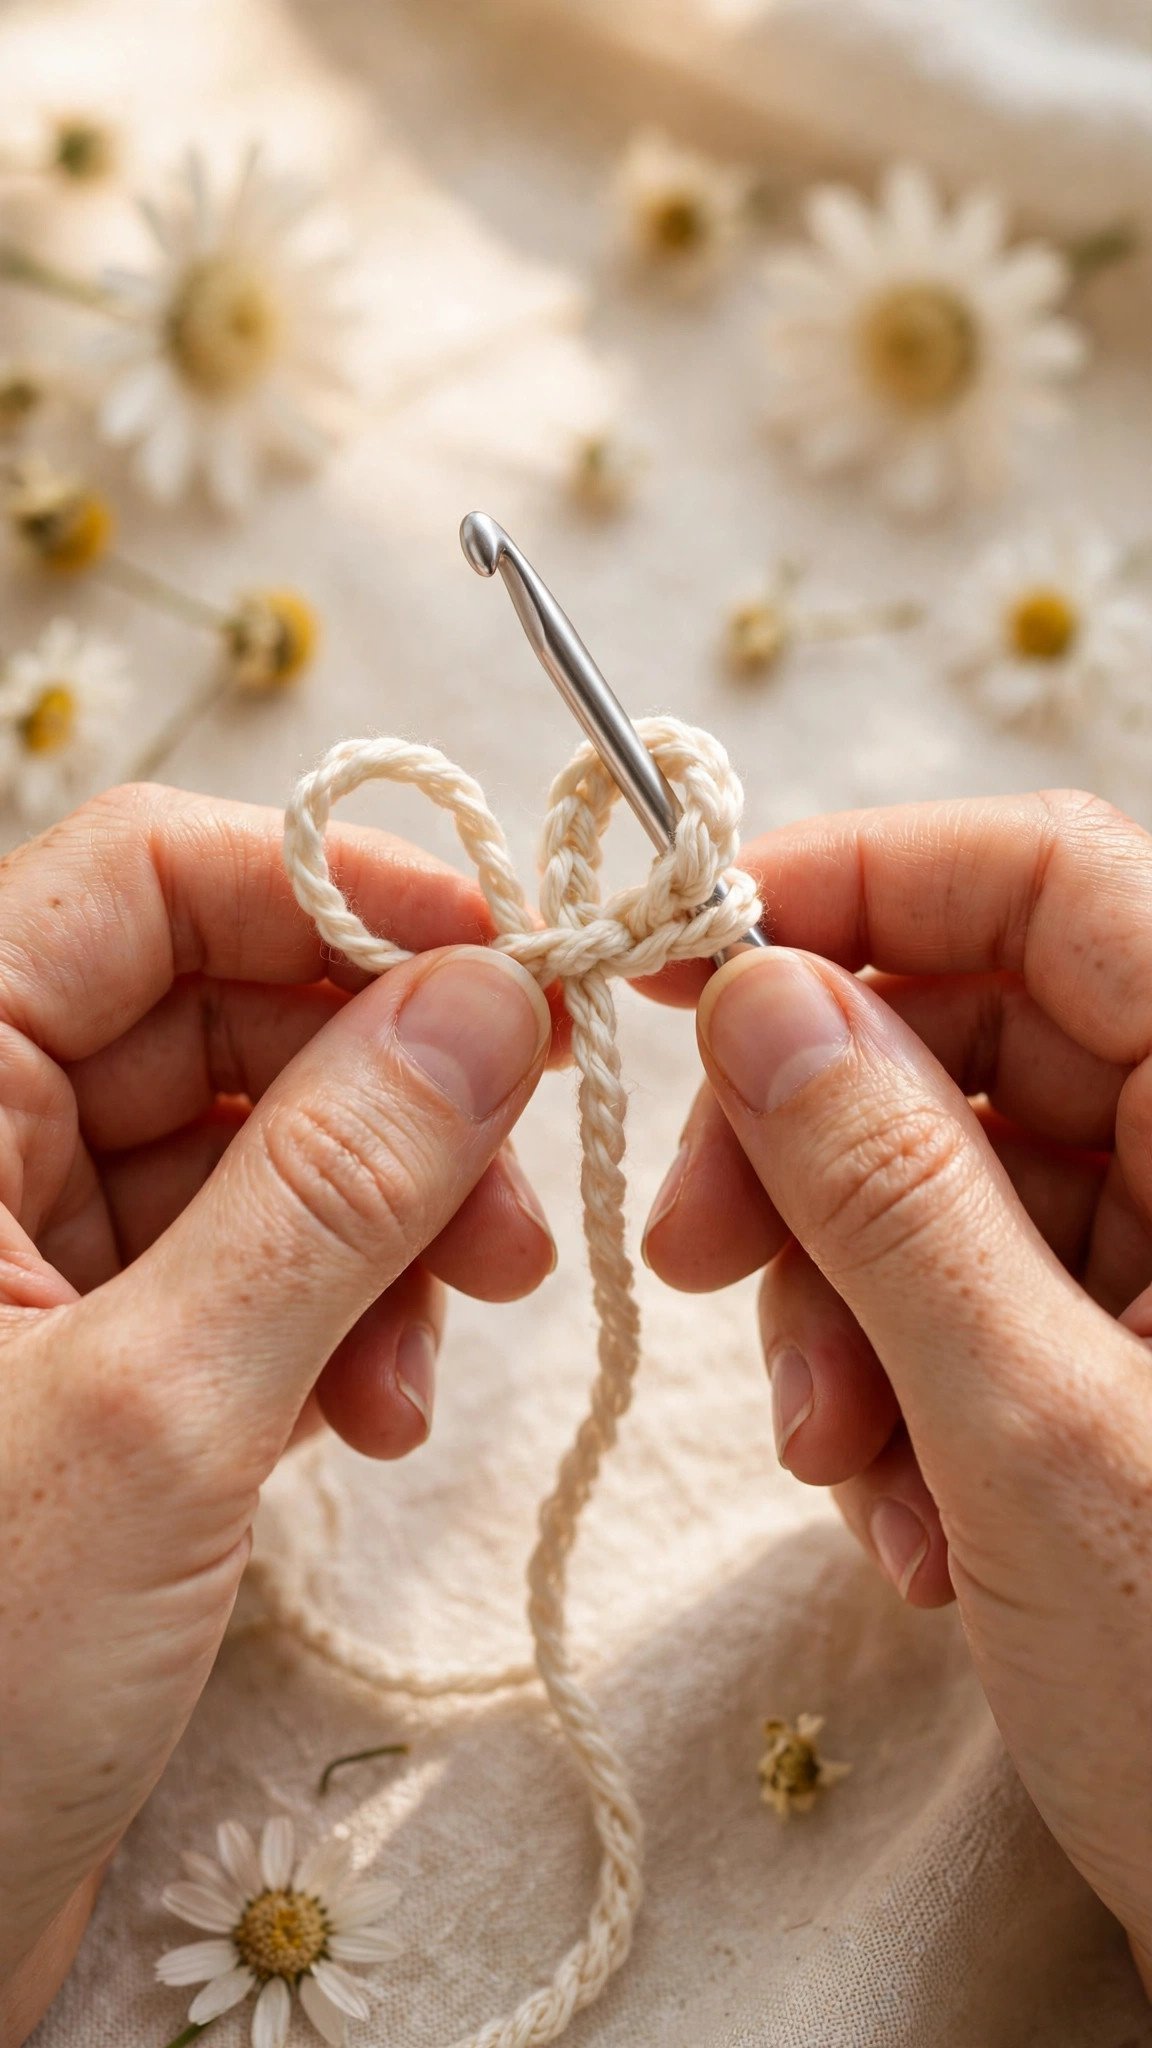
Every crochet project starts with a slip knot, a little adjustable loop that slides onto your hook. Make a loop with your yarn, leaving a tail about six inches long. Reach through the loop, grab the working yarn (the part attached to the ball), and pull a new loop up through. Slide that loop onto your hook and give the tail a gentle tug to snug it up. Snug, not strangling. The loop should slide freely along the hook. If it grips the hook like it owes it money, loosen it. You will make a thousand slip knots in your crochet life, and by the tenth one your hands will do it without asking your brain for help.
Chain Stitches: Building Your Foundation
The chain stitch, abbreviated ch, is the second thing you will learn and the foundation of almost everything flat you will ever crochet. With your slip knot on the hook, wrap the working yarn over the hook from back to front. That motion is called a yarn over, and you will hear it approximately one million times, so get cozy with it. Now pull that wrapped yarn through the loop on your hook. Congratulations, you just made one chain stitch.
Do it again. And again. Make 21 chains total. Each chain looks like a little V, and counting them is your first real crochet skill. Here is the trick that trips up every beginner: the loop currently sitting on your hook does not count as a chain. Start counting from the V right below the hook. Your chain might twist like a phone cord while you work. Let it. You can smooth it out later, and fighting the twist will only slow you down.
Your First Real Stitch: Single Crochet Into the Chain
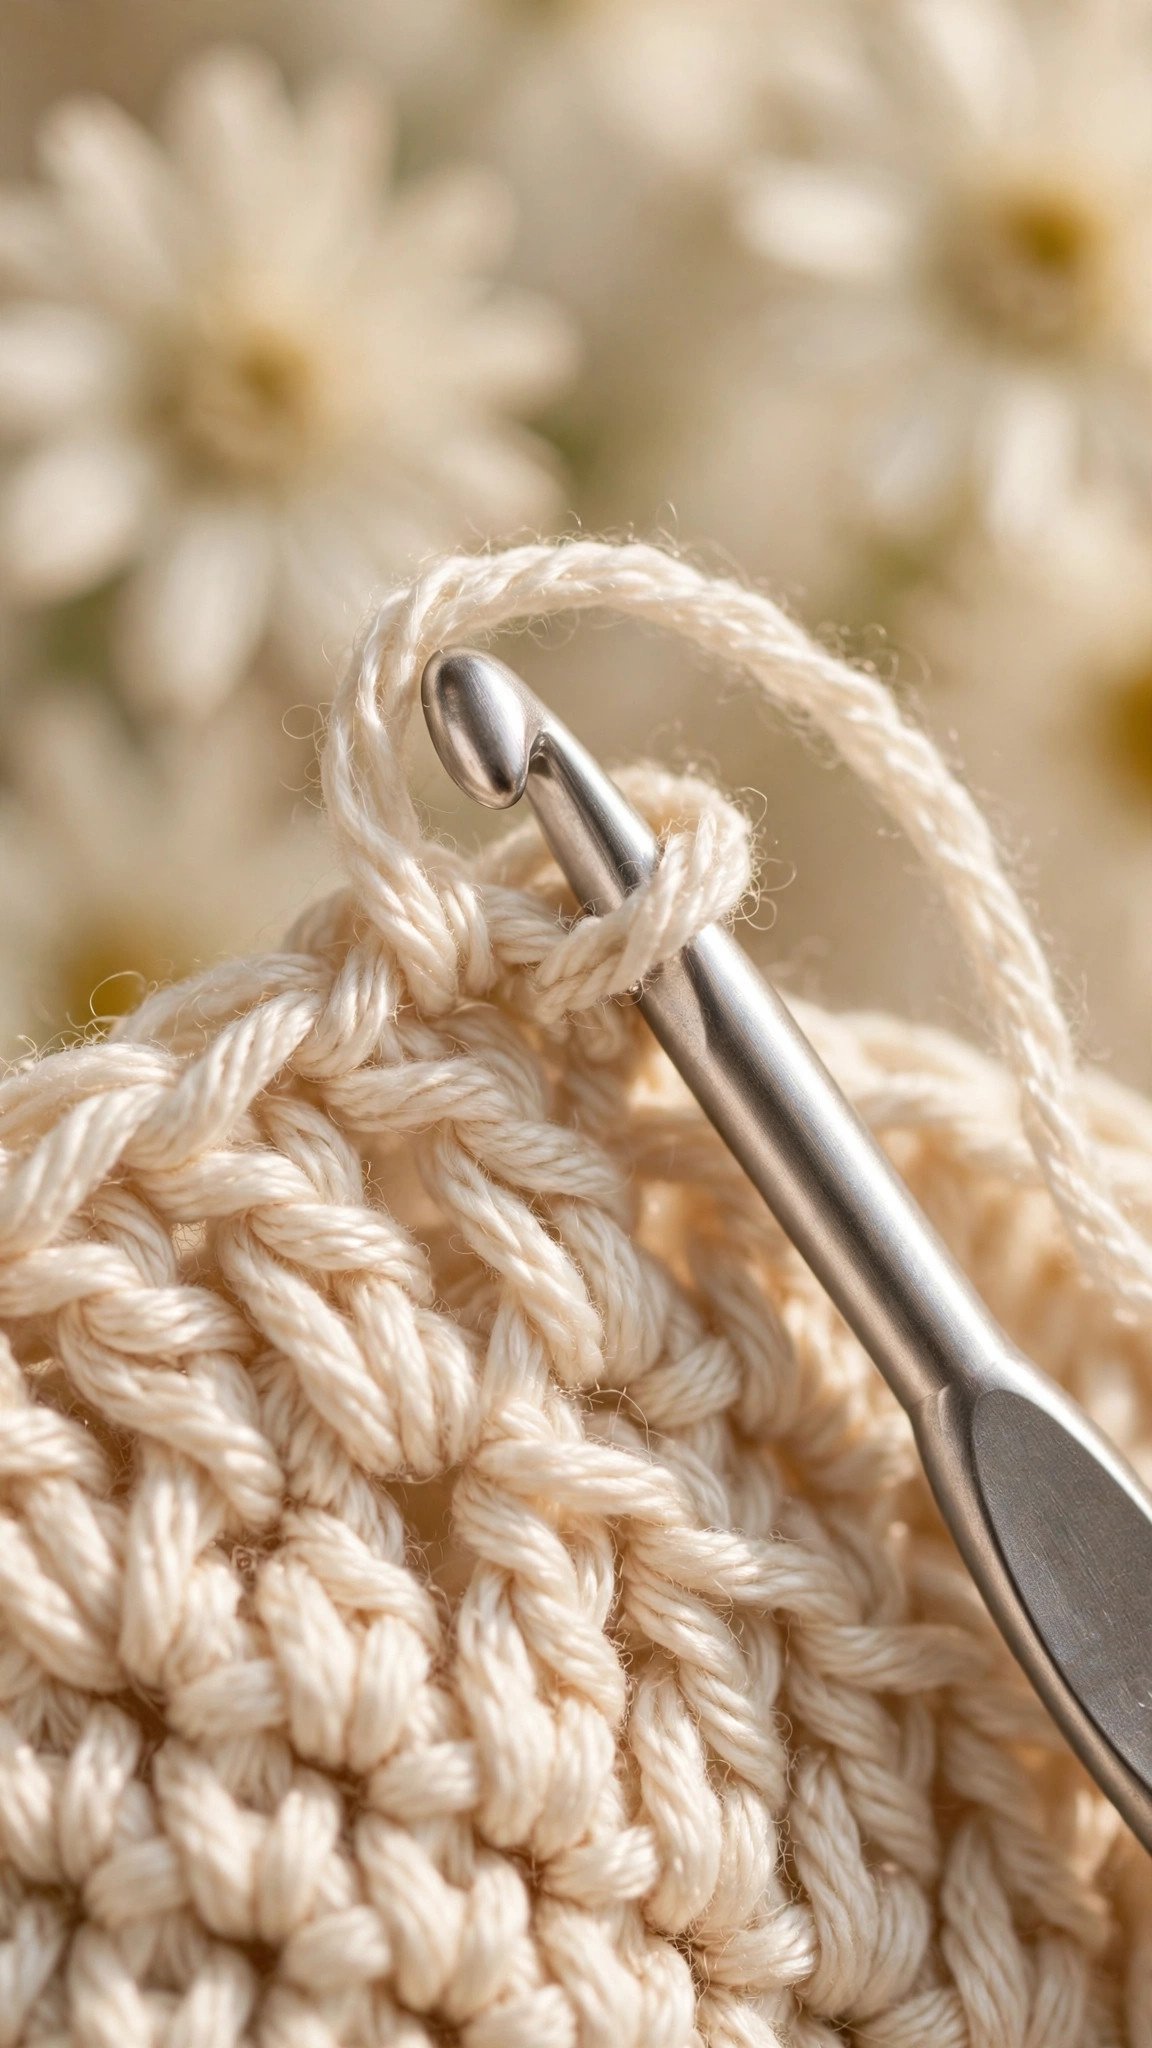
Time for the main event. The single crochet, abbreviated sc, is the shortest and densest of the basic stitches, and it is the stitch this entire guide is built on. Slide your hook into the second chain from the hook. Why the second? Because the first chain gives the stitch room to stand up straight. Yarn over, and pull a loop up through the chain. You now have two loops on your hook. Yarn over again, and pull through both loops. That is one single crochet. Do a tiny happy dance, then do it again in the next chain.
Work one single crochet into every chain across your row. Since you chained 21 and skipped the first chain, you should land on 20 single crochets. Count them. Seriously, count them now, because counting is the habit that separates smooth projects from lopsided ones. If you want a slower, photo-by-photo breakdown of just this stitch, my single crochet stitch tutorial walks through every hand movement.
Turning, Rows, and Keeping Your Edges Straight
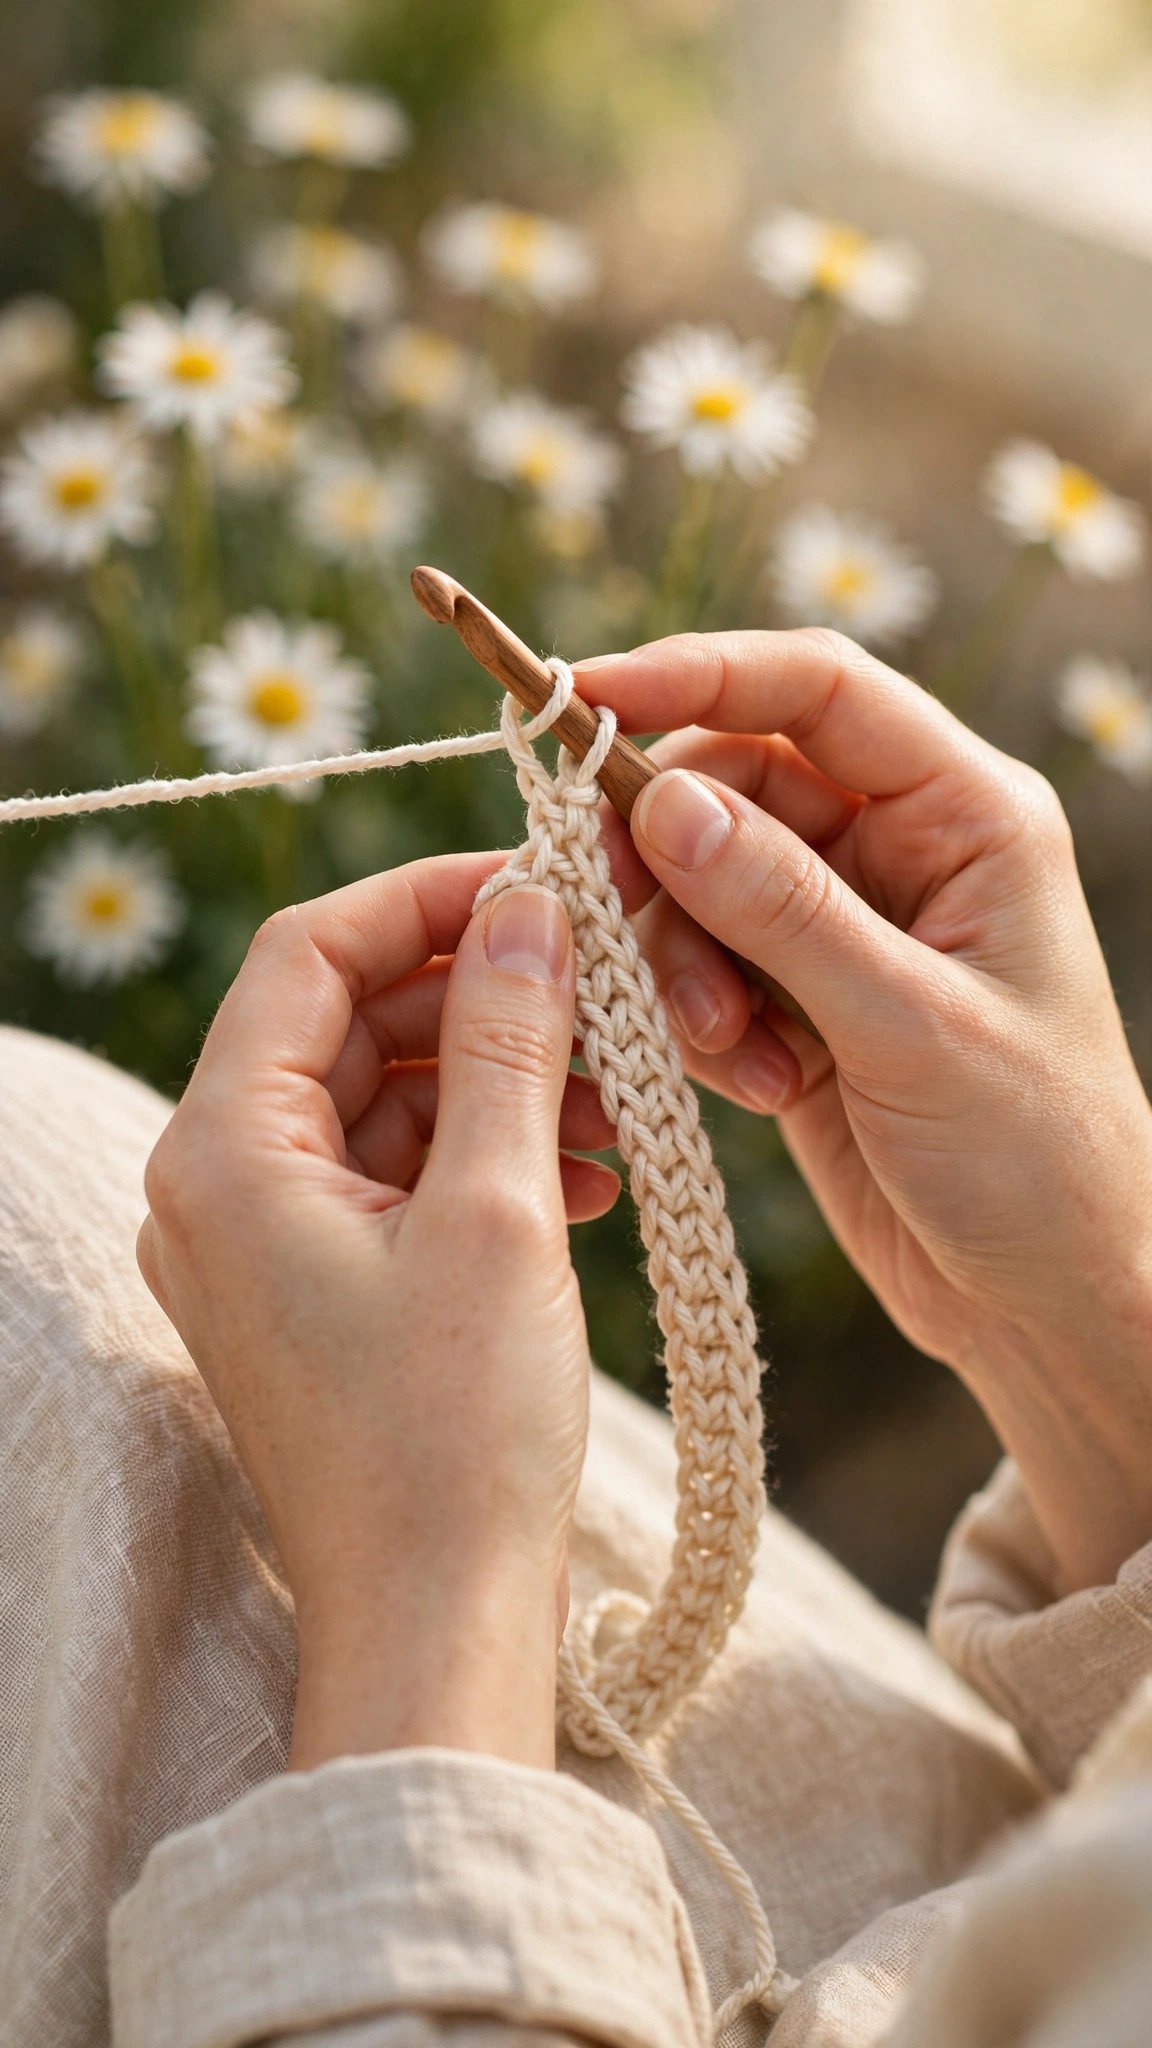
Here is where flat crochet becomes fabric. At the end of your row, chain 1, then turn your work around like the page of a book. That chain 1 is called the turning chain, and for single crochet it does not count as a stitch. It simply lifts your yarn to the right height for the next row.
Now work one single crochet into the very first stitch of the row, the one right at the edge, then one into each stitch across. The sneakiest beginner mistake is skipping that first edge stitch, which makes every row one stitch shorter until your rectangle becomes a triangle. Clip a stitch marker into the first and last stitch of each row and move the markers up as you go. Count your stitches at the end of every row until counting feels boring. Boring counting means straight edges, and straight edges mean you look like you know what you are doing.
Your First Project: A Washcloth You Will Actually Use
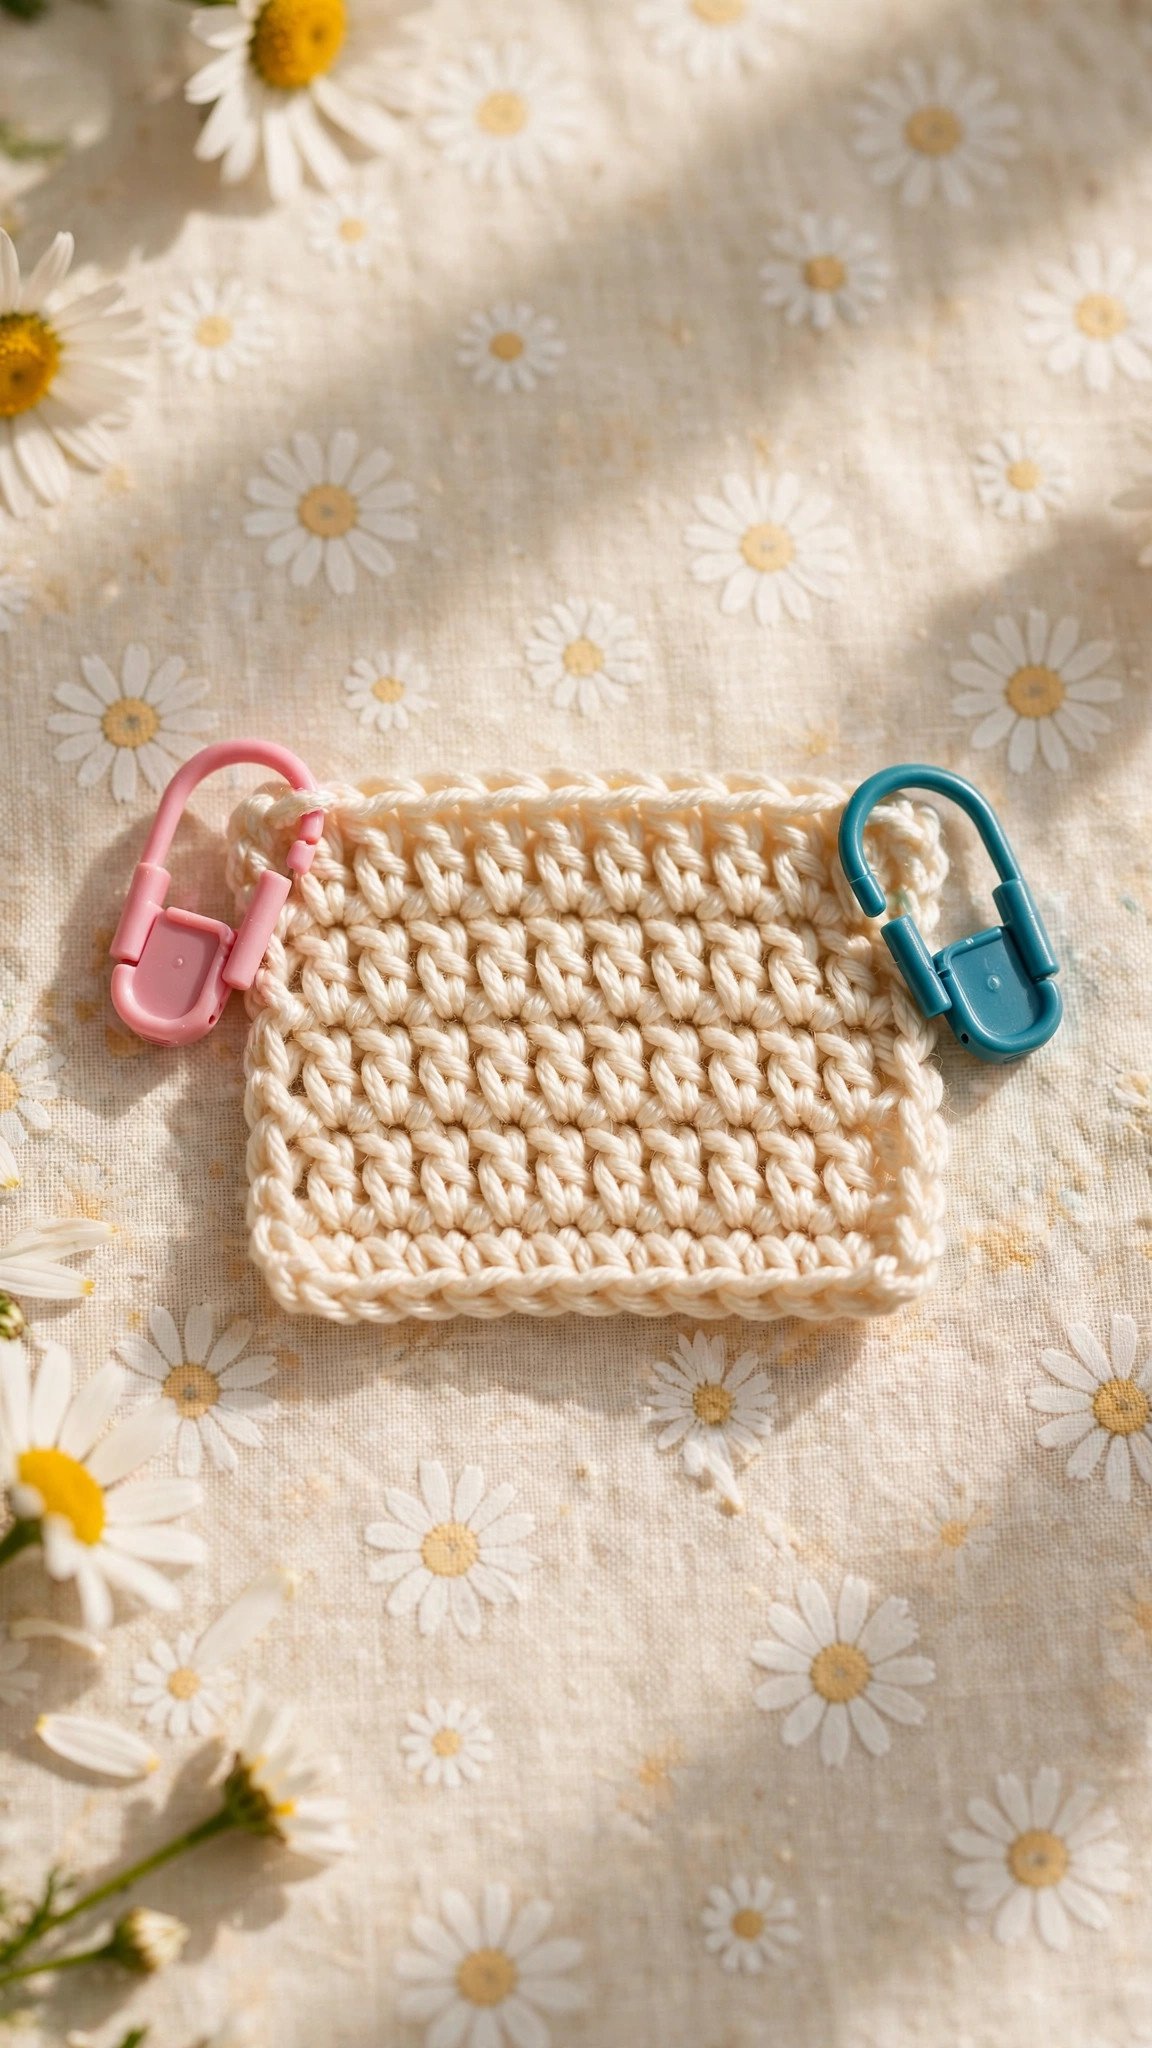
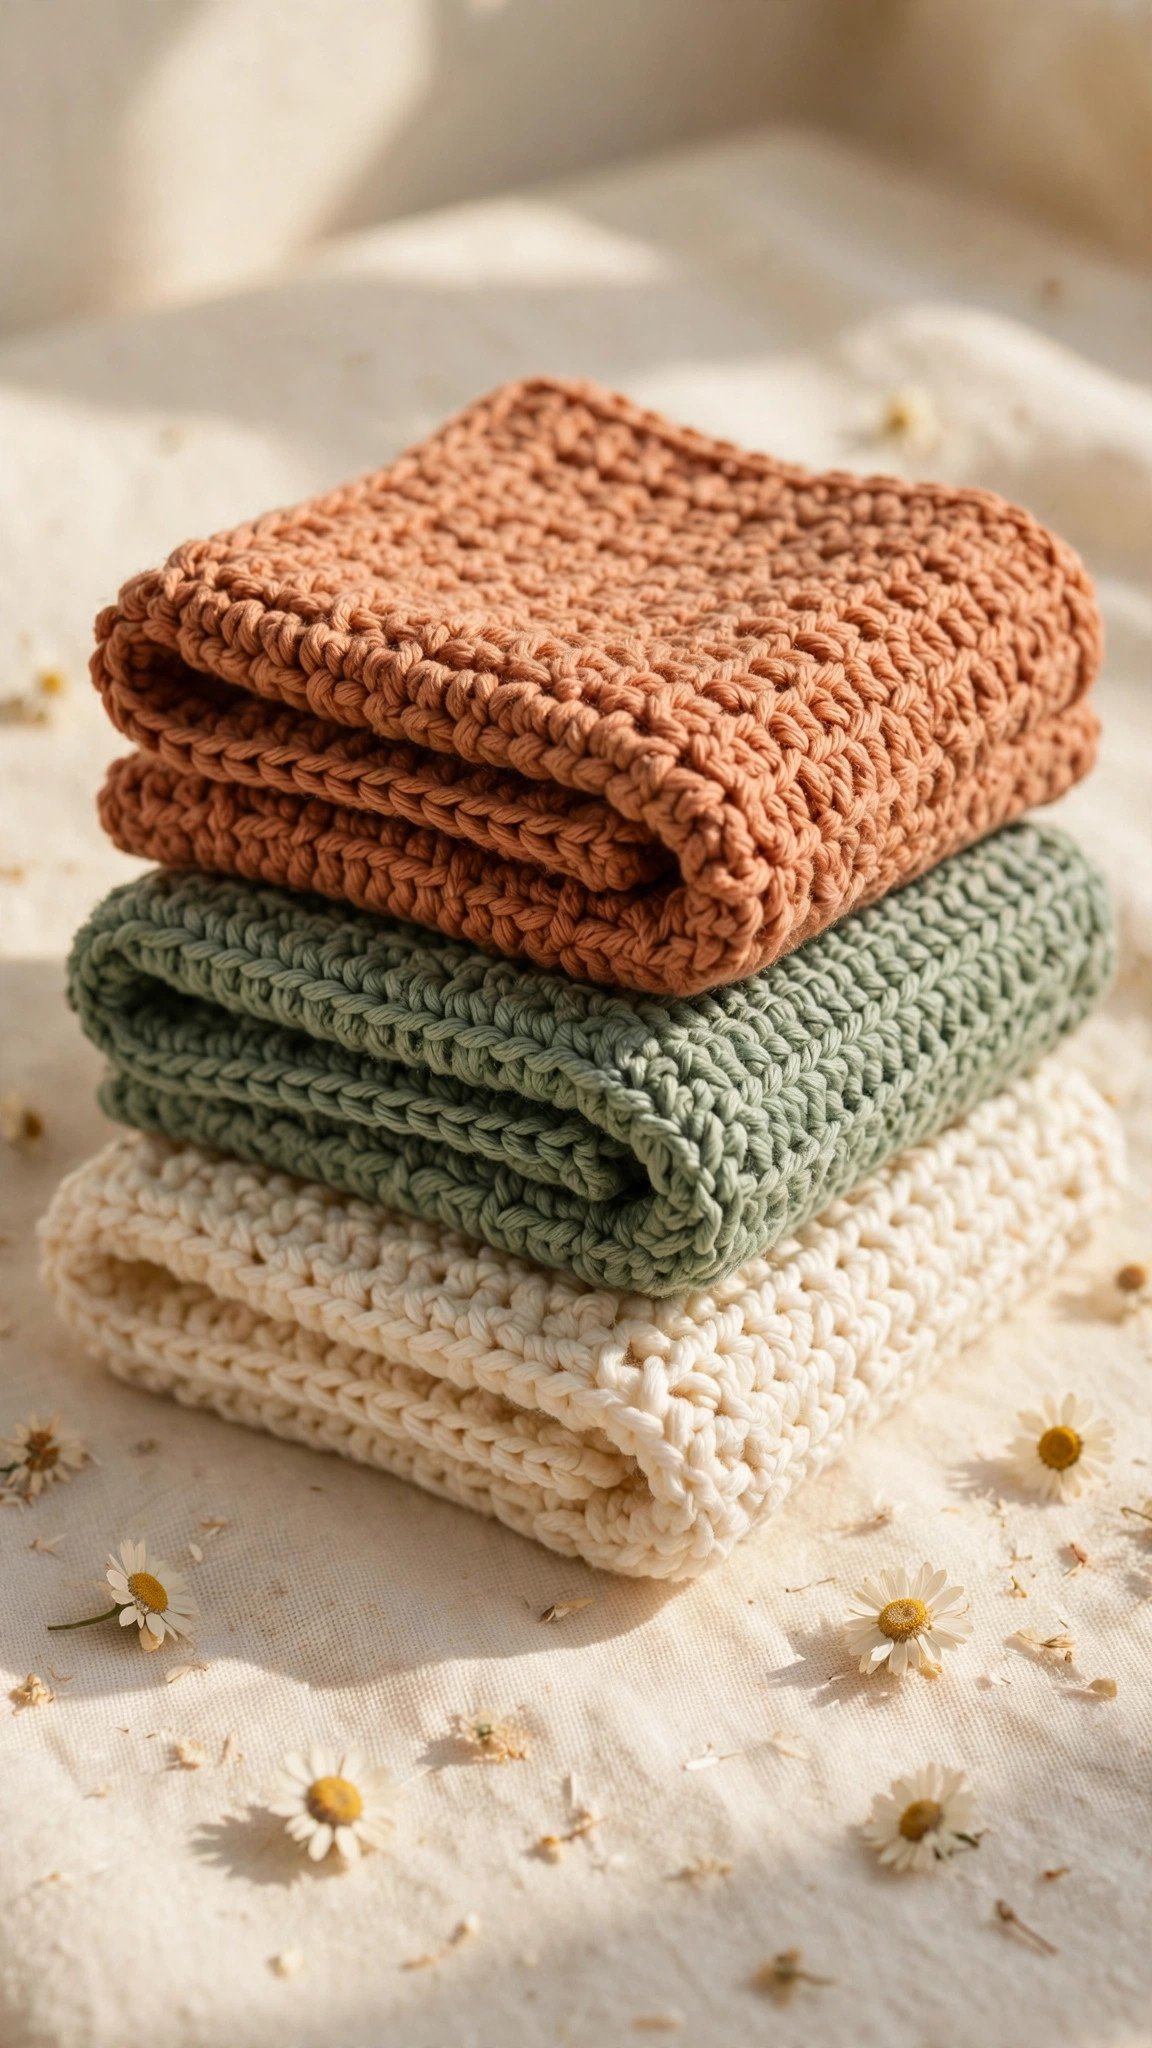
You already know every skill this project needs, which is exactly why washcloths are the perfect first make. Grab one ball of Lily Sugar’n Cream cotton or any worsted weight cotton yarn and your 5 mm (H-8) hook.
Chain 26. Row 1: starting in the second chain from the hook, work one single crochet in each chain across. You will have 25 stitches. Row 2: chain 1, turn, and work one single crochet in each stitch across. Repeat Row 2 until your piece is square, about 8 inches, which usually takes 24 to 28 rows. To finish, cut the yarn leaving a six inch tail, yarn over, and pull the tail all the way through the last loop. Thread the tail onto your tapestry needle and weave it back and forth through a few stitches to lock it in. Do the same with the starting tail.
Run it under water. It works. You made a thing with string and a stick, and it is genuinely useful. From here, the whole crochet universe opens up: learn how to crochet a granny square for the most iconic motif in the craft, or peek at amigurumi for beginners when you are ready to make something squishable. And if you want the full beginner roadmap in one place, browse the Learn to Crochet collection. Welcome to the hook side, friend. We have yarn.
Written by Wren
I am Wren, and I believe crochet should be fun from the very first loop. I test every tutorial and pattern here myself before it lands on Loop & Lark.